
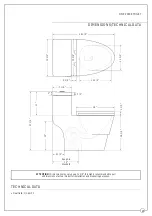

4
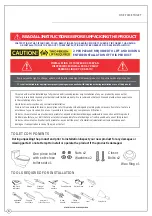
ONE PIECE TOILET
INSTALLATION INSTRUCTIONS
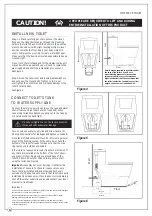
IMPORTANT!
Shut off main water supply prior to installation!
REMOVE OLD TOILET
1. Shut off water supply line. If you do not have shut-off valve near the toilet shut off main water supply line.
2. Flush the old toilet and make sure that tank is empty.
3. Disconnect and remove water supply line connected to the toilet's tank.
4. Remove old toilet, bolts, nuts from the closet flange.
5. Clean closet flange area from old wax ring and putty sealant using putty knife from the base area.
6. Clean any remaining debris and wipe any water at the installation area
7. Temporarily plug flange on a floor with a flange plug or towel to prevent gasses from escaping
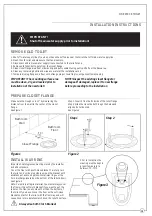
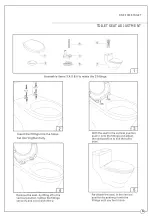
PREPARE CLOSET FLANGE
Figure 1
Figure 2
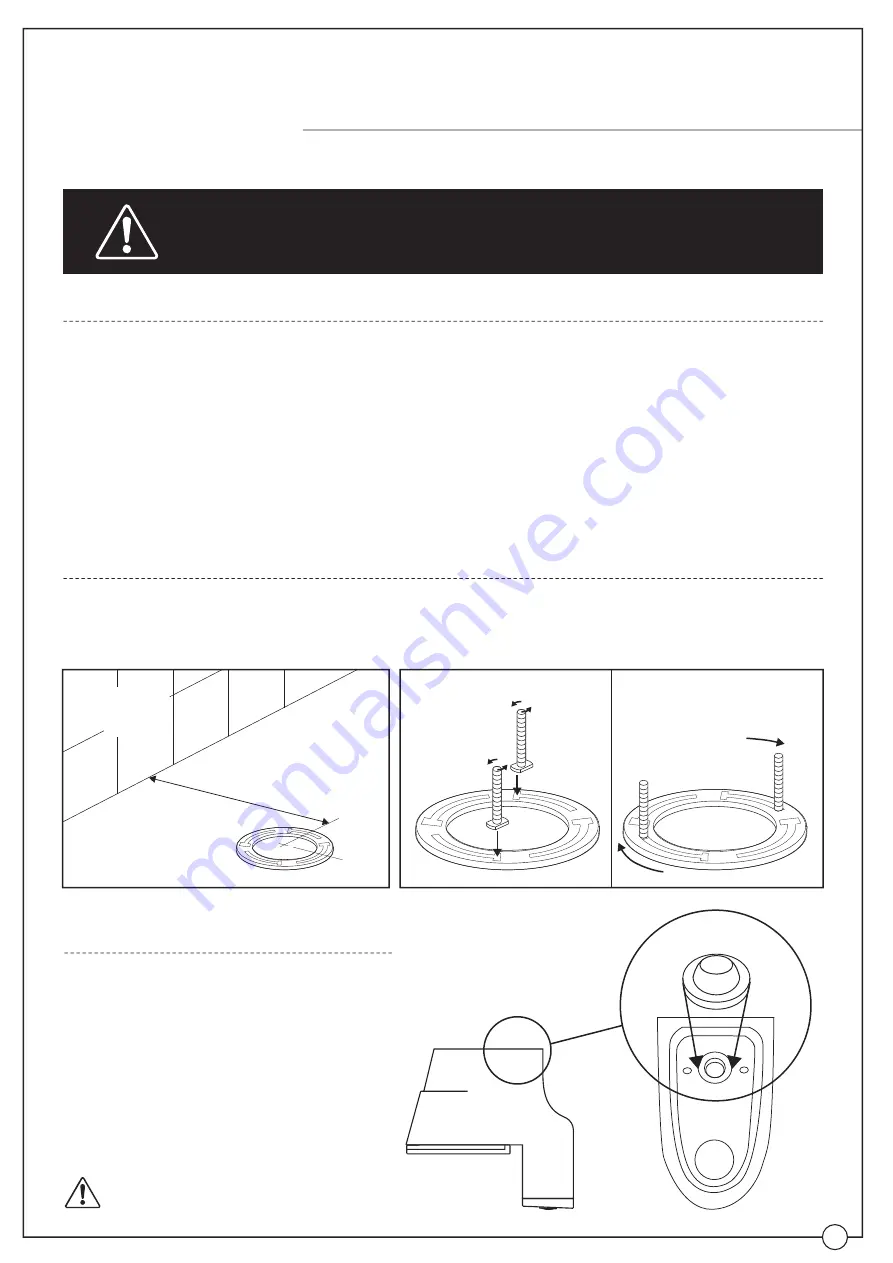
Step 1
Step 2
Make sure that rough-in is 12" by measuring the
distance from the wall to the center of the closet
flange.
See Figure 1
Step 1.
Insert 2 floor bolts inside of the toilet flange
Step 2.
Slide the closet bolts through the holes and
align bolts horizontaly.
See Figure 2
Bathroom
Wall
Bathroom
Floor
Closet Flange
12"
Rough-in
Figure 3
INSTALL WAX RING
Important:
safety glasses must be worn by the installer
and all bystanders.
Cover the floor with a soft-close blanket. Carefully turn
the toilet on it's side or upside-down on the blanket with
assistance of a second person. Install wax ring over the
horn discharge located on the bottom of the toilet's bowl.
See Figure 3
Note:
Ceramic is a fragile material. You must always cover
the floor with a soft-cloth blanket if you want to put the
toilet on the floor on any side other than the bottom of
the toilet. If you do not cover the floor with a soft-close
blanket contact of the toilet with the floor may and will
cause minor or moderate scratches on the toilet's surface.
Prior to installtion the
wax ring must be kept in
a room temperature
between 70-75ºF.
90º
90º
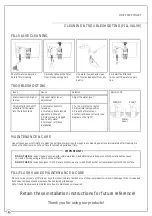
IMPORTANT! The mounting surface area
must be clean, dry, and leveled prior to
installation of the new toilet!
NOTE! Inspect the existing closet flange for
damages. If damaged, replace it to new flange
before proceeding to the installation
Always Use Soft-Cloth Blanket


