


R
WOODBRIDGE
R
WOODBRIDGE
R
WOODBRIDGE
R
WOODBRIDGE
R
WOODBRIDGE
R
WOODBRIDGE
3
www.woodbridgebath.com
R
WOODBRIDGE
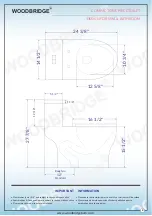
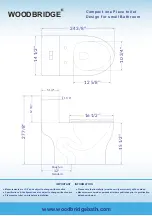
IMPORTANT INFORMATION
• Measurements are +3/8" and subject to change without no
ti
ce
• Speci
fi
ca
ti
ons & Con
fi
gura
ti
ons are subject to change without no
ti
ce
• Pls measure toilet on-site before installa
ti
on
• Please note that installer(s) must be cer
ti
fy or warranty will be voided.
• Measurements herein supersede all others published prior to
purblica
ti
on date shown below
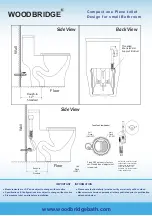
12"
Rough-in
Standard
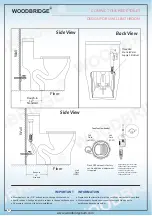
W
all
Floor
12"
Rough-in
Standard
Side View
Side View
Back View
W
all
Floor
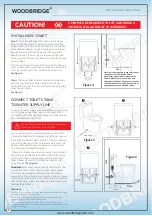
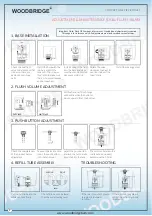
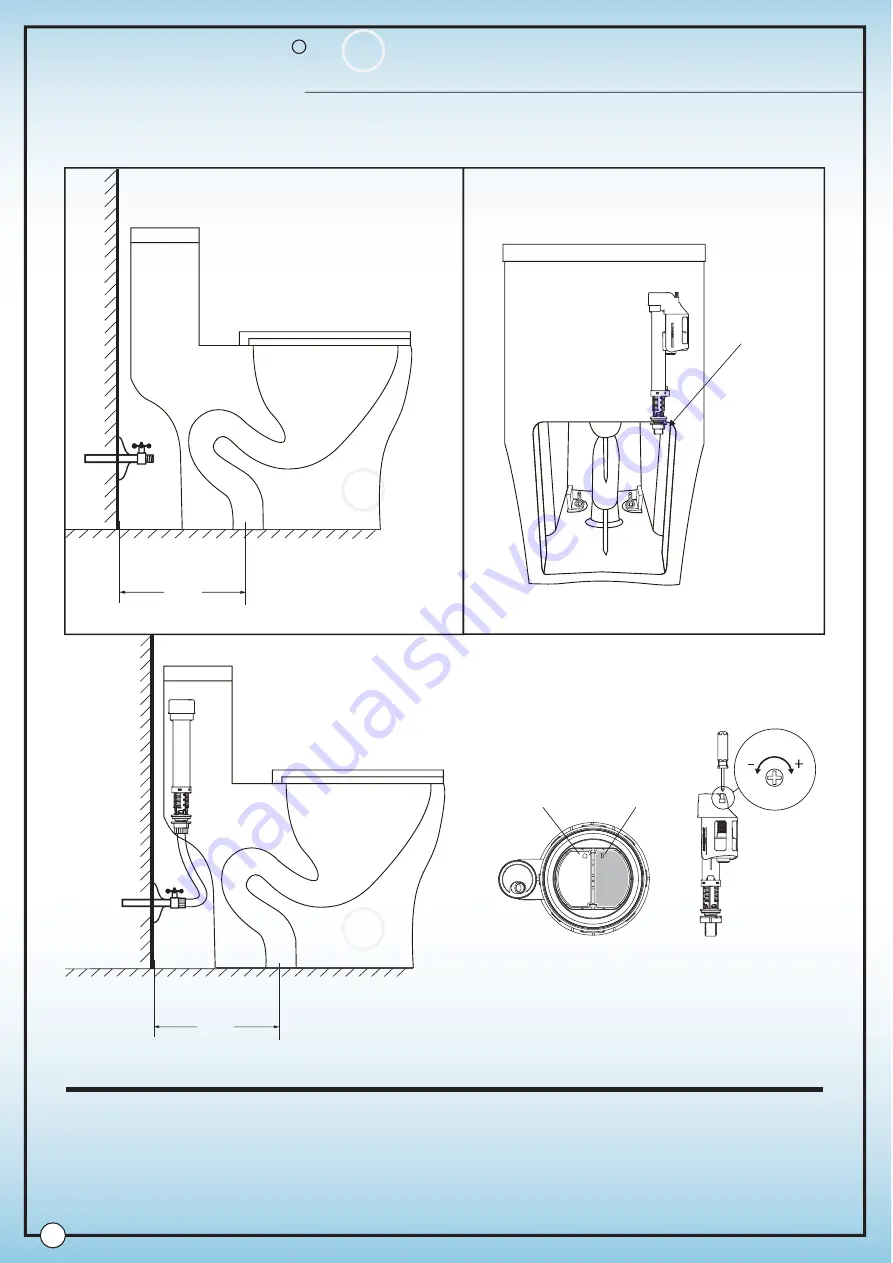
Flush GPF amount is factory
set. No addi
ti
onal adjustment
is required.
Tank Top View (Inside)
Half
Flush
(1GPF)
Adjust the water level in the
toilet's tank if neccessary by
rota
ti
ng the adjustment
screw to increase (+) or
decrease (-) a level of water
in the toilet's tank.
Full
Flush
(1.6GPF)
Half
Flush
(1GPF)
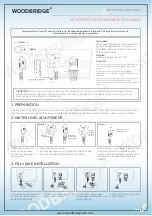
Threaded
Shunk (Water
Supply Fill Valve)
COMPACT ONE PIECE TOILET
DESIGN FOR SMALL BATHROOM


