Run
Run
Run
Run
Run
Rise
Rise
Rise
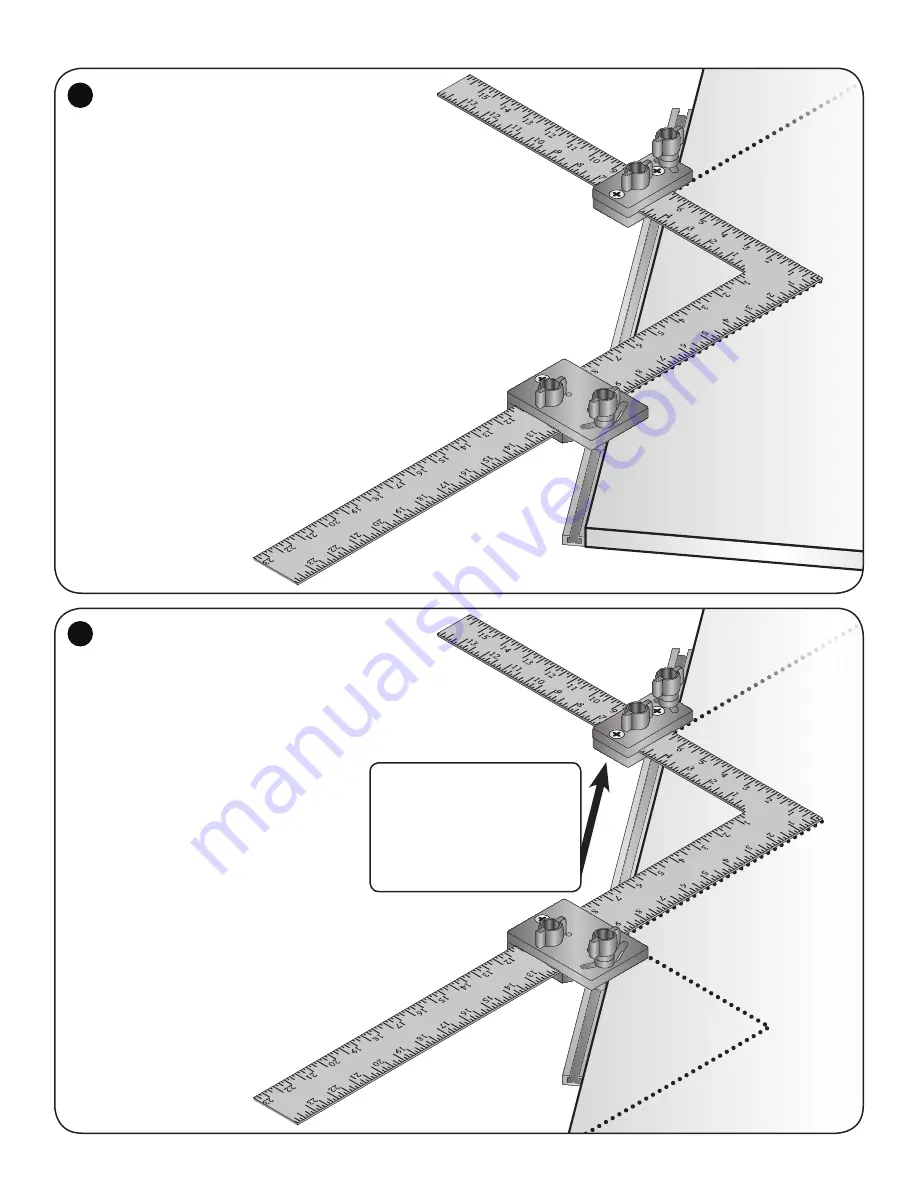
As you layout each RISE & RUN
along the framing square, mark a
portion of the adjacent RISE or RUN
using the top plate of the Deluxe Stair
Gauge. Next, slide the Deluxe Stair
Gauges/framing square along edge of
work to reposition for the next layout.
USING
The Deluxe Stair Gauge top plates overhang
the work at a right angle to the blade of the
square. These let you mark the adjacent
RUN
or
RISE
for a short distance
(1 to 1-1/4")
, which
allows for more accurate repositioning as you
slide the framing square/Deluxe Stair Gauges
along the work edge to the next position.
As you layout each
RISE & RUN
along
the framing square, mark a portion of the
adjacent
RISE or RUN
using the top plate of
the Deluxe Stair Gauge. Next slide the Deluxe
Stair Gauges/framing square along edge of work
to reposition for the next layout.
See fig. 4
USING ONE TRACK
The One Track is useful to span damaged
areas and when marking near the end of a board.
It also serves as a fence to help to make your stair
layouts more accurate. The One Track also helps to hold
the Two Deluxe Stair Gauges in position, preventing
them from getting bumped out of adjustment.
To attach the One Track to the two Deluxe Stair
Gauges, loosen each knob of the knob/bolt attached in
the slot near the top of each gauge. Slide the T-slot of
the 24" One Track
(4224)
on to the head of the each
bolt, leaving the knobs slightly loose for now.
Place the Framing Square/Deluxe Stair Gauges against
the edge of the work piece, making sure the bottom inside
corner of each Deluxe Stair gauge is resting against the edge
of the work. Position the One Track where desired along and
against the edge of the work as you hold the Deluxe Stair
Gauge corners against the edge of the work, then tighten
the two knobs to secure the One Track in place.
See fig. 3
3
4


