Setup & Operation
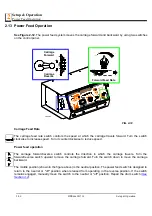
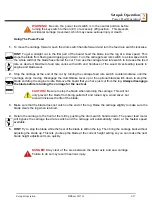
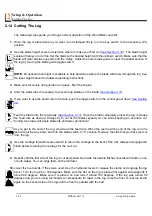
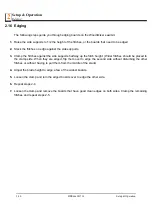
Hydraulic Control Operation
2
2-20
HDSdoc021716
Setup & Operation
1.
Move the clamp out and down so it will not get in the way of logs being loaded onto the bed.
Lower the clamp in/out lover to move the clamp out toward the loading side of the sawmill.
Lower the clamp up/down lever to lower the clamp below bed level.
2.
Raise the log loader lever to
extend the legs of the log loader out as far as they will go .
3.
The chain securing the log loading arm to the log turner arm will be tight. Raise the log turner lever to raise
the turner arm until there is slack in the chain.
4.
Unchain the loading arm from the turner arm.
5.
Manually lower the log loader so the legs rest on the ground.
CAUTION!
Be careful when manually lowering the log loader. Do not drop the
loader onto the ground.
6.
Lower the loader lever to lower the loading arm as far as it will go. Logs must be rolled onto the loading arm
one at a time for loading onto the bed of the mill.
7.
The front and rear toe boards should be below bed level. Once a tapered log has been loaded, the front or
rear end of the log may be lifted to parallel the heart of the log to the path of the blade.
The front toe board is raised by lifting the front toe board lever up. The rear toe board is raised by lifting the
rear toe board lever up. Once a flat has been made and the log is ready to be turned, push the appropriate
toe board lever down to lower either toe board until it falls below the level of the bed.
Use the power roller to move the log forward and backward.

