height, weather, log size, wood species and moisture
content. Some experimentation will initially be required
to
fi
nd that “sweet spot” where your stove performs best.
The following will give you a starting point to
find
your
optimum settings.
When
fi
rst loading fuel set the primary air inlet con-
trol (center) at the wide open (Pull out) position for at
least 15–20 minutes (the high burn duct control should
be closed – pulled out – when starting
fires)
. When the
stove is working properly you should be able to observe
secondary combustion
flames
above the fuel pieces in
front of the secondary air tubes at the top of the
fi
rebox.
These secondary
flames
should continue to burn after
the primary air inlet is reset from wide open to the de-
sired operating setting. If the
flames
do not continue to
burn, open the air control to re-establish the secondary
flames
then slowly reset the air control to the desired
setting. Initially it may take several attempts to
figure
your stove out. But once you
find
the operating “sweet
spot” and the correct mix of procedures to get there,
only minor adjustments will be necessary.
The best indicator of a properly operating stove is
to look for smoke coming out of the chimney. You may
see steam emissions that will quickly dissipate. Smoke
will thin but continue to drift without totally disappearing.
If you do detect smoke emissions, open the air control
a little bit, let the stove adjust for 10–15 minutes and
re-check your chimney. Remember – visible smoke
represents lost heat.
NOTICE - INITIAL BURNS TO CURE PAINT
BECAUSE OF THE HIGH OPERATING
TEMPERATURES, THIS STOVE USES
A SPECIAL HIGH-TEMP PAINT WHICH
REQUIRES A SERIES OF BURNS TO
CURE THE PAINT FOR DURABILITY AND
A LIFETIME OF SERVICE.
P r o p e r c u r i n g o f t h e h i g h - t e m p p a i n t
requires a series of three initial burns. The stove
should be allowed to cool off between each burn.
The first two burns should be small fires and low
temperatures (250°F/120°C) for a duration of
20 minutes each. The third fire should be at a
medium-high temperature (500 to 700°F/260 to 370°C)
for twenty minutes. Provide adequate cross ventilation
to clear any smoke or odor caused b
y initial fi
rings.
STARTING A FIRE
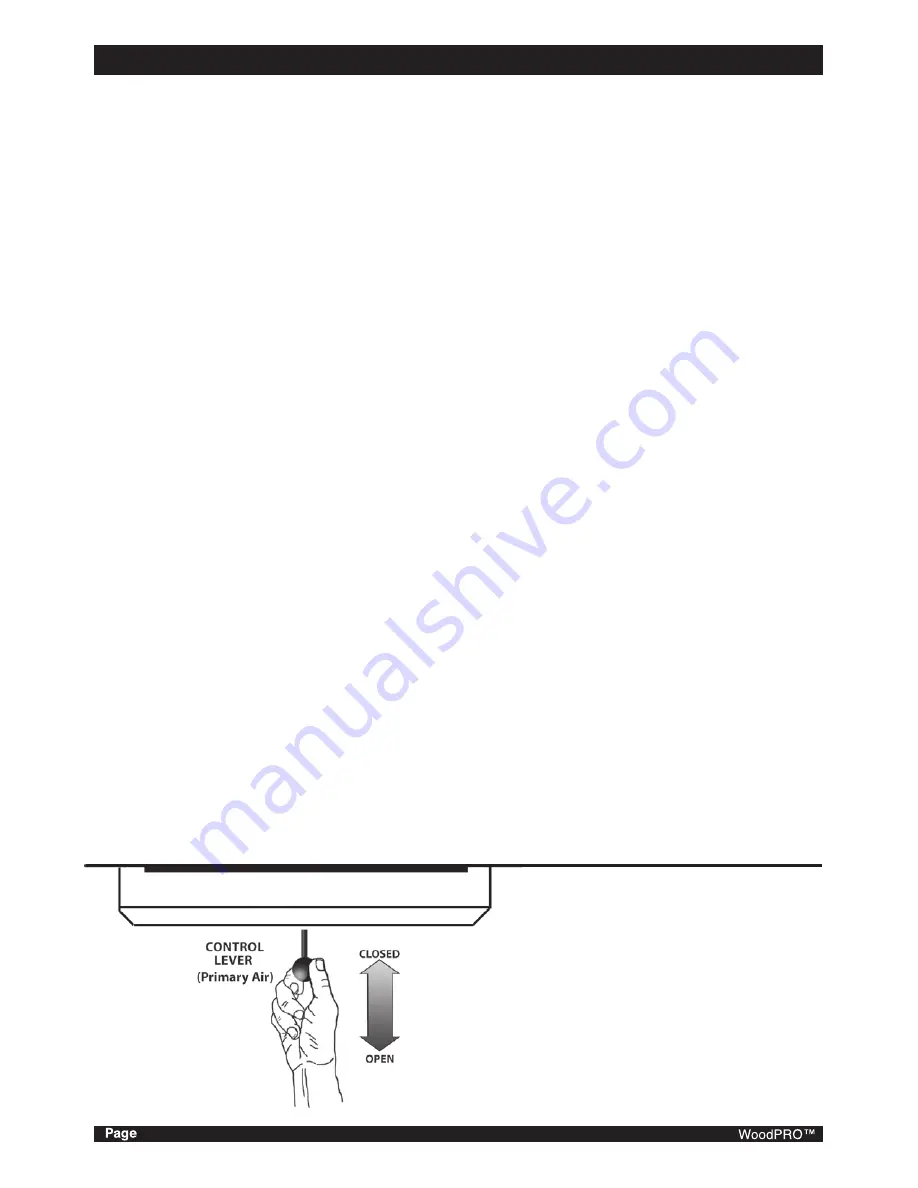
1. Set
Primary Air Inlet Control Lever
(round ball
control located under the center of the ash lip)
to thefully open position(pull control out towards
you).
NOTE: OPEN/HIGH=OUT; CLOSED/LOW=IN.
2. Open the feed door and place several wads of
cr
ushed paper in the fireb
ox.
3. Cover the paper with a generous amount of kindling
in a teepee fashion and a few small pieces of wood.
4. Ignite the paper and leave the door open slightly.
DO NOT LEAVE STOVE UNATTENDED WITH
DOOR OPEN! Except while tending the
fi
re,
operating the stove with the feed door open or
ash clean out cover removed may cause over
firing
resulting in unsafe operating conditions.
5. Add large pieces of wood as the
fire
progresses
being careful not to overload. (Do not
fill
fireb
ox
beyond
fireb
rick area.) An ideal coal bed of
1˝
–
2˝
(25mm - 50mm) should be established to achieve
optimum performance.
6. This unit is designed to function most effectively
when air is allowed to circulate to all areas of the
fireb
ox. TIP: If ash or coals remain in the stove,
continued on next page
make sure to clear them away from the Lower
Primary Air Or
ifice
(LPAO) and rake a slight
(1˝
–
2˝/25mm-50mm
wide) trough down the center of
the coal bed from front to back prior to loading the
fuel.
OPERATING INSTRUCTIONS
...continued
ASH LIP
18
Summary of Contents for WS-TS-1500
Page 6: ...6 Minimum Clearances for installation according to UL 1482 US ULC S627 CAN A ...
Page 7: ...7 Top A A Alcove ...
Page 8: ...philips BLOWER ATTACHMENT 8 4 places A GASKET ...
Page 9: ...9 WS TS 2500 23 8 6 ...
Page 10: ...10 6 ...
Page 20: ...20 ...
Page 21: ...21 ...
Page 23: ...23 BAFFLE REMOVAL ...
Page 24: ...24 BAFFLE REMOVAL ...
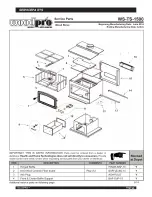
Page 25: ...SERVICE PARTS 25 ...
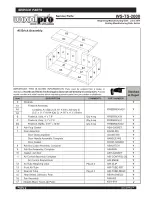
Page 26: ...SERVICE PARTS 26 ...
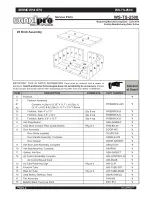
Page 27: ...SERVICE PARTS 27 ...
Page 28: ...SERVICE PARTS 28 ...
Page 29: ...SERVICE PARTS 29 ...
Page 30: ...SERVICE PARTS WS TS 2500 30 ...
Page 33: ...DATE OF SERVICE PERFORMED BY DESCRIPTION CHIMNEY STOVE MAINTENANCE LOG 33 ...
Page 35: ...Warranty 35 ...
Page 36: ...36 www woodprostoves com 2 ...


