30
WOODS
SPARK PLUGS
Remove each plug and check condition.
-
Good operating conditions are indicated if the plug has a light coating of grey or tan deposit.
-
A white blistered coating indicates overheating. A black coating indicates an “over rich” fuel mixture. Both
may be caused by a clogged air cleaner or improper carburetor adjustment.
-
Do not sandblast, wire brush or otherwise attempt to repair a plug in poor condition. Best results are
obtained with a new plug.
- Set plug gap as specified in engine manual..
MAINTENANCE
FUEL FILTER
An in-line fuel filter is located in the fuel supply line. Inspect at every oil change to make sure it is clean and
unobstructed. Replace if dirty.
ENGINE OIL
Do not perform engine maintenance without the
engine off, spark plug wires disconnected and PTO
disengaged.
AFTER FIRST FIVE (5) HOURS
While the engine is warm:
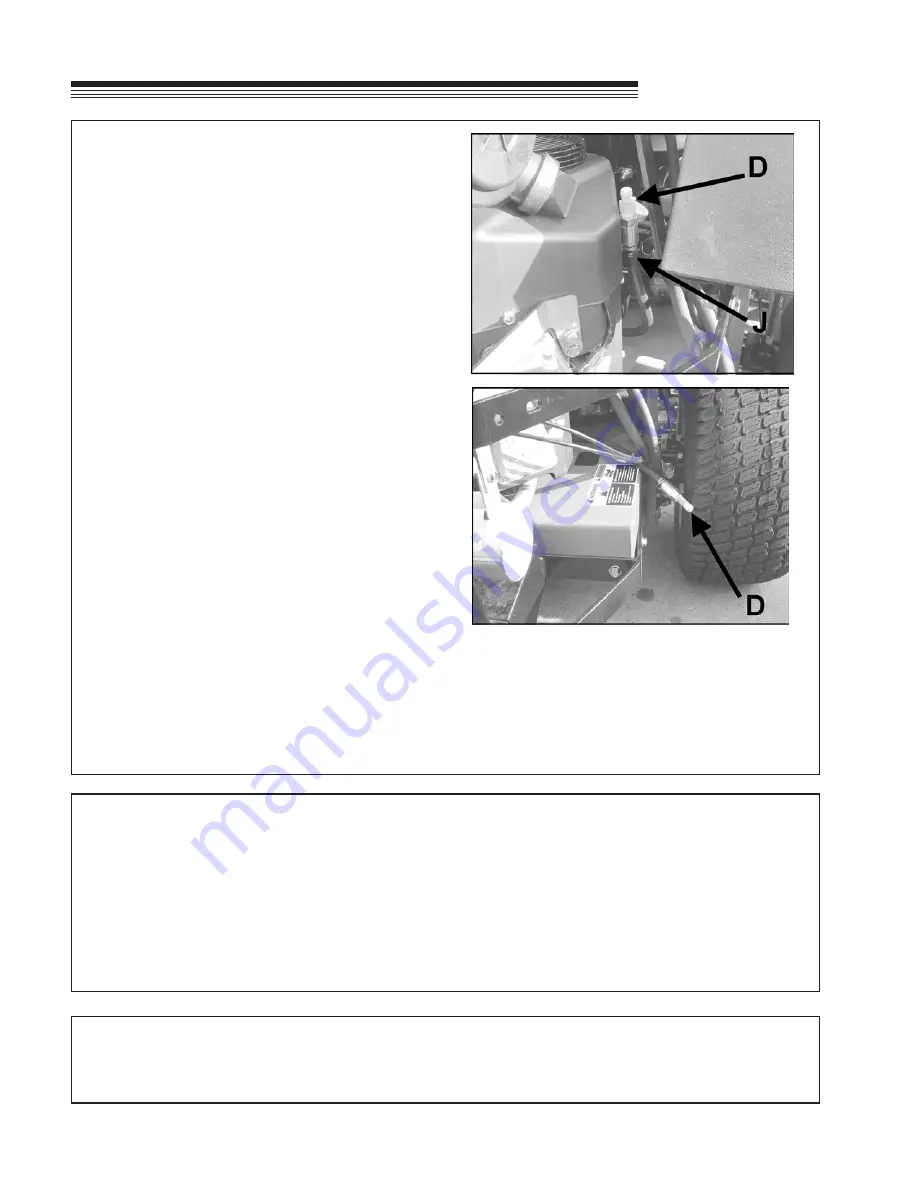
1. Release the oil drain hose assembly from the
engine clip
J
. Lay hose assembly over the frame
edge or through the frame cutout, which ever is
most convenient.
2. Remove the rubber cap
D
from the tip of the
hose assembly and turn the drain valve to allow
oil to drain from the engine. Dispose of used oil
in accordance with local requirements.
3. Clean drain valve and tighten the plastic portion
of the drain valve back into the metal portion of
the valve. Replace rubber cap over the tip of the
valve. Replace hose assembly back into engine
clip.
4. Change oil filter.
5. Fill the crankcase with fresh oil to the full mark.
Do not overfill. See engine manual for oil
specifications.
DAILY
1. Check oil level with the dipstick.
2. If oil is needed, add fresh oil of proper
viscosity and grade. See engine manual for oil
specifications. Do not overfill.
3. Replace dipstick before starting engine.
PERIODIC OIL CHANGES
1. See engine manual for oil and filter change inter
-
vals after the break-in period.
2. Follow instructions for first oil change, above.
Summary of Contents for 872311G
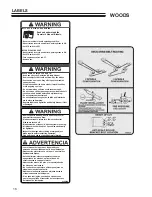
Page 15: ...15 WOODS LABELS...
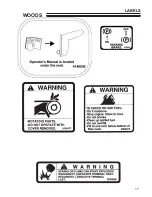
Page 17: ...17 WOODS LABELS...
Page 40: ......
Page 41: ...41 WOODS PARTS SECTION PARTS SECTION...
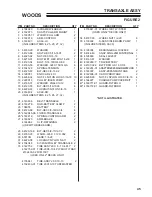
Page 44: ...44 WOODS 15 24 17 45 45 42 FIGURE 2 TRANSAXLE ASSY...
Page 52: ...52 WOODS FIGURE 6 CASTER ASSEMBLY...
Page 56: ...56 WOODS FIGURE 8 STEERING...
Page 58: ...58 WOODS FIGURE 9 PARKING BRAKE...
Page 66: ...66 WOODS FIGURE 13 BELTS CUTTERDECK...
Page 70: ...70 WOODS FIGURE 16 ACCESSORIES SUSPENSION SEAT 4 3 1 1 2 6 7 5...

