
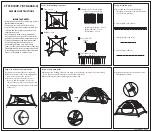

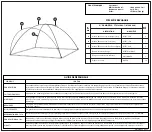
Step 1: Verify package contents
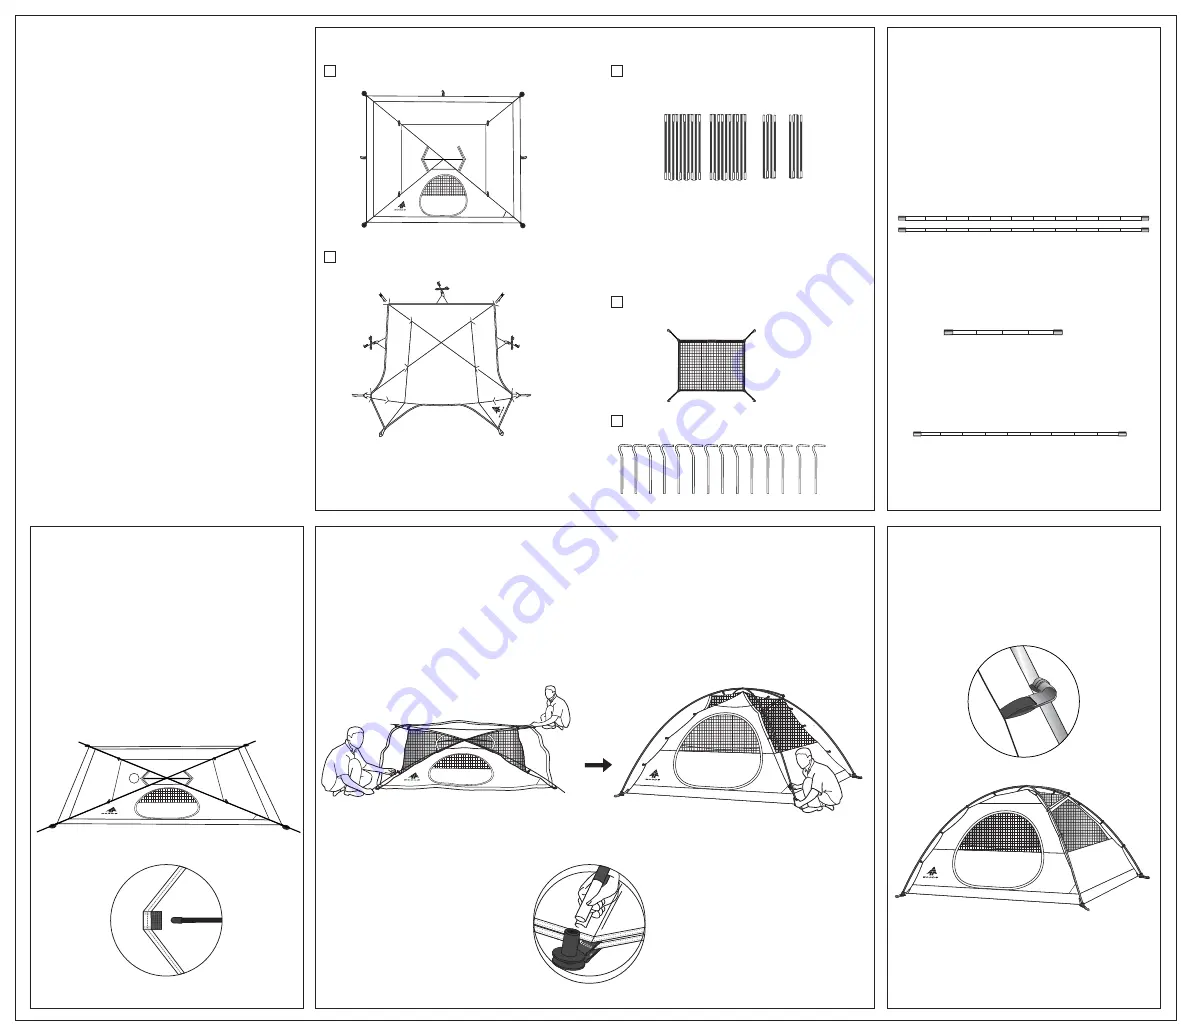
Step 3: Spread out tent, insert poles
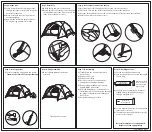
Step 4: Secure main poles
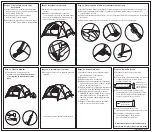
1) With a person holding each end of a main pole (A), flex the pole into an arch. Carefully
place the ends into the fast feet located at the stake loops.
2) Repeat this step for the remaining main tent pole (A).
Step 5: Fasten hooks
1) Clip the plastic hooks on the tent to the
fibreglass pole frame.
CTC181009-7(076-6068-4)
ASSEMBLY INSTRUCTIONS
CTC181009-7 06/17
Step 2: Assemble poles
1) Assemble the tent poles by placing
fibreglass sections into the metal ferrules.
Four poles are provided:
2 each (A) Main poles (Green)
1 each (C) Fly pole (Gray)
1 each (B) Roof pole (Green)
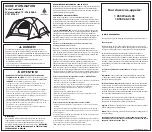
IMPORTANT NOTES:
* Assemble your tent before camping to become
familiar with the assembly.
* Two people are recommended for setup.
* Select a clean, level area for the campsite, free
of debris and sharp objects, away from any
natural watercourse.
* Use of a ground cloth is recommended to
prolong the life of the tent floor and provide
additional insulation and moisture protection.
* To prevent damage to the zippers, unzip the
doors and windows of the tent prior to
disassembly, allowing air to move freely.
* Seam-seal the inside stitched seams of the tent.
This will improve weather resistance. Available
in sporting goods departments. Discolouration
may occur if applied to outside seams.
1) Spread out the tent flat, floor side down.
2) Insert the main roof poles (A) through the
loop at the centre of the tent roof.
3) Insert shortest roof pole (B) over the
(A) poles and through the loop at the
centre of the tent. Place the pole ends into
the webbing pocket located on both sides
of the roof.
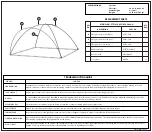
Gear Loft w/TP :
1 each
Tent : 1 each
Tent Stakes : 14 each
Rainfly : 1 each
Fibreglass Poles : 4 each (total)
( ) denotes colour coding
(A) Main pole (Green) - 2 each
(B) Roof (Green) - 1 each
(C) Fly (Gray) - 1 each
A
A
B
A
A


