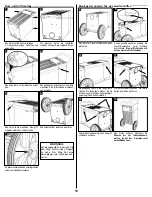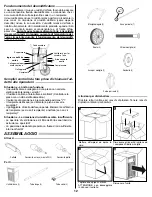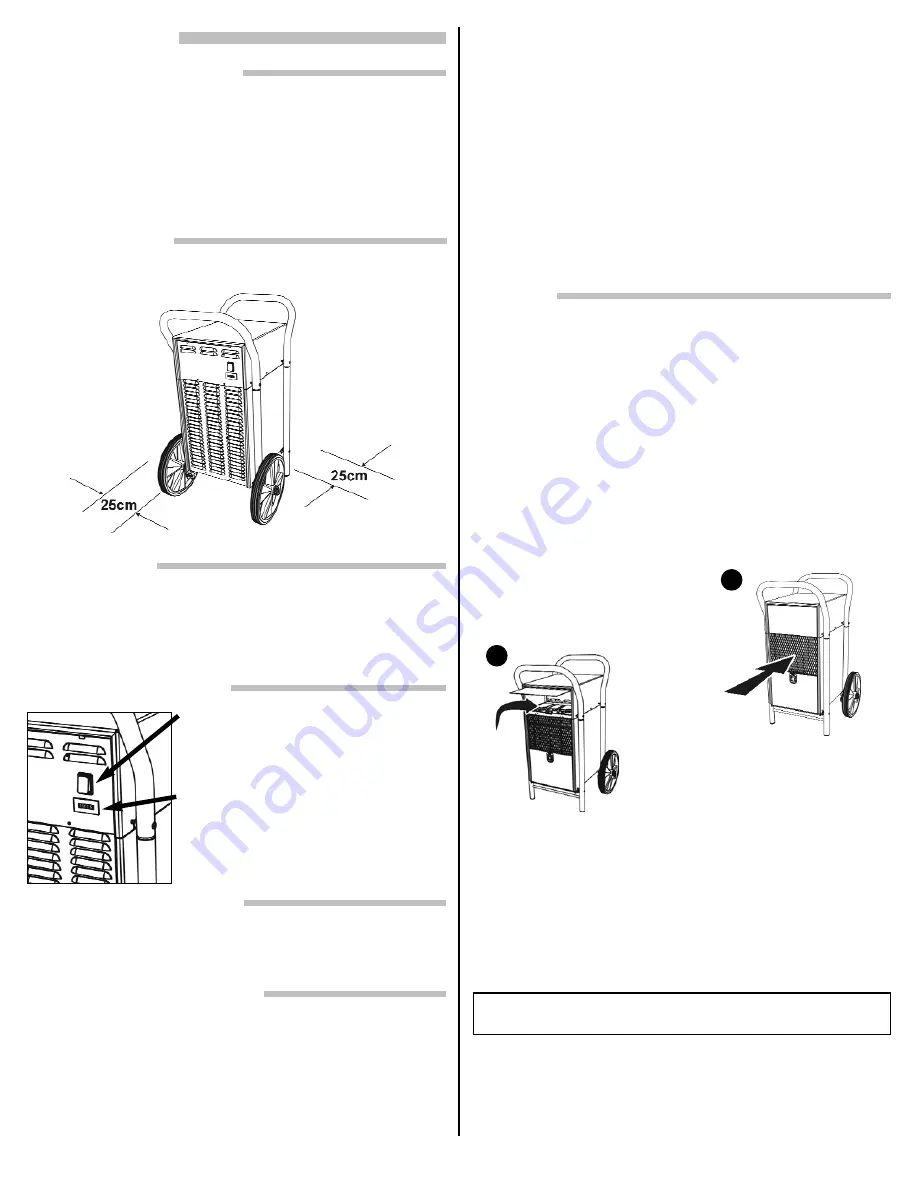
background image

2

OPERATION

Built in Electrical Safety

For your safety and protection this appliance is manufactured
with a grounded plug on its power cord. The power cord must
be plugged into a properly grounded receptacle. If a grounded
receptacle does not exist, have one installed by a certified elec-
trician. Do not cut or remove the grounding prong on the power
cord plug if equipped. We recommend that this electrical cir-
cuit/receptacle operate under a separate breaker or fuse.

Control Panel Settings

Removing Collected Water

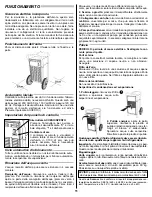
Location of Unit

Minimum 25cm distance from walls. Close all doors and win-
dows.

ON/OFF Switch

Depress the switch to start or stop the
dehumidifier. "O" for power off, "I" for
power on.

Hour Counter

The counter will accumulate and dis-
play the total running hours of the unit
in 1/100 of an hour. It can not be reset
to zero. No user input is required.

Initial Start-up

Check the rating plate for the appropriate power supply need-
ed by your unit. This will be one of the following : 230 Volt 50
Hz, 115 Volt 50 Hz or 120 Volt 60 Hz. Connect the dehumidifi-
er. Ensure that one of the water collection options is working
and active. Depress the ON switch.

Automatic Defrost Cycle

All units are equipped with an automatically activated (ther-
mostat controlled) Defrost cycle to automatically defrost the
evaporator coils.

Cleaning

1. Light cleaning:

Remove the air

filter and spray evaporator coil with
water.

2. Heavy cleaning:

Open upper door.

Remove plastic cleanout by pushing
the two locking tabs and lifting.  Spray
water at coils. Replace the cleanout.

1

2

A qualified refrigeration technician must service all refrig-
erant leaks.
Important - 

If power to the unit is disconnected or unit is turned

off, allow 3 minutes before restarting the dehumidifier. This
allows the internal pressures to equalize.

Storage:
Single unit: 

It is best to cover the unit if extended storage peri-

ods are contemplated. Remove all water in collection system.

Stacking Two Units: 

This dehumidifier can be stacked two high.

An assembled unit weighs 39 kgs. Position on a level surface.

This appliance complies with the suppression requirements of
EEC directive 76/889 + 82/499. Recommended limits of use:
Temperatures: 0 to 35°C, Relative humidity: 20 to 80%.

of the container. Remove the water container by gripping the
container with both hands, then sliding out of the water com-
partment.

Gravity Drain

: Place the dehumidifier directly over an existing

floor drain.

Hose Attachment

: On some models, a universal drain adapter

is included. This can be threaded to the bottom of the plastic
drip tray. Connect the hose to the drain adapter.

Condensate Pump

: Some of our models come already

equipped with an electrically powered Condensate pump. If
your model is not equipped with one, then a condensate pump
kit can be purchased seperately. The necessary internal electri-
cal connections already exist in every unit.

Exterior Parts

Use a mild, non-abrasive soap and clean water solution to
clean the painted metal cabinet, handles and wheels. Wipe dry.

Air Filter

Remove filter. Wash in a mild soap and water. Rinse with clean
water. Air dry before reinstalling. Torn or ripped filters should be
replaced with a new filter.

Fan Motor

Does not require lubrication.

Condenser and Evaporator Coils

The water collected from the air can be disposed in one of
four convenient ways:

Water container

: Remove and empty. See diagram. Start the   

removal of the water container by first opening the water com-
partment doors (depress the black spring loaded door latch
downward thus allowing the door to rotate down towards the
ground). Slide the water container out by grasping the top rim 

DANGER: Electrical shock hazard. Disconnect power
before cleaning.

WARNING:

Personal injury hazard. Use two individuals to lift.

Maximum stacking height: 2 units

Summary of Contents for WCD4FC

Page 1: ...sation 5 Bedienungsanleitung 8 Istruzioni di funzionamento 11 Instrucciones de uso 14 Bruksanvisning 17 Dehumidifier D shumidificateur Luftentfeuchter Deumidificatore Deshumidificador Avfuktare Printe...

Page 2: ...to equalize Storage Single unit It is best to cover the unit if extended storage peri ods are contemplated Remove all water in collection system Stacking Two Units This dehumidifier can be stacked two...

Page 3: ...it is not working Is the dehumidifier connected to a live and correct voltage electrical supply Is there a blown fuse or tripped circuit breaker Check the outlet with another appliance Is the Power Sw...

Page 4: ...13 Position unit on back Remove 4 shipping screws and discard Position unit with air filter up Install one long tube plastic bushing faces inward Insert one pointed screw Do not tighten Insert bent tu...

Page 5: ...met aux pressions internes de s galiser Entreposage Un seul appareil Il est pr f rable de couvrir l appareil si vous pr voyez de l entreposer pendant une p riode de temps pro long e Enlevez toute l ea...

Page 6: ...pri Y a t il un fusible grill ou un coupe circuit saut V rifiez le fonctionnement de la prise avec un autre appareil L interrupteur de mise en marche est il pouss en position I Le r servoir d eau s il...

Page 7: ...sur le dos Enlevez les quatre vis d exp dition et jetez les Placez l appareil avec le filtre air vers le haut Installez le tube long prenez note la bague en plastique fait face au caisson Ins rez une...

Page 8: ...feinanderstapeln von 2 Ger ten Von diesen Befeuchtern kann man zwei aufeinander stapeln Ein Ger t wiegt zusam mengebaut 39 kg Dieses Ger t entspricht den Entst rrichtlinien 76 889 82 499 der EWG Empfo...

Page 9: ...er t funktioniert nicht Ist der Entfeuchter an ein funktionierendes Stromnetz mit der rightigen Spannung angeschlossen Ist eine Sicherung durchgebrannt oder wurde ein Stromkreislaufunterbrecher aktivi...

Page 10: ...te der langen r hren einf hren Zwei griffschrauben eindrehen Alle griff schrauben anziehen Das Ger t aufrecht hinstellen 30 Minuten bis zur Inbetriebnahme warten damit das Kompressor l zur ckflie en k...

Page 11: ...ificatore Questo consente alle pressioni interne di bilanciarsi Magazzinaggio Unit singola se si contempla un lungo periodo di inattivit meglio coprire l unit Rimuovere tutta l acqua nel sistema di ra...

Page 12: ...ad una presa con corrente elettrica della tensione corretta Il fusibile saltato o l interruttore scattato Controllare la presa con un altro elettrodomestico Il pulsante di accensione premuto nella pos...

Page 13: ...Inserire il secondo tubo lungo Inserire due viti per maniglie Stringere tutte le viti per maniglie Mettere l unit all impiedi Aspettare 30 minuti prima di avviarla per consen tire all olio del compres...

Page 14: ...terna se equilibre Almacenaje Una sola unidad Es recomendable cubrir la unidad si se va a almacenar durante un tiempo prolongado Elimine el agua del sistema Almacenamiento de dos unidades Pueden almac...

Page 15: ...ificador est enchufado a una fuente de alimentaci n en funcionamiento y del voltaje adecuado Hay alg n fusible fundido o alg n diferencial desconectado Compruebe el enchufe con otro electrodom stico S...

Page 16: ...bo largo Atornille dos tornillos de asa Apriete todos los tornillos de asa Coloque la unidad en posici n vertical Espere 30 minutos antes de ponerla en funcionamiento para que el aceite del compresor...

Page 17: ...m s att interna tryck kan normaliseras F rvaring Enkel avfuktare B r vert ckas vid l ngre tids f rvaring Avl gsna allt vatten ur uppsamlingssystemet Stapling av tv avfuktare Tv av dessa avfuktare kan...

Page 18: ...vfuktaren ansluten till str mf rande ledning med korrekt sp nning Har det g tt en s kring eller har versp nningsskydd l st ut Pr va uttaget med annan elektrisk apparat St r str mst llaren i I l ge r v...

Page 19: ...bussningen v nder mot sk pet Skruvaienhandtagsskruvmendrainte t S tt in ett bockat r r i det l nga r ret Rotera det l nga r ret s att det inriktas med h ljets h l och skruva i en hand tagsskruv Dra in...

Page 20: ...mpteur Z hlwerk Compressor Overload Surcharge du compresseur Kompressor berlastung Schema elettrico Neutro N Nero B Marrone BR Blu BL Rosso R Grigio GR Bianco W Diagrama de cableado Neutral N Negro B...

Reviews: