-17-
Model W1687 (For Machines Mfg. Since 9/11)
SE
TU
P
15.
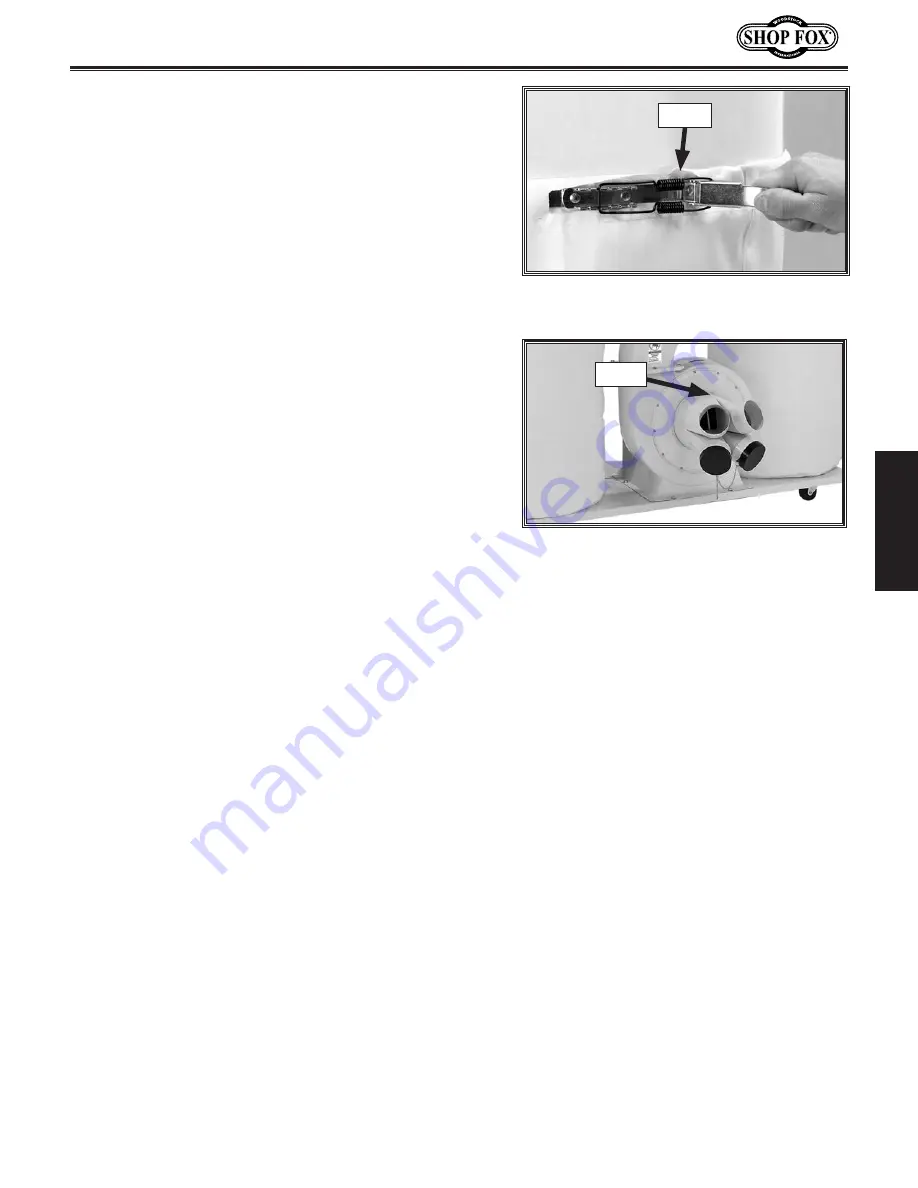
Fasten the upper and lower bags to the collector
using the quick-release clamps, as shown in
Figure.
18
.
Note:.
DO NOT force the clamp. If it will not close,
choose the next notch over, then clamp in place.
Clamp
Figure.18.
Securing lower collection bag.
16.
Insert the inlet over the impeller intake hole.
17.
Secure the inlet in place with the Phillips head screw
(see
Figure.19
).
Figure.19.
Inlet secured.
Power.Connection
After you have completed all previous setup instructions
and circuit requirements, the machine is ready to be
connected to the power supply.
To prevent accidental damage to the power cord, make
sure it is kept away from potential damage sources at
all times—whether connected or not. Potential damage
sources include high traffic areas, sharp objects, heat
sources, harsh chemicals, water, damp areas, etc. To
avoid unexpected startups or property damage, use the
following steps whenever connecting or disconnecting the
machine.
Connecting.Power
1.
Turn the machine power switch
OFF
.
2.
Insert the power cord plug into a matching power
supply receptacle. The machine is now connected to
the power source.
Disconnecting.Power
1.
Turn the machine power switch
OFF
.
2.
Grasp the molded plug and pull it completely out of
the receptacle. Do not pull by the cord as this may
damage the wires inside.
Screw


