-13-
Model W1834 (For Machines Mfd. Since 7/14)
SE
TU
P
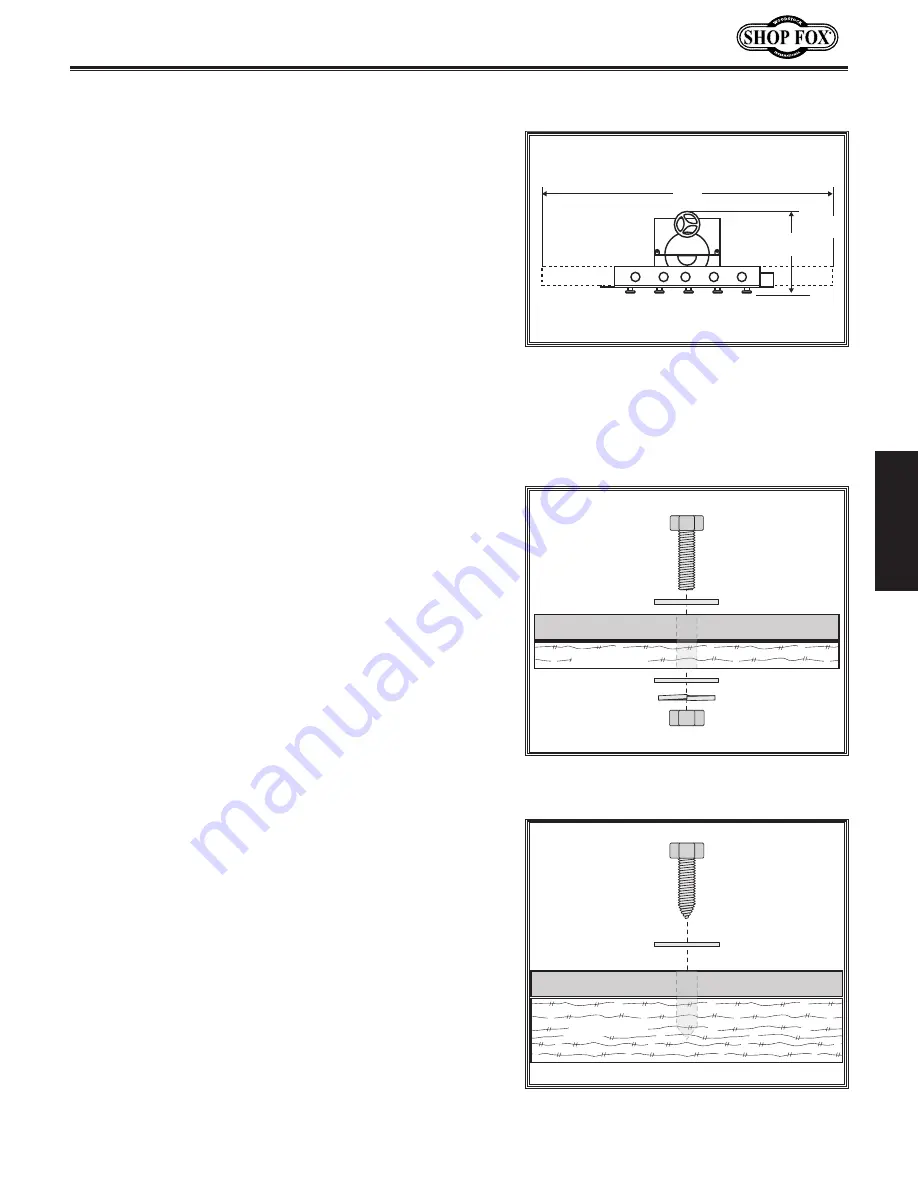
•. Working.Clearances:
Consider existing and
anticipated needs, size of material to be processed
through the machine, and space for auxiliary stands,
work tables, or other machinery when determining
where to locate this machine. See
Figure 4 for the
minimum working clearances
•. Lighting:
Lighting should be bright enough to
eliminate shadow and prevent eye strain.
•. Electrical:.
Electrical circuits must be dedicated or
large enough to handle amperage requirements.
Outlets must be located near each machine, so power
or extension cords are clear of high-traffic areas.
Follow local electrical codes for proper installation of
new lighting, outlets, or circuits.
Machine.Placement
The vibration and forces applied during operation could
cause the grinder to unexpectedly move and greatly
increase the risk of serious personal injury. You MUST
firmly mount your grinder to a stable and flat surface that
will not move during operation.
Note: The rubber feet provide vibration absorption for
the grinder. We recommend that you keep them on the
machine when you mount it to the workbench.
The strongest bench mounting option is a "Through
Mount" where holes are drilled all the way through the
workbench, and hex bolts, washers, and hex nuts are
used to secure the machine to the workbench
(see
Figure
5
).
Another option for mounting is a "Direct Mount" where the
machine is simply secured to the workbench with a lag
screw (see
Figure
6
).
Bench.Mounting
Machine Base
Workbench
Bolt
Flat Washer
Flat Washer
Lock Washer
Hex Nut
Figure.5.
Example of a "Through Mount"
setup.
Figure.6
. Example of a "Direct Mount"
setup.
Machine Base
Workbench
Lag Screw
Flat Washer
Mounting
44"
10"
12"
Figure
4
. Minimum working clearances.


