Operating the Lights
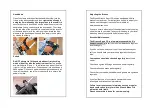
To operate the front light, press the button on the top of the
light, the options available are Off, On, Flashing.
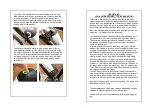
The rear light needs to be fitted to the seat post after the bike
is assembled. Call if you’re not sure how to do this.
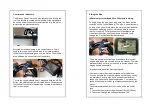
To operate the rear light, press the blue button on the rear of
the unit to cycle through the modes. The modes are: LEDs
blink in sequence, all LEDs flash, all LEDs On, all LEDs Off.
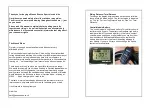
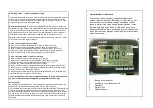
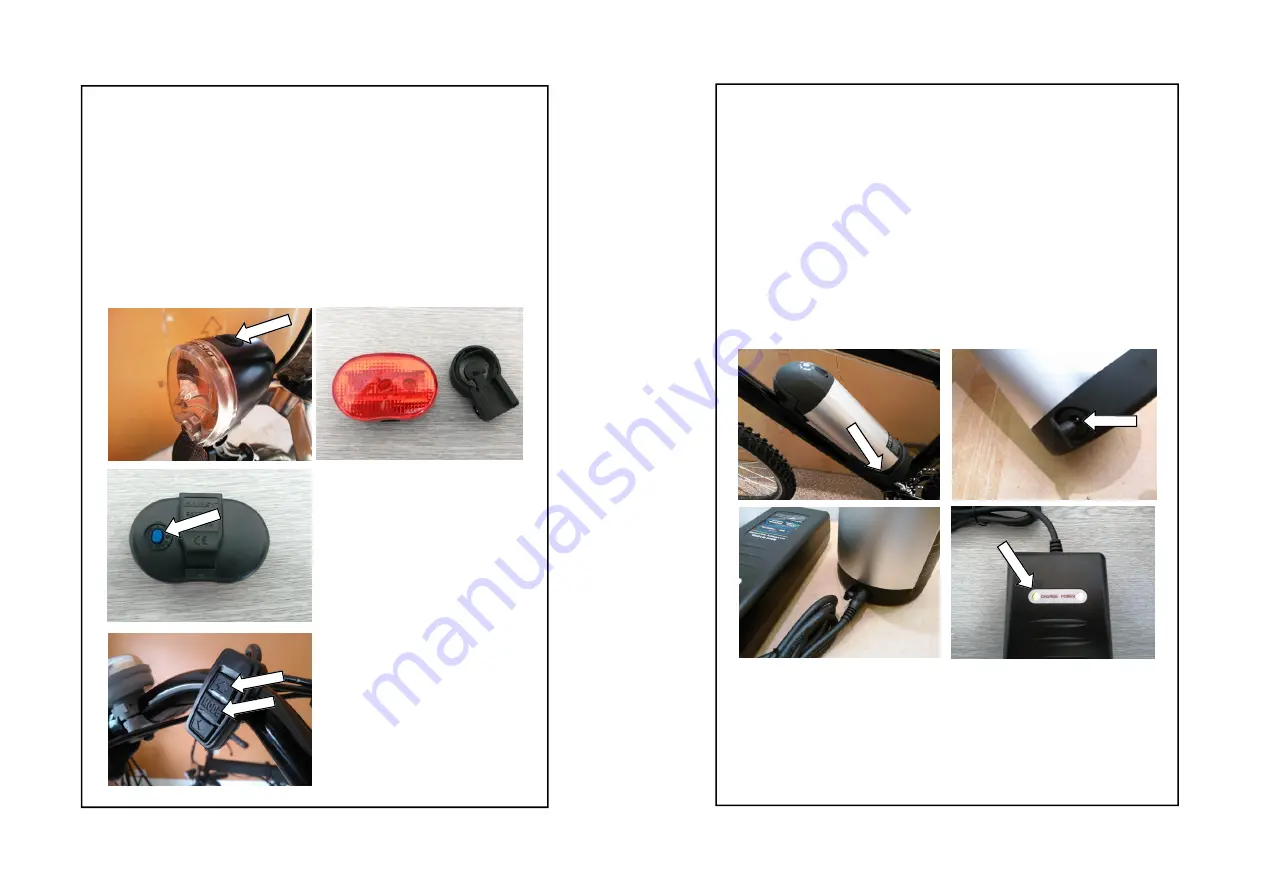
The display module also fea-
tures a back-light which can
be turned on/off as needed.
To switch this on press and
hold the “Mode and Up” but-
tons. Use the same buttons
to turn it off.
Charging the battery:
The battery leaves the factory only partially charged.
You
must fully charge the battery before use
. The battery can
be charged on the bike, or it can be removed and charged
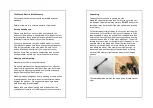
separately. The socket used to charge the battery is located
at the base of the battery as shown below. Lift the weather-
proof cap and attach the charger as shown. Ensure that the
charger is switched OFF at the mains before attaching it to
the bike.
Do NOT attempt to connect the charger to the bike when the
charger is already switched on.
The charge light on the charger will be red when charging,
and will change to green when charging is complete. After
the initial charge, you should regularly top up the battery
even when the bike is not in use i.e. during the winter. This
will help to keep the battery in the best possible condition.


