User manual
Hoof trimmingcrush:SA0035
Version: 24-09-14
Page 17 of 29
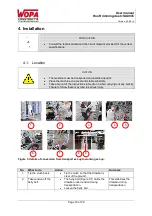
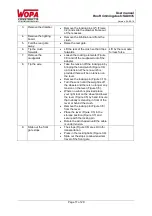
3. Remove the drawbar.
Remove the locking pins (2*) (Figure
3:2) and slide the drawbar frame out
of the recesses.
4. Remove the lighting
board.
Remove the lighting board from the
crush.
5. Fold the rear gate
away.
Raise the rear gate.
6. Tip the crush
forwards.
Lift the rear of the crush so that it tips
forwards.
Lift by the rear gate
for less force.
7. Remove the
mudguards
Loosen the locking elements (Figure
3:3) and lift the mudguard out of the
adapter.
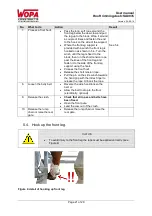
8. Tip the axle.
Take the tension off the locking pin by
bringing the hand winch (Figure 3:4)
up to tension. Where no winch is
provided there will be no tension on
the lever.
Remove the locking pin (Figure 3:10).
Turn the winch until the weight is off
the wheels and there is no longer any
tension on the lever (Figure 3:5).
Where no winch is provided place
your right foot on the wheel and lower
the lever (Figure 3:5) by hand. Ensure
that nobody is standing in front of the
lever or behind the crush.
Remove the locking pin (Figure 3:6)
from the lever.
Place the lever (Figure 3:5) in the
storage position (Figure 3:7) and
secure with the locking pin.
Rotate the winch again until the cable
is under tension.
9. Slide out the front
gate stops.
The stops (Figure 3:8) are slid in for
transportation.
Press in the locking balls (Figure 3:9).
Slide out the stops to allow maximal
travel of the front gate.

