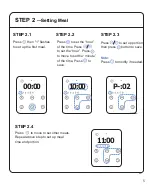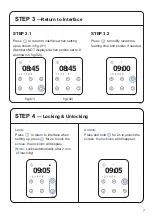
INSTRUCTION MANUAL:
4
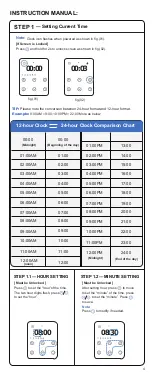
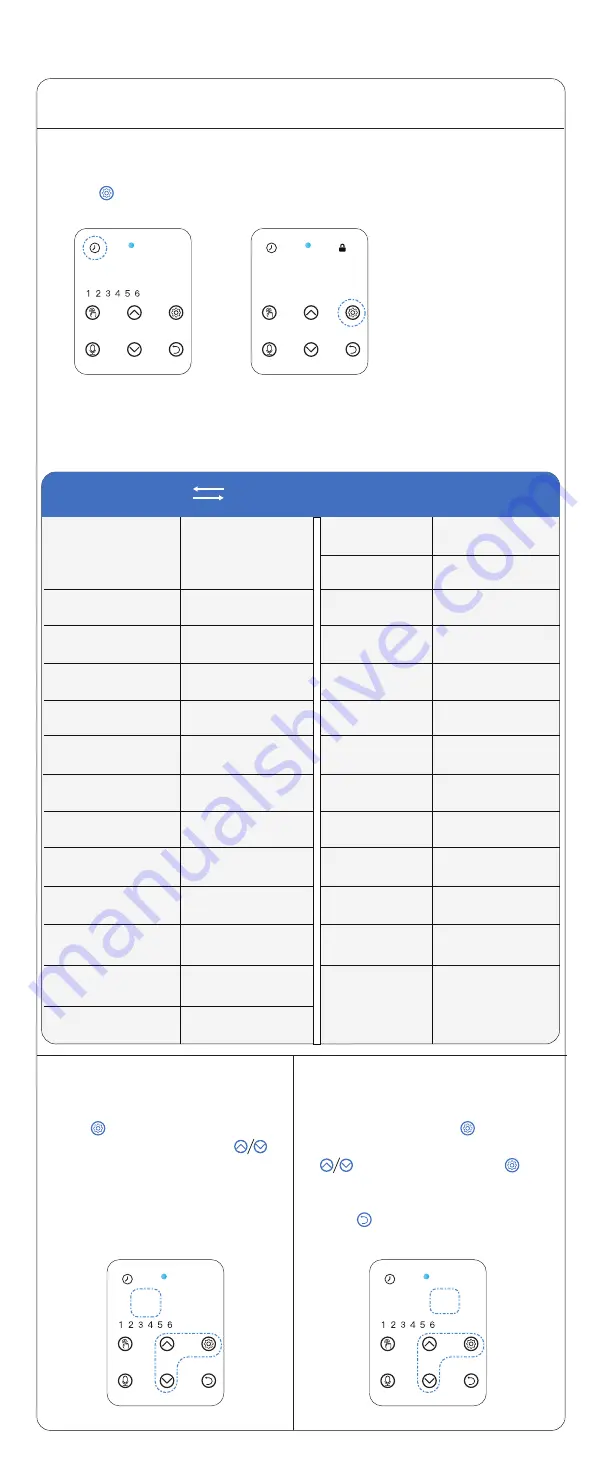
Clock icon flashes when powered as shown in fig.(01).
[If Screen is Locked]
Press and hold for 2s to unlock screen as shown in fig.(02).
STEP 1
— Setting Current Time
Note:
00:00
00:03
fig.(01)
fig.(02)
Example:
9:00AM = 9:00; 10:00PM = 22:00 More as below:
12-hour Clock 24-hour Clock Comparison Chart
00:00
(Midnight)
(Midnight)
(noon)
(End of the day)
00:00
(Beginning of the day)
01:00AM
02:00AM
03:00AM
04:00AM
05:00AM
06:00AM
07:00AM
08:00AM
09:00AM
10:00AM
11:00AM
12:00AM
01:00
01:00PM
02:00PM
03:00PM
04:00PM
05:00PM
06:00PM
07:00PM
08:00PM
09:00PM
10:00PM
11:00PM
12:00PM
13:00
02:00
14:00
03:00
15:00
04:00
16:00
05:00
17:00
06:00
18:00
07:00
19:00
08:00
20:00
09:00
21:00
10:00
22:00
11:00
23:00
12:00
24:00
TIP:
Please note the conversion between 24-hour format and 12-hour format.
After setting hour, press to move
to set the “minute” of the time. press
to set the “minute”
.
Press
to save.
[ Must be Unlocked ]
Press to set the “hour”of the time.
The two hour digits flash, press
to set the “hour”.
STEP 1.1— HOUR SETTING
Note:
Press to modify if needed.
08:00
[ Must be Unlocked ]
STEP 1.2— MINUTE SETTING
08:30


