Commissioning
33
Worcester Commercial Boiler Series – 6720814332 (2019/04)
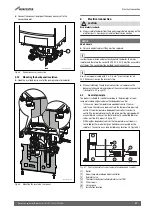
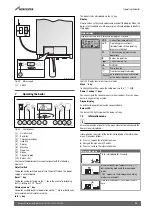
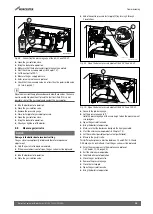
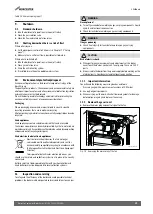
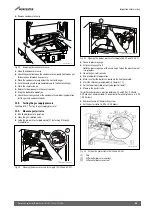
Fig. 62 Display in chimney sweep mode
7.4
„Fault history“ menu
This menu shows the last 3 interlocking fault displays in the form of fault
codes.
▶ Hold down
L
for 5 seconds to open the “Fault history” menu.
Press
M
or
N
to display the last 3 fault messages. The fault displays are
chronologically identified with “Log1” to “Log3”. For further details on
the meaning of fault codes see chapter 12).
▶ Press
L
to exit the “Fault history” menu and return to the home
screen.
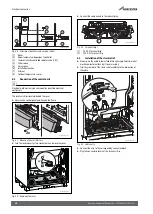
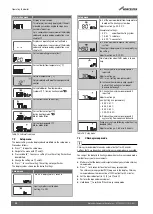
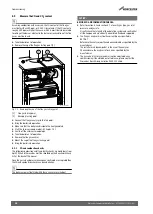
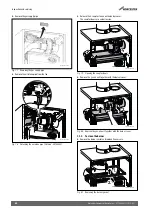
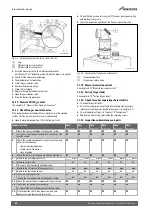
Fig. 63 Fault history
7.5
Key lock
The setup menu can be locked to prevent the settings from being
changed by unauthorised personnel. Proceed as follows:
Activation
▶ Press the
M
and
N
keys simultaneously for 5 seconds. The word
“Lock” is displayed for 5 seconds. The information menu remains
readable.
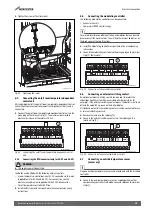
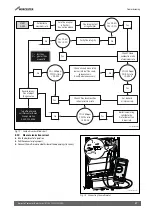
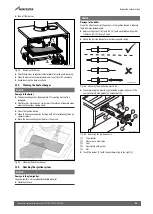
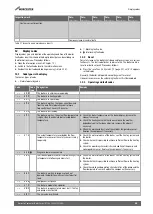
Fig. 64 Display - Lock
Disable
▶ Press the
M
and
N
keys again simultaneously for 5 seconds to
remove the key block; the word “Lock” disappears.
8
Commissioning
WARNING:
Gas explosion.
▶ Check for gas tightness after carrying out work on gas-carrying
components.
▶ The Benchmark Checklist (
page 50) must be completed for all
50-V2 and 65-V2 installations.
▶ Complete the commissioning report for type 85-V2 and 100-V2
installations during the commissioning procedure
(
Chapter 8.15, page 38).
8.1
Filling the heating system
NOTICE:
Boiler damage.
▶ Take the water quality into account when filling the heating system
(
Chapter 3.2).
The target charge pressure of the heating system depends (among other
things) on the:
• location of the boiler
• opening pressure of the safety valve
• inlet pressure of the expansion vessel
▶ Take the above points (factors) into account when filling the heating
system.
During initial commissioning, the boiler is brought into operation as soon
as the operating pressure exceeds 0.8 bar. If the pressure drops to
below 0.2 bar, the boiler will not subsequently go into operation.
▶ Open all radiator valves.
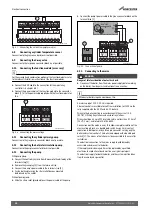
▶ Unscrew the cap of the automatic air vent valve (
Chapter 2.11,
figure 4) on the top of the heat exchanger on the left.
▶ Open the hydraulic isolation valves (
Chapter 2.11, figure 4).
▶ Fill the heating system via a WRAS approved filling method.
▶ Fill the heating system to a minimum pressure of 3 bar and close the
filling valve.
▶ Bleed radiators.
▶ Fill the heating system again to a minimum pressure of 3 bar.
▶ Turn on the earthed electrical supply.
▶ Open gas isolation valve.
8.2
Purging the gas line
▶ Purge air from the gas supply pipe work in a safe appropriate manner.
▶ Ensure adequate ventilation during the purge and that other persons
nearby are briefed that a gas purge is in operation.
▶ Bring the boiler into operation.
8.3
Inspecting the flue system
WARNING:
flue gas poisoning.
▶ Check for leaks before working on gas-carrying components.
▶ Check whether the boiler is connected to a flue system as specified in
the flue pipe documentation provided.
0010020133-001
3
2
1
0010020134-001
10011620-001

