Recommendations for Optimal Handling of
the Battery
●
Ensure the switch is in the off position before inserting
battery pack.
Inserting the battery pack into machines that
have the switch on can cause accidents.
●
Use only WORCRAFT battery packs intended
specifically for the machine.
Use of any other battery packs
may create a risk of injury and fire.
●
Do not open the battery.
Danger of short-circuiting.
Protect
the battery against heat, e. g., against continuous intense
sunlight, fire, water, and moisture.
Danger of explosion.
●
In case of damage and improper use of the battery,
vapours may be emitted. Ventilate the area and seek
medical help in case of complaints.
The vapours can irritate
the respiratory system.
●
Use the battery only in conjunction with your
product.
This measure alone protects the battery against
dangerous overload.
●
The battery can be damaged by pointed objects
such as nails or screwdrivers or by force applied
externally.
An internal short circuit can occur and the
battery can burn, smoke, explode or overheat.
●
Do not short-circuit the battery.
There is danger of
explosion.
●
Protect the battery against moisture and water.
●
Store the battery only within a temperature range
between
–20 °C and 50 °C. As an example, do not leave
the battery in the car in summer.
●
Occasionally clean the venting slots of the battery using
a soft, clean and dry brush.
ASSEMBLY & DISASSEMBLY (fig 2, fig 3 and fig4)
Before any work on the machine itself, let the battery
pack on unassembly status.
Assemble the spray gun head
Align the head and body, then rotate the machine body
clockwise. After the SDS lock knob locked, it is means secured
assembled already. See fig.2.
Disassemble the spray gun head
Slide the SDS lock knob and then rotate the machine body anti-
clockwise, then pull out.
Mounting the spray material tank
Screw the spray material tank onto the spray head and
fasten it claockwise.see fig 3.
Mounting and disassemble the battery pack
Sliding the battery pack along the slot on the bottom of the
handle, when heard a click noise, it means the battery
pack already securely assembled. see fig.4.
To disassemble the battery pack, press down the locking
knob on the battery pack and pull it backward.
OPERATION
Preparing for Operation
Spraying on the sides of water bodies (lakes, rivers,
etc.) or neighbouring surfaces in the direct catchment area
is not permitted.
When purchasing paint, varnish and spray material, pay
attention to their environmental compatibility.
Preparing the Spray Surface
Note:
Cover off the vicinity of the spray surface thoroughly and
generously.
The spray mist contaminates the environment. When spraying
in enclosures, surfaces not covered can become contaminated.
The spray surface must be clean, dry and grease-free.
– Roughen smooth surfaces and then remove the sanding dust.
Suitable spray materials and recommended diluting agents
●
When diluting, pay attention that the spray material and
the diluting agent correspond.
When using a faulty diluting
agent, lumps can develop that can lead to clogging of the spray
gun.
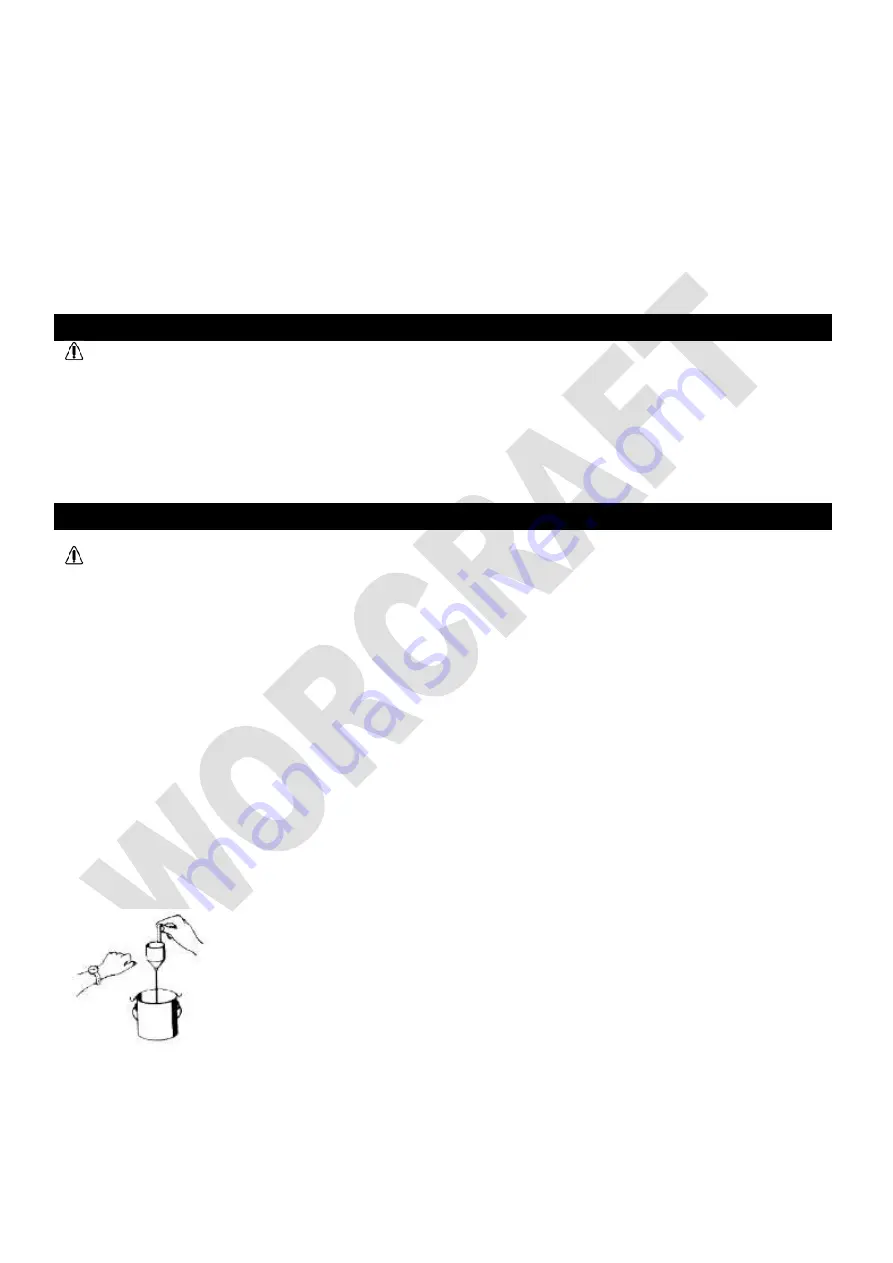
Determine the viscosity of spray materials
This spray gun used for max viscosity of spray material is 40
DIN. So you need to determine the material viscosity by DIN
cup. If viscosity is too high, it need to dilute the material at first.
To determin the DIN value, do the steps as belows:
1. Begin with material and cup at room temperature.
2. Submerge the cup into the material.(alternately you may
cover the drain hole with your finger and fill the cup with the
material).
3. Quickly raise the cup (or remove your finger) and begin
timing.
4. Stop timing when the steady stream first breaks at
about 1 or 2 inches below the drain hole.
Filling the spray material
–
Unscrew the spray material tank from the spray gun.
–
Fill the spray material into the tank and screw the tank
firmly to the spray gun.
Starting Operation
Switching On
To save energy, only switch the fine-spray system on
when you are using it.
– Mounting the battery pack on the machine.
– Grasp the power tool and point it at the spray surface.
The power tool is equipped with a two-step trigger switch
9.
The first step starts the turbine. The second step
transports the spraying material.
– Pull the trigger switch 9
until spraying material starts to
come out.
Switching Off
– Release the trigger switch 9.
Adjusting the Spraying Capacity (see figure 5)
–
To adjust the requested spraying capacity, turn the
thumbwheel 8:
–
: Min. spraying capacity,
+: Max. spraying capacity.
Working Advice
Spraying (see figures 6
–7)
Note: Observe the wind direction when operating the
power tool outdoors.
–
Firstly, carry out a test-spray run and adjust the spray
Summary of Contents for CSG-S20Li
Page 2: ......
Page 3: ......
Page 4: ......
Page 16: ......
Page 28: ......
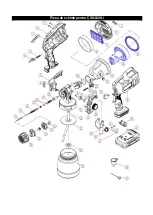
Page 46: ...Piese de schimb pentru CSG S20Li...
Page 48: ......
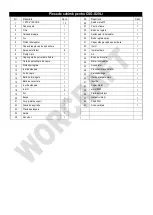
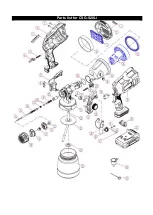
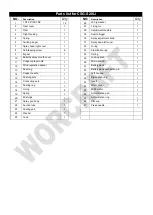
Page 61: ...Parts list for CSG S20Li...

