4
Never allow more than one rider on the scooter.
Never ride the scooter in damp or rainy weather. Wet surfaces may increase braking distance.
Never tow other vehicles or children on skates or skateboards behind the scooter.
Do not ride at night or in lowered visibility conditions.
Always wear shoes when riding this scooter. Do not wear open shoes.
Give pedestrians the right-of-way. Don't ride too close to pedestrians.
Avoid hazards which may hinder your ability to control your scooter. Potholes, ruts, uneven
pavement, storm grating, gravel, curbs, leaves, puddles and debris can all have an effect on
your riding and result in a loss of control.
Do not ride off road or on rough pavement.
Keep both hands on the handlebars at all times.
Do not wear anything that might restrict your hearing.
CAUTION:
Brake gently to avoid skidding or sudden stops. Skidding may cause excessive wear and
damage to the scooter
’s wheels.
ASSEMBLY INSTRUCTIONS
WARNING:
The assembly must be carried out by an adult.
Remove the scooter from the box and make sure no parts are missing or damaged. (The tires come
inflated with air but may lose some air during shipping. Make sure they are inflated to 35PSI.)
Wheel Assembly
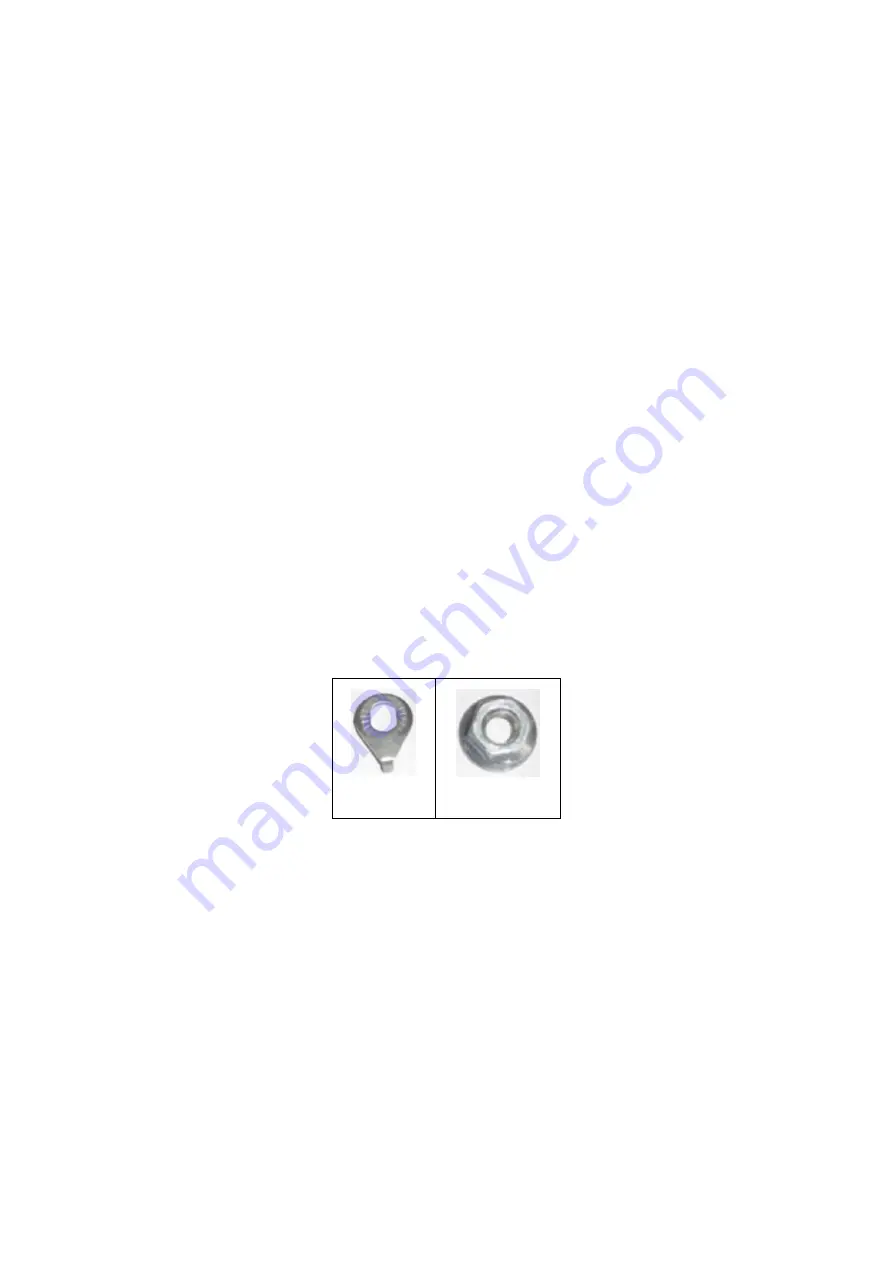
Install wheels with axles pushed fully into the axle slots. Make sure to install tab washers (a) so that
the tab is inserted into the round hole in the frame.
(a)
(b)
This washer (a) should be on the outside of the frame, between the frame and axle nut (b). Make sure
the wheels are centered, then tighten the axle nuts (b) firmly with a wrench.
NOTE:
Front and rear wheels are installed the same way. The back wheel may come pre-installed.
During wheel installation make sure the top edge of the brake pad is parallel with the top edge of the
rim of the wheel.
Insert the wheel into the axle slots. Install the tab washer first (a) and then install the axle nut (b).
Tighten with a wrench.


