18
Parallel stop
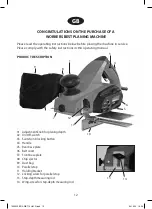
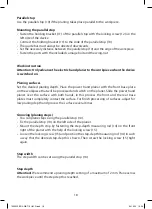
Use the parallel stop (10) if the planing takes place parallel to the workpiece.
Mounting the parallel stop
• Fasten the holding bracket (11) of the parallel stop with the locking screw (12) on the
left side of the device.
• Connect the holding bracket (11) to the slide of the parallel stop (10).
• The guide bar must always be directed downwards.
• Set the necessary distance between the parallel stop (10) and the edge of the workpiece.
• Fasten the parts with the included carriage bolt and the wing-nut.
Work instruction
Attention: Only advance the electric hand planer to the workpiece when the device
is switched on.
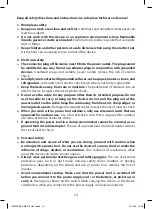
Planing surfaces
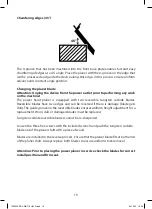
Set the desired planing depth. Place the power hand planer with the front base plate
on the workpiece that will be processed and switch on the planer. Slide the power hand
planer over the surface with both hands, in this process the front and the rear base
plates must completely contact the surface. For finish processing of surfaces, adjust for
low planing depth and process the surface several times.
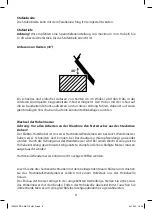
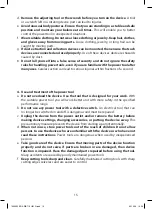
Grooving (planing steps)
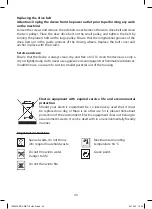
• You can plane steps using the parallel stop (10).
• Fix the parallel stop (10) on the left side of the planer
• Mount the depth stop by fastening the step-depth measuring rod (14) on the front
right of the planer with the help of the locking screw (15).
• Loosen the locking screw (15) and position the step-depth measuring rod (14) in such
a way that the desired step-depth is shown. Then screw the locking screw (15) tight
again.
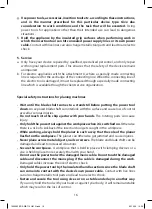
Step width
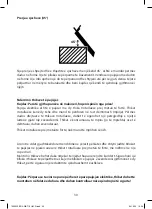
The step width can be set using the parallel stop (10).
Step depth
Attention! We recommend a planing depth setting of a maximum of 2 mm. Plane across
the workpiece until the step depth is reached.
1255602 BDA WB 710 HM N.indd 18
1255602 BDA WB 710 HM N.indd 18
02.10.20 10:26
02.10.20 10:26

