background image

Page 1

THANK YOU FOR PURCHASE. IF YOU HAVE ANY QUESTIONS

PERTAINING TO THE ASSEMBLY OF THIS FURNITURE PIECE, PLEASE CONTACT

THE NEAREST COST PLUS WORLD MARKET STORE.

IF YOU ARE NOT NEAR A STORE, PLEASE CALL OUR CUSTOMER SERVICE CALL

 CENTER TOLL FREE AT 877-967-5362 FOR ASSISTANCE.

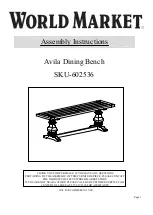
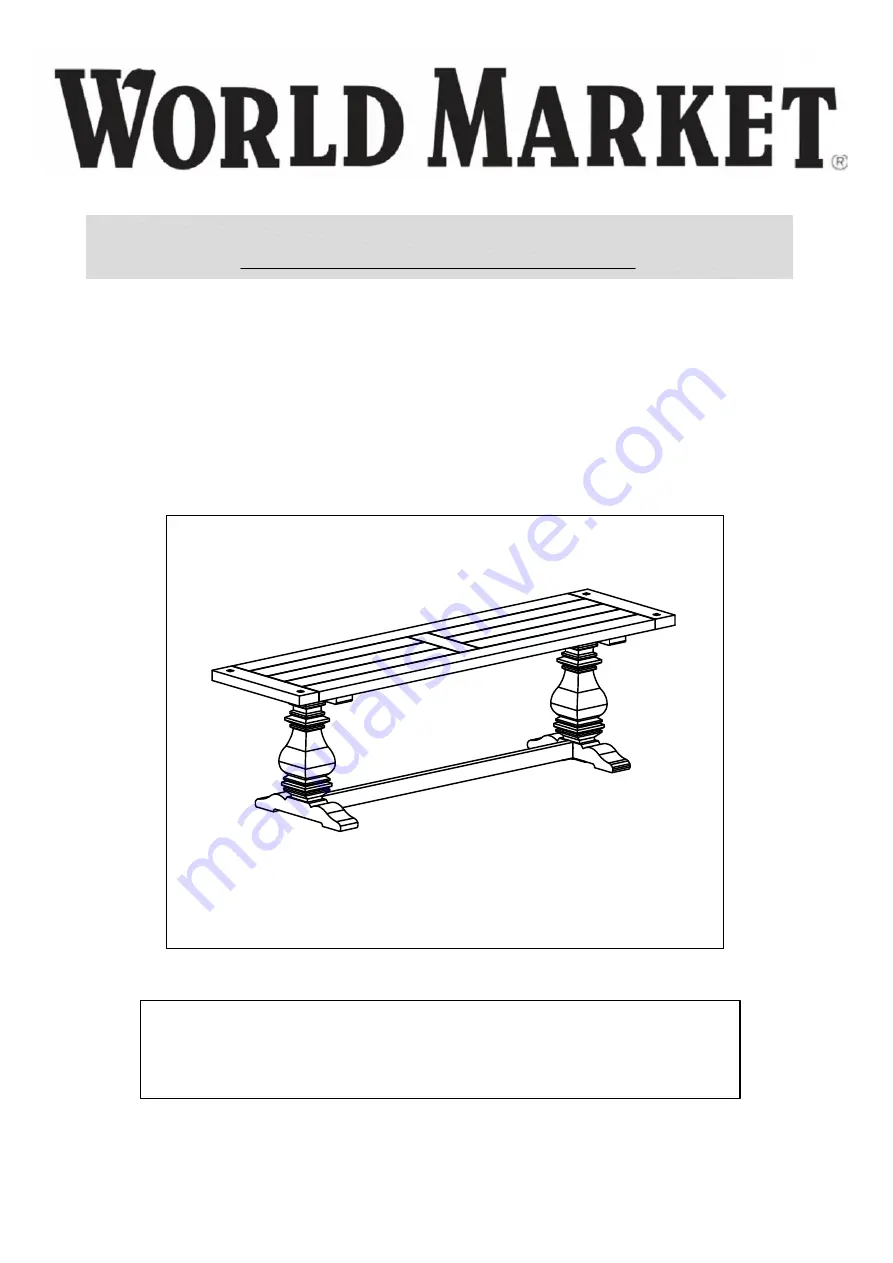
Avila Dining Bench

SKU-602536

Assembly Instructions

NOT FOR COMMERCIAL USE.

Summary of Contents for Avila 602536

Page 1: ...SSEMBLY OF THIS FURNITURE PIECE PLEASE CONTACT THE NEAREST COST PLUS WORLD MARKET STORE IF YOU ARE NOT NEAR A STORE PLEASE CALL OUR CUSTOMER SERVICE CALL CENTER TOLL FREE AT 877 967 5362 FOR ASSISTANCE Avila Dining Bench SKU 602536 Assembly Instructions NOT FOR COMMERCIAL USE ...

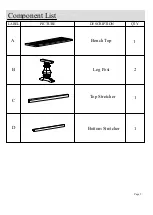
Page 2: ...Page 2 Component List LABEL PICTURE A Bench Top 1 B C Leg Post 2 D Top Stretcher 1 1 Bottom Stretcher DESCRIPTION QTY ...

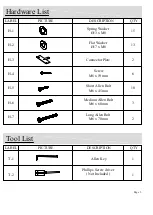
Page 3: ...17 x M8 Short Allen Bolt M6 x 45mm Allen Key 15 1 Hardware List Tool List LABEL PICTURE DESCRIPTION QTY H 2 H 3 13 2 H 4 6 H 5 10 T 2 1 H 6 Medium Allen Bolt M6 x 60mm Connector Plate Page 3 Long Allen Bolt M6 x 70mm H 7 Screw M6 x 19 mm Phillips Screw driver Not Included 3 2 ...

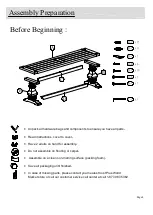
Page 4: ...s cover to cover Have 2 adults on hand for assembly Do not assemble on flooring or carpet Assemble on a clean non marring surface packing foam Save all packaging until finished In case of missing parts please contact your nearest Cost Plus World Market store or call our customer service call center at call 1 877 967 5362 T 1 x 15 x 13 x 2 x 6 x 10 x 3 x 2 x 1 C B ...

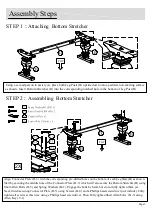
Page 5: ...d hole in the bottom of Leg Post B Align Connector Plate H 3 with the corresponding pre drilled holes on the bottom of each Leg Base B as shown Start by securing the middle hole of the Connector Plate H 3 which will also secure the Bottom Stretcher D using Short Allen Bolts H 5 and Spring Washers H 1 Engage the bolts by hand but do not fully tighten them yet Next finish securing Connector Plate H ...

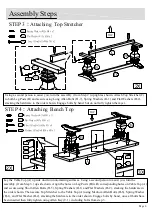
Page 6: ...hardware in the order shown Engage bolts by hand but do not fully tighten them yet TOP H 1 H 2 H 5 T 1 T 1 H 6 H 1 H 2 B B A 2X 3X Lay the Table Top A up side down on non marring surfaces Using a second person to assist you turn the assembly from Step 3 up side down Align the holes on Leg Posts B with corresponding holes on Table Top A and secure using Short Allen Bolts H 5 Spring Washers H 1 and ...

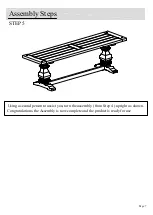
Page 7: ...Page 7 Assembly Steps STEP 5 Using a second person to assist you turn the assembly from Step 4 upright as shown Congratulations the Assembly is now complete and the product is ready for use ...

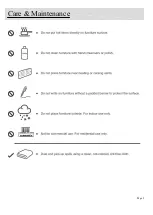
Page 8: ...Page 8 Care Maintenance ...

Reviews: