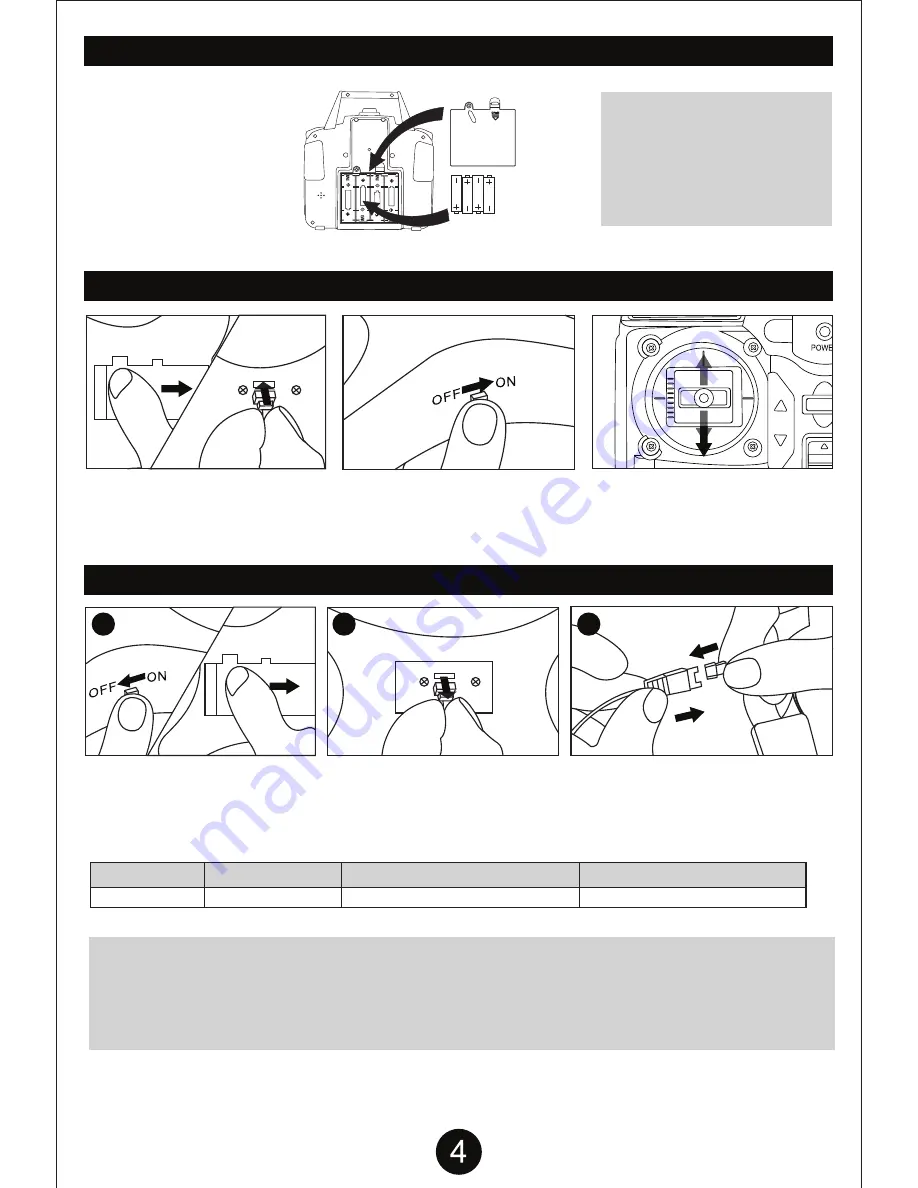
Battery Cover
4 AA Batteries
(Not included.)
First remove the screw on the
battery cover and remove the
battery cover itself. Then
install 4 AA batteries. Make
sure they are installed with the
correct polarity. Replace the
battery cover and screw in
place.
CAUTION:
1. Make sure the polarity of the
batteries are correctly installed.
2. Do not mix old and new
batteries.
3. Do not mix different types
of batteries.
INSTALLING TRANSMITTER BATTERY
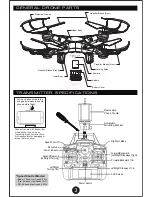
INSTALLING DRONE BATTERY
Battery Type
Battery Specification
Usage Duration
Charge Time
BATTERY PACK SPECIFICATIONS
CAUTION WHILE CHARGING:
Do not charge with batteries still installed. Do not charge battery unsupervised. Do not immediately charge after
use. Do not overcharge battery.
Ideal charge time is 90-100 minutes.
Overcharging can cause a catastrophic
failure. Always charge on dry and ventilated areas away from any heat source or flammable materials. Always
use the original USB charging cable provided. Promptly change and replace old or defective batteries.
Li-Po Battery
3.7V 500mAh
Flight Duration 5.5 - 6.5 minutes
Charging Time 90 -100 minutes
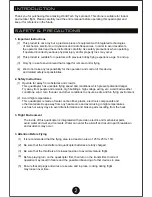
CHARGING DRONE BATTERY
Switch off the power and slide
open the battery cover.
1
Pull out the battery cable from the
drone’s power port and remove the
battery before charging..
2
Plug charging cable into a powered USB
port. Connect battery cable to USB
charger cable. Charge for approximately
90 minutes.
3
Push the left throttle joystick all the
way forward and then pull it all the
way back. A clear
(Beep)
will indicate
that your drone is now ready to fly!
With the power switched to OFF,
slide open the battery cover and
insert battery into the battery bay.
Close battery cover and switch the
drone power to ON.




![Navig[8]r NAV-RCDRONE15 User Manual preview](http://thumbs.mh-extra.com/thumbs/navig-8-r/nav-rcdrone15/nav-rcdrone15_user-manual_3573005-01.webp)


