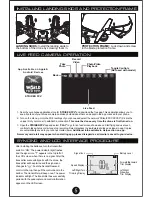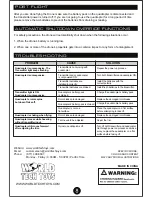
1. Search your phones application store for “
STRIKER FPV
” and download the free app. This application allows you to
see a live feed of your drones camera and take photos/videos that can be kept in the app or saved to your phone.
2. Turn on the drone, go into the Wi-Fi settings of your phone and select the network “StrikerFPV-XXXXXX” (X’s are the
unique ID of your drone) to establish a connection.
This must be done every time the drone is first turned on.
3. Open the
STRIKER FPV
app and select “
PLAY
” to go to live feed screen shown above. Start flying and use touch
controls to take photos or start and stop recording. Select playback to view/delete photos and videos in app. Copies
are automatically saved to your phones media viewer.
Additional info available in Help section on app.
A memory card alert may appear when starting app, please disregard as all media is saved to your device.
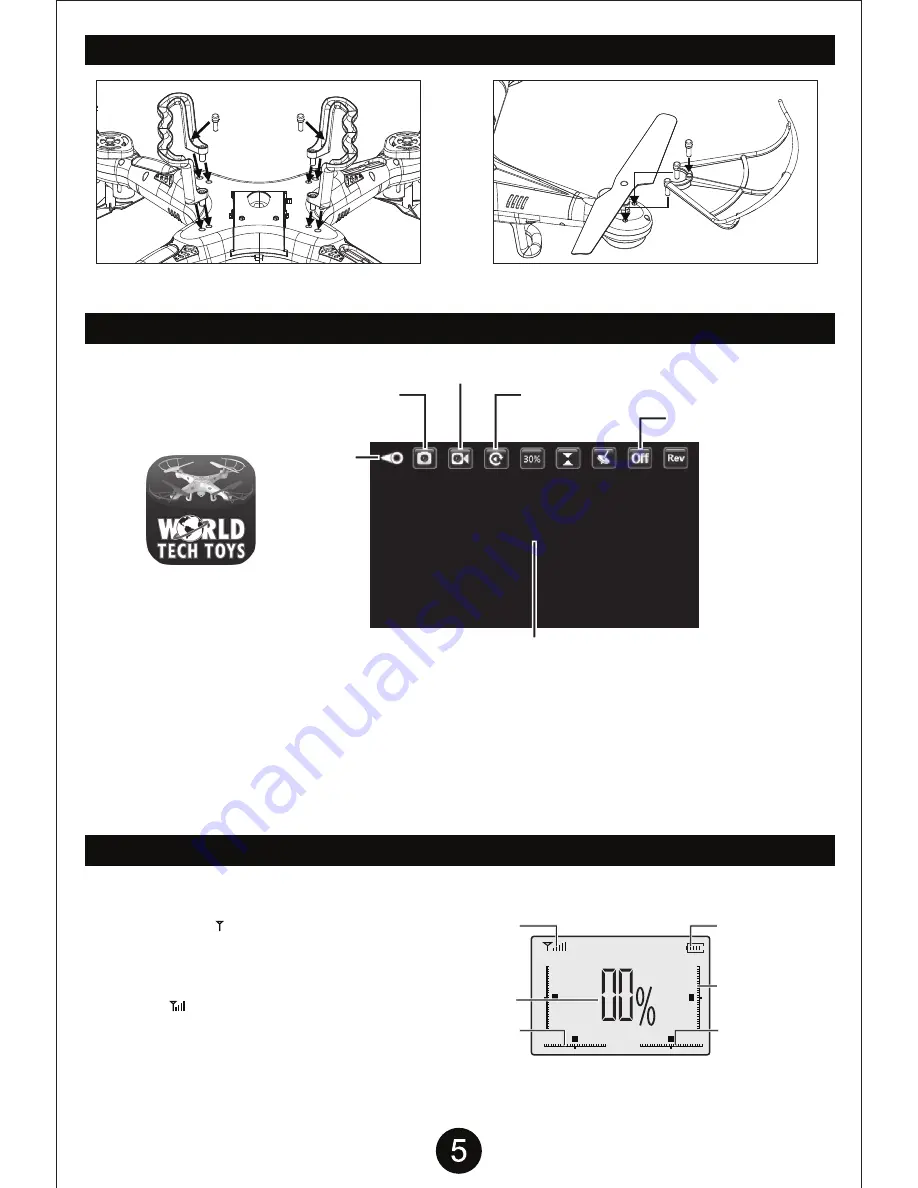
SYNCING AND LCD INTERFACE PROCEDURE
LIVE FEED CAMERA OPERATION
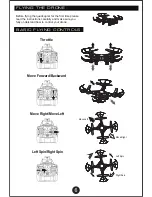
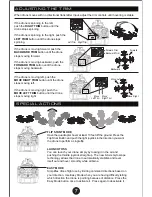
INSTALLING LANDING SKIDS AND PROTECTION FRAME
Signal Icon
Speed Display
Left/Right Turn
Trimming Display
Battery Level
Forward/Backward
Trim Display
Left/Right
Sideways
Trim Display
After installing the batteries, turn the transmitter
switch to “ON.” The power indicator light flashes
and the signal icon “ ” appears in the top left of
the LCD screen, when there is no signal. After the
transmitter successfully pairs with the drone, the
transmitter will beep twice and the signal icon
changes to “ ”. Push the Ascend/Descend
control to the top, then pull the control back to the
bottom. The transmitter will beep once. The power
indicator will light. The transmitter has successfully
paired with the quadcopter and control information
appears on the LED screen.
LANDING SKIDS:
Install the landing skids to
the bottom of the drone by screwing them in.
PROTECTION FRAME:
Lock down and screw
in the blade protection frame.
STRIKER FPV
Take
Photo
Photo/Video
Playback
Back
Toggle Controls
(Not used with model)
Record
Video
Live Feed
App Available on Apple &
Android Devices


