11
10
11
10
Cordless li-ion hedge trimmer
EN
oPErATING INsTrUCTIoNs
warning! do not use the product
without attaching the guard and
front handle.
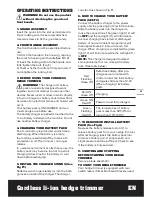
1. guard aSSemBly
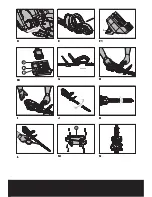
Insert the guard into the slot as illustrated in
Fig A; making sure it is securely attached.
Use two screws to fix the guard securely.
2. Front handle aSSemBly
The front handle must be assembled before
use:
1) Attach the handle to the housing, aligning
the mark to housing and handle(See B,C,D)
2) Insert the locking bolt into the handle and
fully tighten the bolt. (Fig e )
3) Check whether handle is firmly secured, if
not retighten the locking bolt.
3. BeFore uSing your cordleSS
hedge trimmer
warning!
The charger and battery
pack are specially designed to work
together so do not attempt to use any other
devices. Never insert or allow metallic objects
into your charger or battery pack connections
because of an electrical failure and hazard will
occur.
Your battery pack is UNChARGeD and you
must charge once before use.
The battery charger supplied is matched to the
Li-ion battery installed in the machine. Do not
use another battery charger.
4. charging your Battery pack
The Li-ion battery is protected against deep
discharging. When the battery is empty,
the machine is switched off by means of a
protective circuit: The trimmer r no longer
rotates.
In a warm environment or after heavy use, the
battery pack may become too hot to permit
charging. Allow time for the battery to cool
down before recharging.
5. inStall the charger StandS (See
Fig F1)
Slide the two charger stands (a) into the both
grooves on back of the charger. The charger
can stand as shown in Fig.F1.
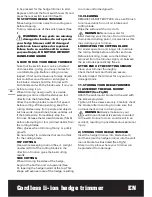
6. how to charge your Battery
pack (See F2)
Connect the battery charger to the power
supply and the green light (12) will illuminate.
Slide the battery pack into the charger to
make the connections. The green light (12) will
be
oFF
and the red light (11) will illuminate
to show charging has started. A discharged
battery at normal ambient temperature will
take approximately 0.5 hour to reach full
charge. When charging is completed the green
light (12) will illuminate while the red light (11)
is
oFF
.
note:
This charger is designed to detect
some problems that can arise with battery
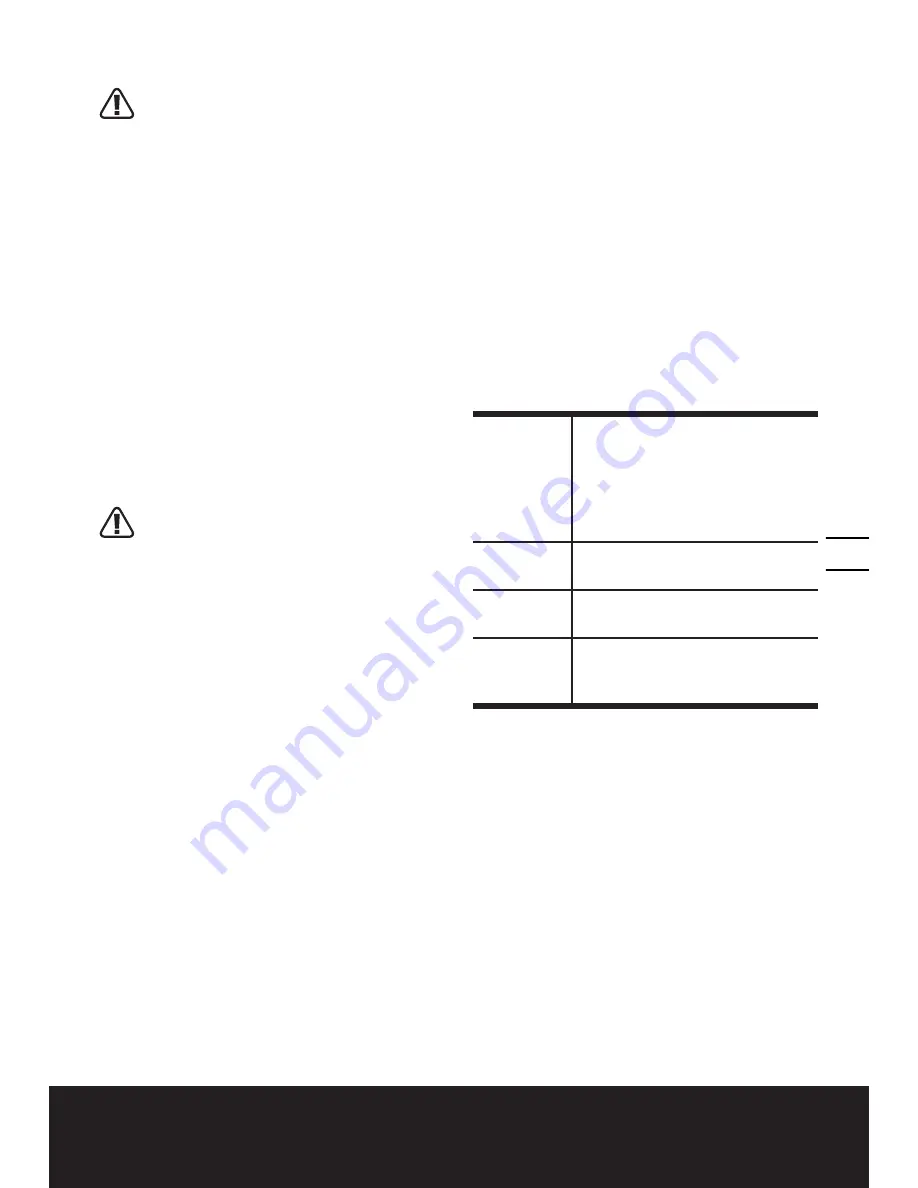
pack. (See table below)
Red
Flashing
Green off
Defective battery, after pre-
charge some minutes with
trickle current, the total battery
voltage is still less than 10.0V
(When charging 18v battery
pack).
Red oN
Green off
Charging
Green oN
Red off
Power on and fully charged
Green
Flashing
Red off
The temperature of battery
pack is less than 32
0
F(0
0
C) or
more than 113
0
F (45
0
C)
7. to remove or inStall Battery
pack (See Fig g)
Depress the battery release button (7) to
release battery pack from your hedge trimmer.
After recharging, insert the battery pack into
trimmer’s battery port. A simple push and
slight pressure will be sufficient. Check to see
if the battery is fully secured.
8. Starting and Stopping
BeFore Starting your hedge
trimmer
Remove blade sheath (9).
to Start your hedge trimmer
Your hedge trimmer is equipped with two
switch levers (5 & 6). Both switch levers need
Summary of Contents for WG251.5
Page 2: ......
Page 3: ......
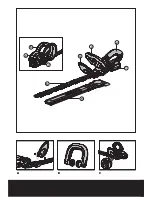
Page 4: ...9 8 4 3 2 1 7 5 6 B A C...


