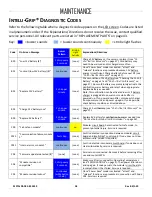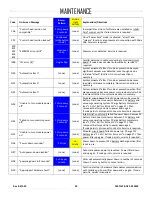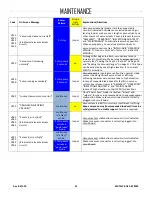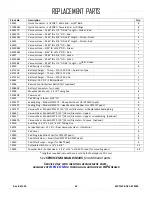
MRTALP8-DC3: #35059
Rev 8.0/1-20
36
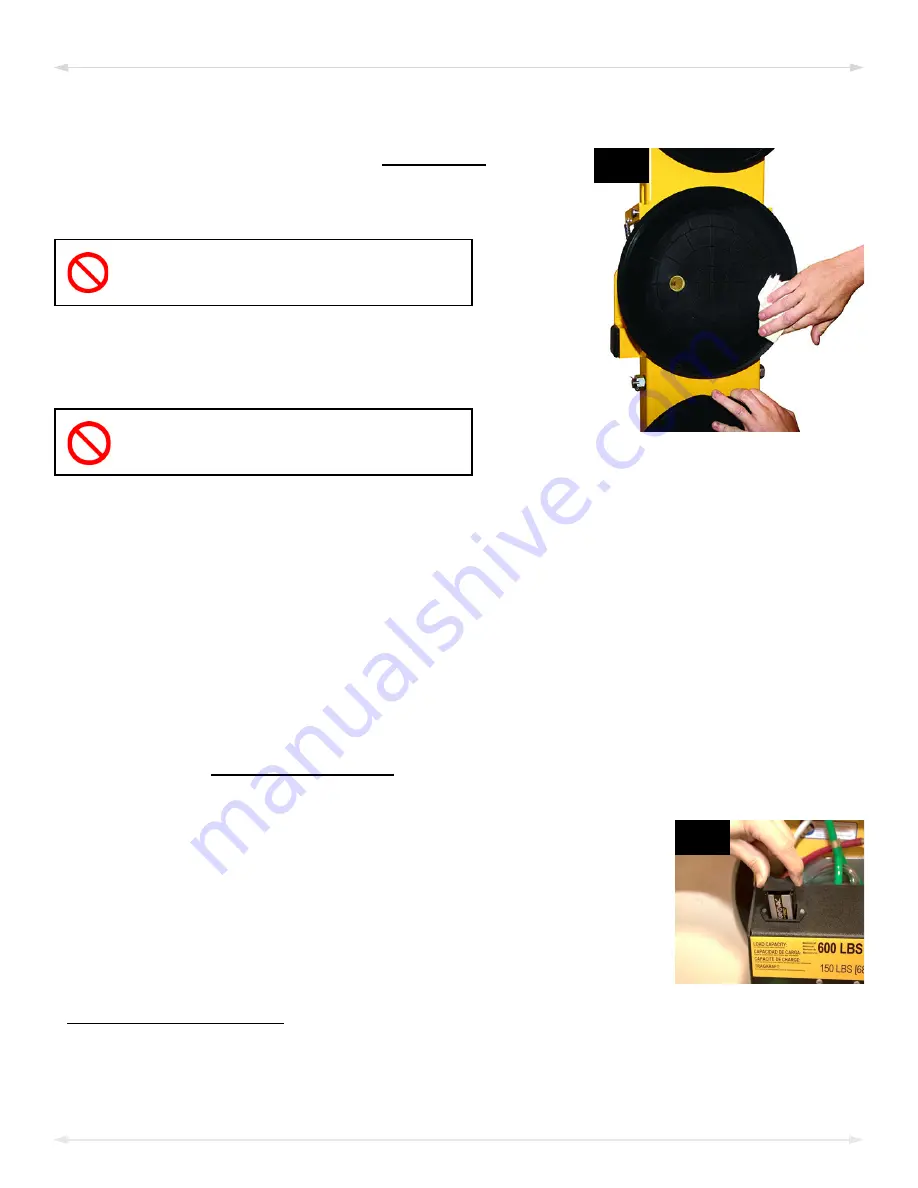
Pad Cleaning
1)
1A
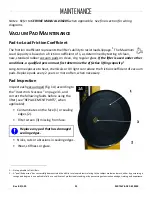
Regularly clean the face of each vacuum pad, using
soapy water or other mild cleansers to remove oil, dust
and other contaminates.
Never use harsh chemicals on vacuum
pad.
Solvents, petroleum-based products (including
kerosene, gasoline and diesel fuel) or any harsh
chemicals can damage vacuum pads.
Never use rubber conditioners on
vacuum pad.
Many rubber conditioners can leave a hazardous film on vacuum pads.
2) Prevent liquid from entering the vacuum system through the suction hole on the pad
face.
3) Wipe the pad face clean, using a clean sponge or lint-free cloth to apply the cleanser.
1
4) Allow the pad to dry completely before using the lifter.
N
OTIFICATION
B
UZZER
B
ATTERY
R
EPLACEMENT
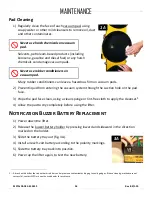
1) Power down the lifter.
2) Release the buzzer battery holder by pressing inward and sideward in the direction
marked on the holder.
3)
3A
Slide the battery tray out (fig. 3A).
4) Install a new 9-volt battery according to the polarity markings.
5) Slide the battery tray back into position.
6) Power up the lifter again, to test the new battery.
1..... A brush with bristles
that do not harm rubber
can help remove contaminates clinging to sealing edges. If these cleaning methods are not
successful, contact WPG or an authorized dealer for assistance.
MAINTENANCE
Summary of Contents for MRTALP810CDC3O
Page 2: ...MRTALP8 DC3 35059 Rev 8 0 1 20 2 ...
Page 6: ...MRTALP8 DC3 35059 Rev 8 0 1 20 4 Note A standard MRTALP811LDC3 is shown SPECIFICATIONS ...
Page 11: ...Rev 8 0 1 20 MRTALP8 DC3 35059 9 TO CHANGE THE PAD FRAME CONFIGURATION ASSEMBLY ...
Page 47: ...Rev 8 0 1 20 MRTALP8 DC3 35059 45 ...
Page 48: ...MRTALP8 DC3 35059 Rev 8 0 1 20 46 ...
Page 49: ......
Page 50: ......

