Rev 8.0/1-20
MRTALP8-DC3: #35059
37
12-V
OLT
B
ATTERY
R
ECHARGE1
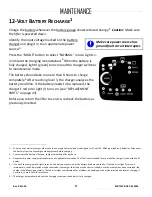
Charge the battery whenever the battery gauge shows reduced energy.
2
Caution:
Make sure
the lifter is powered down.
Make sure power source has
ground fault circuit interrupter.
Identify the input voltage marked on the battery
charger and plug it in to an appropriate power
source.
3
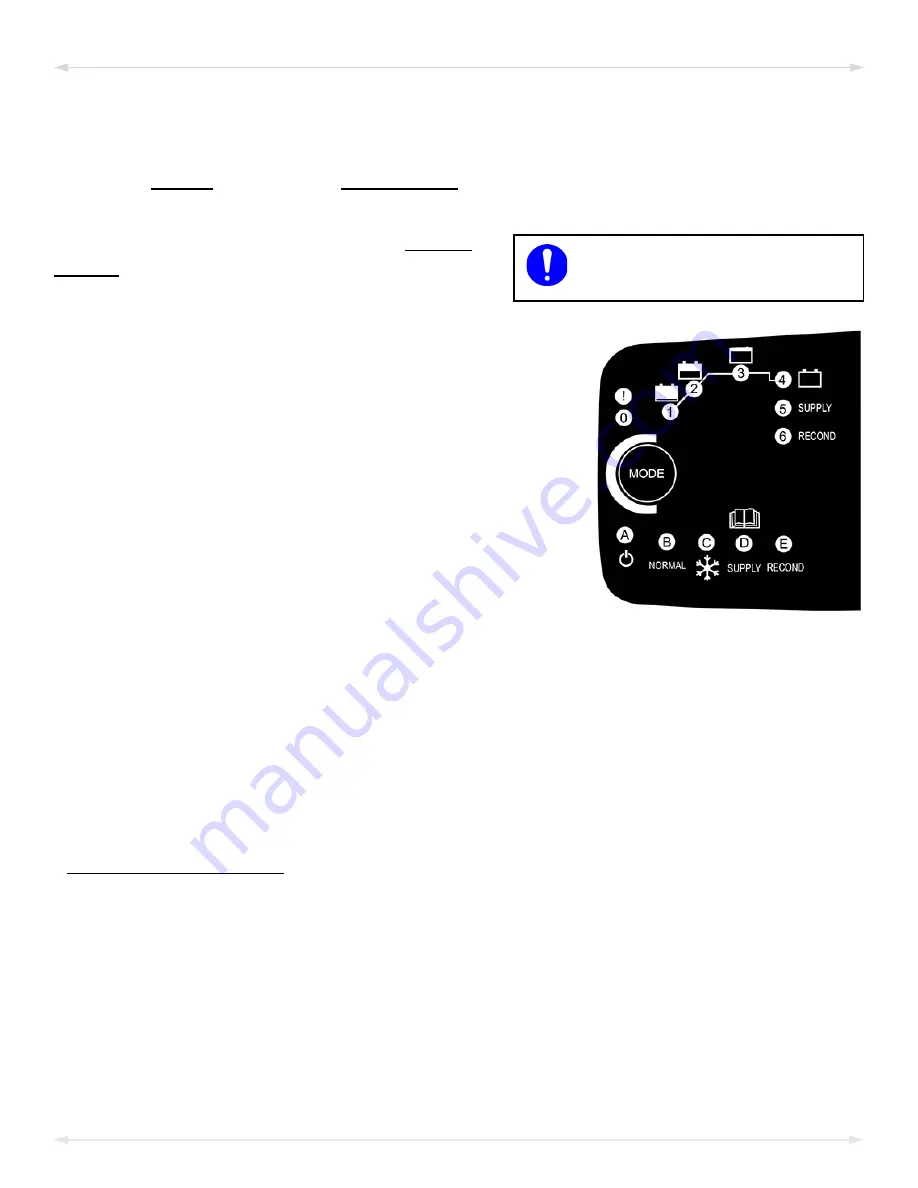
Press the “MODE” button to select “NORMAL” mode. Lights 1-
4 indicate the charging level attained.
4
When the battery is
fully charged, light 4 (green) turns on and the charger switches
to maintenance mode.
The battery should take no more than 8 hours to charge
completely.
5
After reaching level 3, the charger analyzes the
battery condition. If the battery needs to be replaced, the
charger's red error light (!) turns on (see “REPLACEMENT
PARTS” on page 43).
Before you return the lifter to service, recheck the battery as
previously directed.
1..... You may use a battery charger other than the one supplied, provided it is designed for 12-volt DC, AGM type, lead-acid batteries. Disconnect
the battery from the vacuum generating system before charging.
2..... To maximize the battery's lifespan, charge it promptly after each use.
3..... Any external power supply must conform to all applicable local codes. The lifter is not intended for use while the charger is connected to AC
power.
4..... If none of the charging level lights turns on, the battery connection or the battery itself may be faulty. If the red error light (!) turns on
immediately, the battery leads may be reversed or the charger terminals may be short-circuited; once the problem has been corrected, the
charger should function normally. The red error light can indicate other problems, depending on the mode selected and level of charging; if
necessary, contact WPG for assistance.
5..... The charger automatically reduces the charging rate when the battery is fully charged.
MAINTENANCE
Summary of Contents for MRTALP810CDC3O
Page 2: ...MRTALP8 DC3 35059 Rev 8 0 1 20 2 ...
Page 6: ...MRTALP8 DC3 35059 Rev 8 0 1 20 4 Note A standard MRTALP811LDC3 is shown SPECIFICATIONS ...
Page 11: ...Rev 8 0 1 20 MRTALP8 DC3 35059 9 TO CHANGE THE PAD FRAME CONFIGURATION ASSEMBLY ...
Page 47: ...Rev 8 0 1 20 MRTALP8 DC3 35059 45 ...
Page 48: ...MRTALP8 DC3 35059 Rev 8 0 1 20 46 ...
Page 49: ......
Page 50: ......

