4. Installation
This section provides further details regarding the connections that
are made in the process of installing the IPS-15. For a brief
description of the overall installation procedure, and a connections
diagram, please refer to Section 3.
4.1.
Power Supply Connection
Use the supplied power cord to connect the IPS-15 Master Unit to an
appropriate power supply. The Master Power Switch on the IPS
back panel must be "On" in order for the IPS to operate. Note that if
your installation will include optional IPS Satellite Units, then this
procedure should be repeated for each Satellite Unit in the chain.
CAUTIONS:
•
This device should only be operated with the type
of power source indicated on the instrument
nameplate. If you are not sure of the type of power
service available, please contact your local power
company.
•
Reliable earthing (grounding) of this unit must be
maintained. Particular attention should be given
to supply connections when connecting to power
strips, rather than directly to the branch circuit.
•
Check nameplate ratings to ensure that there is no
overloading of supply circuits that could have an
effect on overcurrent protection and supply wiring.
4.2.
Connection to Switched Outlets
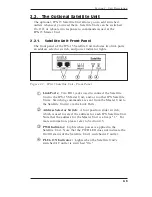
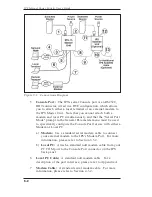
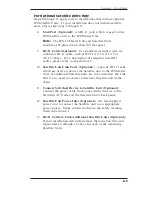
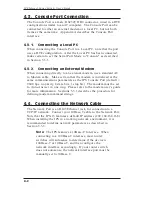
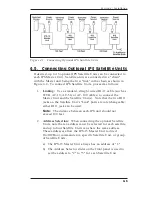
Connect the power cord from the Switched Device to the Switched
AC Outlet on the IPS Master Unit's back panel. When the unit is
powered On, the Switched AC Outlet will be switched "ON" (this
also applies to the switched outlets on any optional IPS Satellite
units) . The Switched Outlet can switch up to 15 Amps AC. If your
installation will include IPS Satellite Units, then repeat this
procedure for each Satellite Unit.
4-1
Summary of Contents for IPS-15
Page 1: ...WTI Part No 13301 Rev B IPS 15 Internet Power Switch User s Guide ...
Page 2: ......
Page 55: ......


