6-2
IPS-400 / IPS-400-CE - User’s Guide
3.
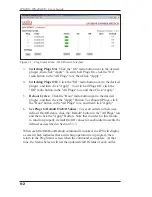
Switching Plugs On:
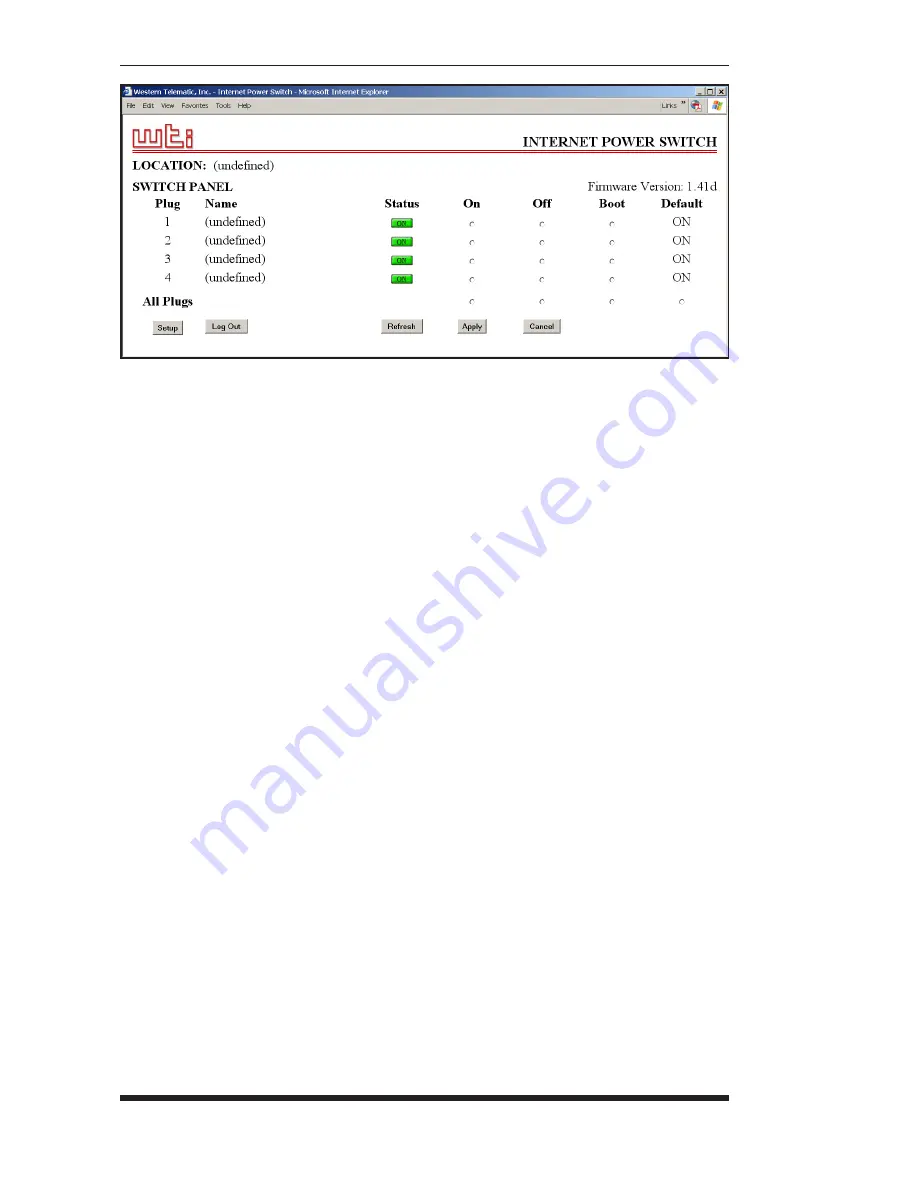
Click the "On" radio button next to the desired
plug(s), then click "Apply". To switch all Plugs On, click the "On"
radio button in the "All Plugs" row, then Click "Apply."
4.
Switching Plugs Off:
Click the "Off" radio button next to the desired
plug(s), and then click "Apply". To switch all Plugs Off, click the
"Off" radio button in the "All Plugs" row, and then Click "Apply."
5.
Reboot Cycles:
Click the "Boot" radio button next to the desired
plug(s), and then click the "Apply" Button. To reboot all Plugs, click
the "Boot" button in the "All Plugs" row, and then Click "Apply."
6.
Set Plugs to Default On/Off Values:
To set all outlets to their user-
defined On/Off status, click the "Default" button in the "All Plugs" row
and then click the "Apply" Button. Note that in order for this feature
to function properly, default On/Off values for each outlet must first be
defined as described in Section 5.3.3.
When each On/Off/Boot/Default command is invoked, the IPS will display
a screen which indicates that a switching operation is in progress, then
return to the Plug Status screen when the command is complete. At that
time, the Status Screen will list the updated On/Off status of each outlet.
Figure 6.1: Plug Status Menu - Web Browser Interface
Summary of Contents for IPS-400
Page 1: ...WTI Part No 13369 Rev C IPS 400 IPS 400 CE InternetPowerSwitches User s Guide ...
Page 2: ......
Page 55: ......

