17
Maintenance / Care
WARNING!
Injuries or material damage due to
improper actions.
¾
Disconnect the device from the air
supply before carrying out any
service or maintenance work.
■
Empty detachable tank or remove bottle.
■
Pour a sufficient amount of a suitable thinner for
the product used into the empty detachable tank
or the bottle.
■
As the case may be Position the bottle and
tighten in a clockwise direction.
■
Position the detachable tank and tighten in a
clockwise direction.
■
Connect the device to the air supply again.
■
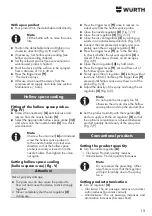
Spray solvent into a special container until the
device is clean.
When doing so completely close the regulator,
to prevent atomising of the solvent, which
could result in contamination of the immediate
surroundings.
Note
Do not immerse the device completely
in the solvent; clean using a soft brush
or cloth.
■
Do not clean the components of the device using
wire brushes or sandpaper.
■
On no account should acids or alkaline
cleansing agents be used for cleaning.
■
If necessary lubricate the nozzle needle and air
vent rod.
■
Check the thread regularly for wear to ensure
parts such as the tank or adjustment wheel do
not unintentionally become loose.
■
After cleaning, maintenance and/or repair
work, check that all screws and nuts are securely
tightened.
Environmental Instructions
Do not throw the device away with
normal household waste. Dispose of
the device via an approved waste
disposal company or via your local
authority waste disposal facility.
Observe the currently valid regula
-
tions. In case of doubt, contact your
waste disposal facility. Dispose of all packaging in
an environmentally sound manner.
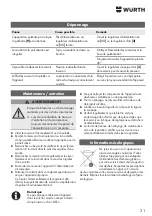
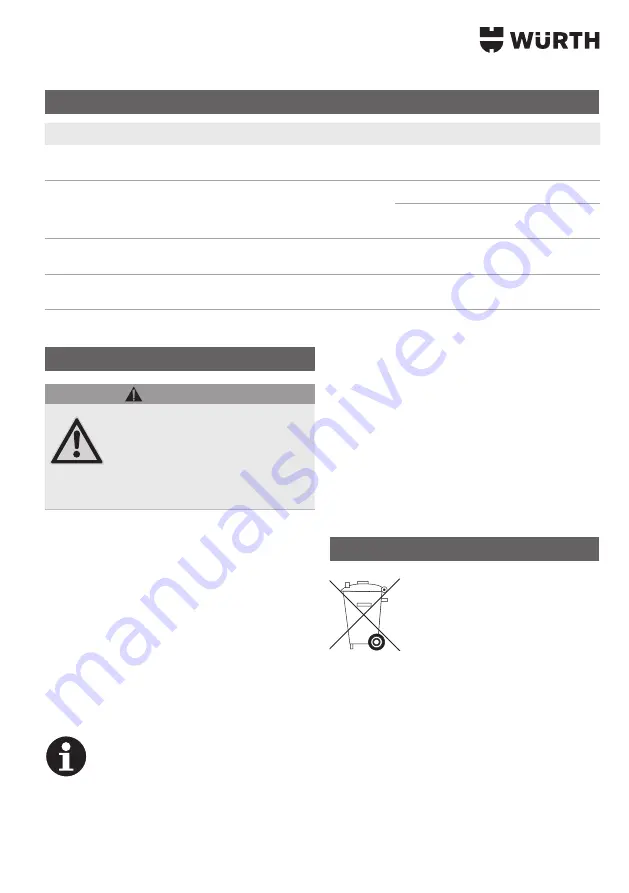
Troubleshooting
Fault
Possible cause
Remedy
Device does not spray when the
trigger lever
[9]
is pressed
No air supply, air
supply
regulator
[11]
closed
Open air
supply
regulator
[11]
or air
regulator
[2]
Spraying result irregular
Vertical tube dirty or blocked
Clean all tubes and spray nozzle
Never tip the device through more
than 45°
The tank cannot be unscrewed
Residual pressure in the tank
Open the tank air vent regulator
[3]
to allow pressure to escape
Difficult to screw the bottle on to
the device
The cartridge aluminium seal is
not correctly open
Widen the opening with a sharp
object or the device’s vertical tube
Summary of Contents for 0891 110 640
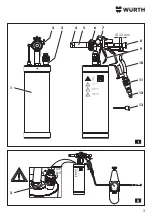
Page 3: ...10 12 mm AIR EXIT 3 II I 8 7 3 3 1 2 10 11 12 9 4 5 6 13...
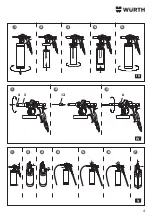
Page 4: ...4 5 5 6 7 4 4 3 3 3 2 2 2 1 1 1 III IV V 4 5 6 13...
Page 82: ...82 GR W rth 3 3 1...
Page 83: ...83 18 16 8 bar...
Page 86: ...86 2 2 11 11 3 4 bar 4 bar 8 2 8 10 12 mm 3 3 2 2 3 2 2 2 3 2 11...
Page 87: ...87 9 11 11 2 45 3...
Page 138: ...138 BG W rth 3 3 1...
Page 139: ...139 18 16 8 bar...
Page 142: ...142 2 2 11 11 3 4 bar 4 bar 8 2 8 10 12 mm 3 3 2 2 3 2 2 2 3 2 11...
Page 143: ...143 9 11 11 2 45 3...
Page 166: ...166 RU W rth 3 3 1...
Page 167: ...167 18 16 8...
Page 170: ...170 2 2 11 11 3 4 4 8 2 8 10 12 3 3 2 2 3 2 2 2 3 2 11...
Page 171: ...171 9 11 11 2 45 3...
Page 173: ...173...
Page 174: ...174...
Page 175: ...175...

