


39
38
I
NSTALLING
H
OME
A
UTOMATION
C
OMPONENTS
T
RANSCEIVER
M
ODULE
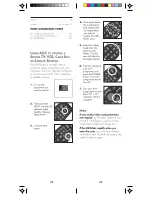
The Transceiver Module (sold separately)
receives radio frequency (RF) commands
from Mouse Remote to operate a lamp or
appliance plugged into it. The
Transceiver Module also passes on
commands over your house wiring to
control other X-10 Modules. Note that
(unlike the Lamp Module) you cannot dim
and brighten a lamp connected to the
Transceiver Module.
You should locate the Transceiver Module
centrally in the home for maximum range
when controlled by the X-10 Mouse
Remote.
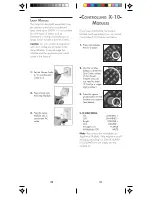
1.
Set the House Code
to A .
2.
Plug a lamp or
appliance into the
Transceiver
Module.
3.
Plug the Transceiver
Module into a
convenient AC
outlet. Fully extend
the antenna.
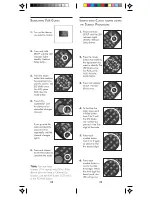
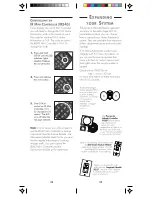
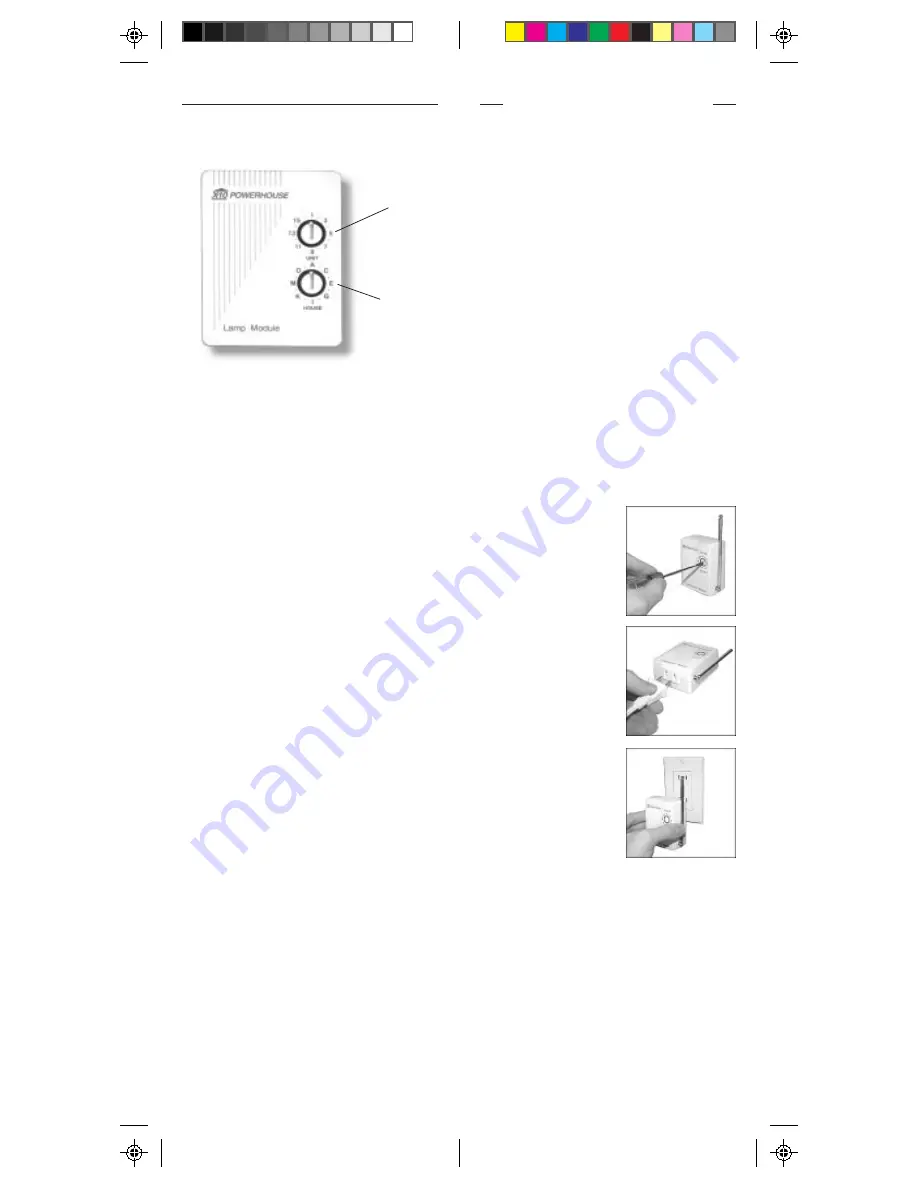
UNIT CODE
DIAL
HOUSE CODE
DIAL
H
OUSE
C
ODES
AND
U
NIT
C
ODES
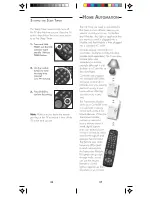
Each Module has a specific address
made up of a House Code (red dial on
the face of the Module) and a Unit Code
(black dial on the face of the Module).
The Controller first sends an address and
then a command on the AC power lines.
Only the Module with a matching
address will execute the command. If
more than one Module has the same
address, both Modules will execute the
command.
Addresses are set on the Module by
turning the two dials on the front of the
Module to the desired letter and number
(using a small screwdriver or a coin). The
House Code is selected from the letters A
through P, and the Unit Code is selected
from the numbers 1 through 16.


