

USB SATA HDD/SSD External Enclosure
Page | 5
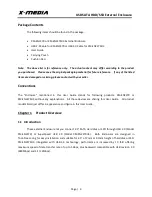
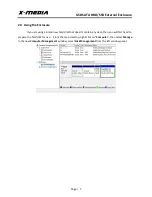
Figure 2
3.
Place your 2.5” SATA hard disk into the Enclosure and then slide it into SATA
connector. Closing the top panel will push in the hard disk to have tight contact
with SATA connector of PC Board.
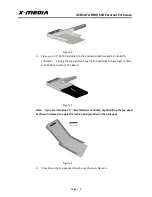
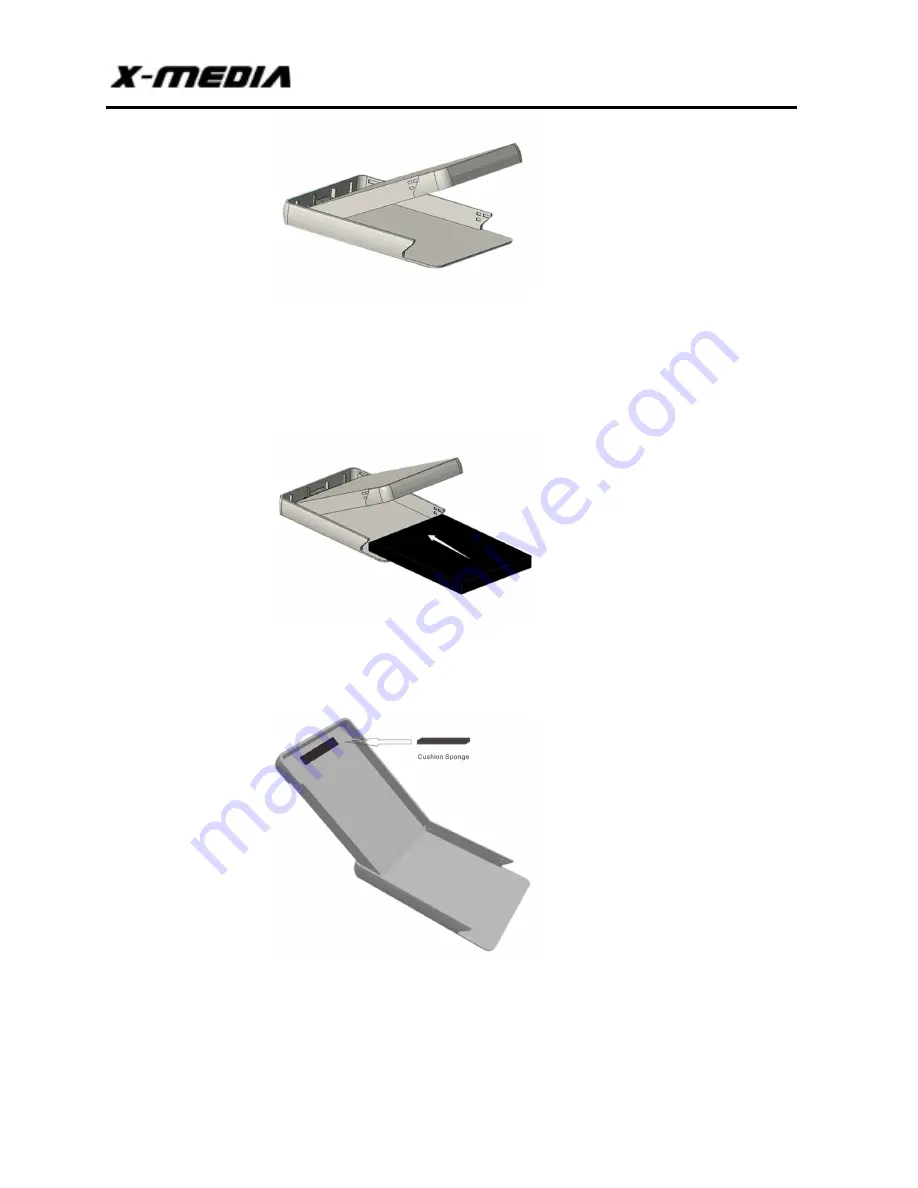
Figure 3
Note: If you are installing 2.5” 7mm thickness hard disk, slightly lift up the top panel
as shown in Figure 4 to apply the cushion pad (provided in the package).
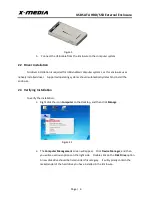
Figure 4
4.
Close down the top panel and push in as shown in Figure 5.


