

USB SATA HDD/SSD External Enclosure
Page | 6
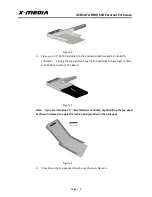
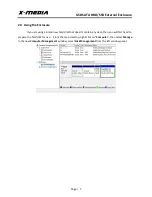
Figure 5
5.
Connect the USB cable from the Enclosure to the computer system.
2.2
Driver Installation
No driver installation is required for USB enabled computer systems, as this enclosure uses
natively installed driver. Supported operating systems should automatically detect and install the
enclosure.
2.3
Verifying Installation
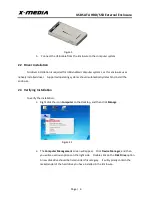
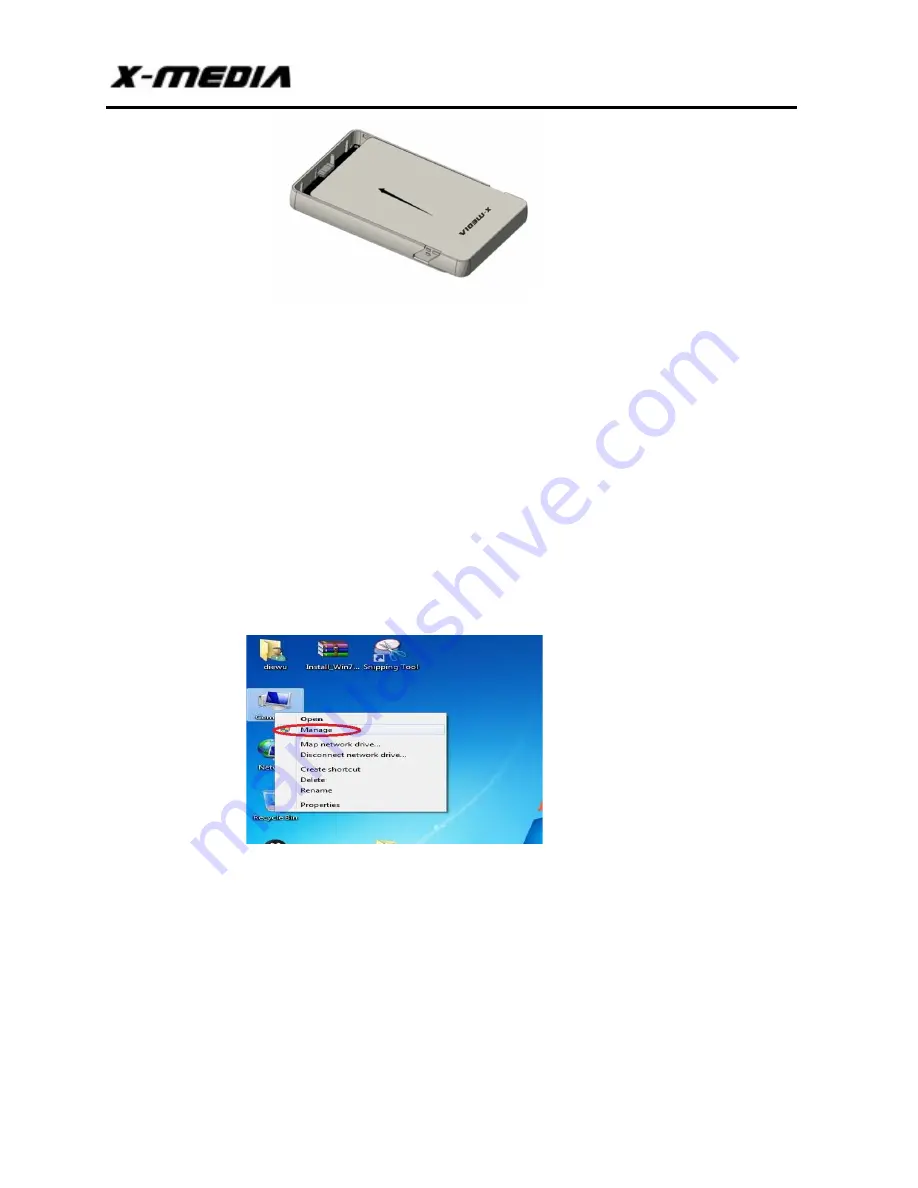
To verify the installation:
1.
Right click the icon
Computer
on the desktop, and then click
Manage
Figure 2.1
2.
The
Computer Management
screen will appear. Click
Device Manager
, and then
you will see various options on the right side. Double click on the
Disk Drive
option.
A new disk drive should be listed under this category. It will typically contain the
make/model of the hard drive you have installed in the Enclosure.


