iCPlate2
EN
25
Important:
In normal circumstances the reference
value is set to be equal to the nomi-
nal value to obtain a linear plate copy.
However, for certain applications a plate
type dependent process calibration
(pre-compensation) on the plate copy
may be desirable. In this case iCPlate2
offers the possibility of defining the
reference curve in deviation from the
45° straight line.
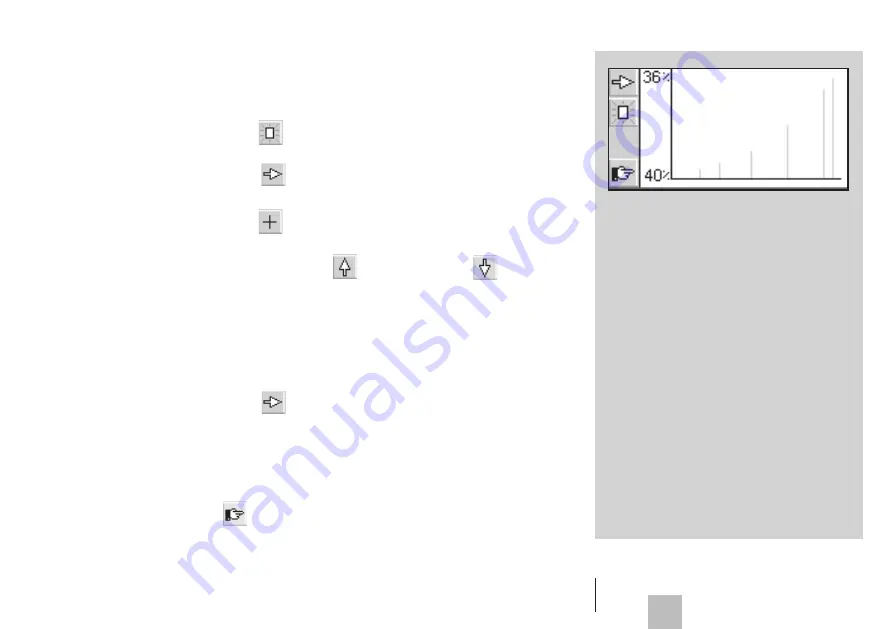
Example: Inputting a reference curve with the sampling points 5, 10,
30, 60 and 90.
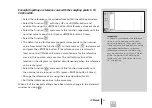
• Select the reference curve window from within the settings window.
• Select the function with the <UP> or <DOWN> button and
execute this using the <ENTER> button. All reference values are reset.
• Select the function and execute this function repeatedly until the
nominal value is equal to 5% (press <ENTER> button 5 times).
• Select the function .
• The default value for this sample point corresponds to the nominal
value. Now select the function to increment or to decrement
and press the <ENTER> button. If the reference curve is altered at
least once, the iCPlate2 will create a sample point for the reference
curve in this position and save this. The vertical gray line at this
location in the diagram is adjusted simultaneously when the reference
value is changed.
• Select the function and execute this function repeatedly until
the nominal value is equal to 0% (press <ENTER> button 5 times).
• Change the reference value using the steps described for 5%.
• Set further reference values in the same way.
When all of the desired settings have been made, change to the standard
window by using
Summary of Contents for iCPlate2
Page 1: ...iCPlate2 EN iCPlate2 Plate Measuring Device User Guide Edition 2 1 ...
Page 2: ......
Page 6: ......
Page 12: ......
Page 14: ......
Page 38: ...iCPlate2 38 ...

