background image

11

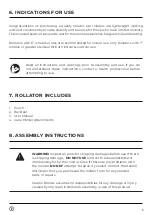
8. ASSEMBLY INSTRUCTIONS

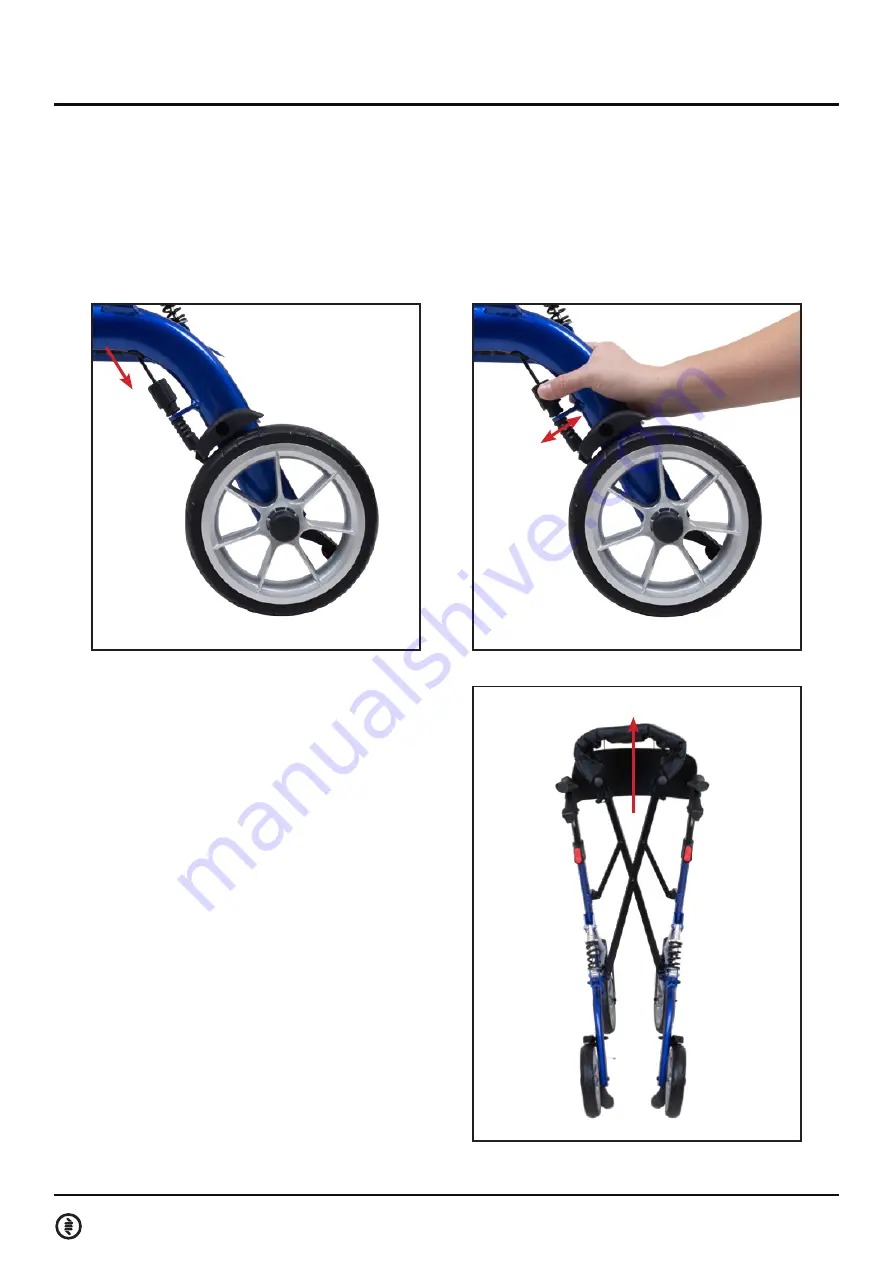
1.  RȒǼƳɎǝƺɀƬȸƺɯǝȒɖɀǣȇǕˡȸȅǼɵِ
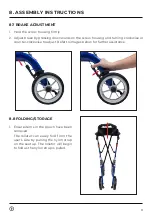
2.  Adjust brake by pressing downwards on the screw housing and turning clockwise or 

counter-clockwise to adjust. Refer to images below for further assistance.

8.7 BRAKE ADJUSTMENT

1.  Ensure items in the pouch have been 

removed.
The rollator can easily fold from the 
user’s side by pulling the nylon strap 
on the seat up. The rollator will begin 
to fold as the nylon strap is pulled.

זِזI…n(XzJٜ³Á…«J0

Summary of Contents for WA01085

Page 1: ...PRODUCT CODE WA01085 USER MANUAL S U S P E N S I O N R O L L A T O R...

Page 2: ...OR USE 5 7 ROLLATOR INCLUDES 5 8 0x n Xz X z 5 8 1 UNFOLDING ROLLATOR 6 8 2 RXzJ R0 k 0 6 8 3 0 XzJ R z n0 R0XJR h x0z 7 8 4 ATTACHING FRONT POUCH 8 8 5 CANE HOLDER INSTALLATION 8 8 6 k0 0 X z 10 8 7...

Page 3: ...NSPECT THE PRODUCT FOR ANY DAMAGE IF ANY DAMAGE IS FOUND DO NOT USE THE PRODUCT PRODUCT MUST ALWAYS BE ACCOMPANIED WITH THESE INSTRUCTIONS AND WARNINGS FAILURE TO HEED INSTRUCTIONS AND WARNINGS INCREA...

Page 4: ...4 5 7 6 WARNING This rollator has a weight capacity of 450 Lb 204 Kg Always observe the weight limit on the labelling of your rollator 1 Handle 2 Brake Lever 3 Height adjustment button 4 Pouch 5 Seat...

Page 5: ...ane Holder Attachments 8 ASSEMBLY INSTRUCTIONS WARNING Inspect all parts for shipping damages before use If there is shipping damage DO NOT USE Contact the dealer distributor immediately for further i...

Page 6: ...ly opened install the backrest by lining up the plastic brackets on either end of backrest attachment to the brackets opposite the brake handles on the front side of the rollator 2 Starting at one end...

Page 7: ...lease button on back of the handle 2 While pressing the button pull the handles upward 3 Move the handles upward until the desired height is reached 4 Release the button and ensure the button snaps in...

Page 8: ...side of the pouch over the knobs extending from the front of the rollator s seat 4 8 4 ATTACHING FRONT POUCH 1 Adjust lower cane platform and upper cane holder tip to desired setting using a 4 mm Alle...

Page 9: ...om platform and clip the cane shaft into the upper clip WARNING ALWAYS ensure that the cane tip is securely seated in the lower platform to prevent a tripping or fall hazard that could cause serious i...

Page 10: ...sed if needed but is primarily designed to maintain a stopped stance Brakes and tires are non durable components which will require maintenance through the life of the rollator Brakes MUST be adjusted...

Page 11: ...e or counter clockwise to adjust Refer to images below for further assistance 8 7 BRAKE ADJUSTMENT 1 Ensure items in the pouch have been removed The rollator can easily fold from the user s side by pu...

Page 12: ...gs may move suddenly and cause a loss of balance WARNING DO NOT use a rollator in mud ice or puddles NEVER use near steps sloped driveways hills and or ramps with a steep incline NEVER greater than 15...

Page 13: ...rop all body weight immediately into the rollator Ease gently into the seat DO NOT use the backrest bar to support your weight Leaning back while seated on the rollator may cause the device to tip ALW...

Page 14: ...nnot be tightened DISCONTINUE USE OF THE ROLLATOR and replace ALWAYS wear protective footwear while using the rollator ALWAYS keep shoelaces loose clothing and or accessories clear of the wheels and h...

Page 15: ...llator as a wheelchair or transport device This is a walking aid ONLY NEVER scoot roll or propel device while seat is occupied DO NOT attempt to reach objects that are out of your immediate reach whil...

Page 16: ...HS or BETWEEN PATIENT USE Contact your authorized dealer for more information THIS PRODUCT SHOULD NOT BE USED WITHOUT THE INSTRUCTION OF A HEALTHCARE PROFESSIONAL FAILURE TO USE COMMON SENSE AND HEED...

Reviews: