Page8
Fuse Installation
Your scooter comes with one 63amp circuit breaker switch with three 5amp fuses that are
pre-installed at the factory to prevent over - load current. No fuse installation is necessary
for this scooter.
Charging
Your scooter comes charged out of the carton. We still recommend charging the unit for
6-8 hours prior to it’s first use. We also recommend charging your scooter after each use
and prior to storage.
WARNING:
Do not
allow your scooter to go into deep discharge, as this will damage the
batteries.
Riding
1.
Make sure that all of the exposed bolts and screws are tightened
.
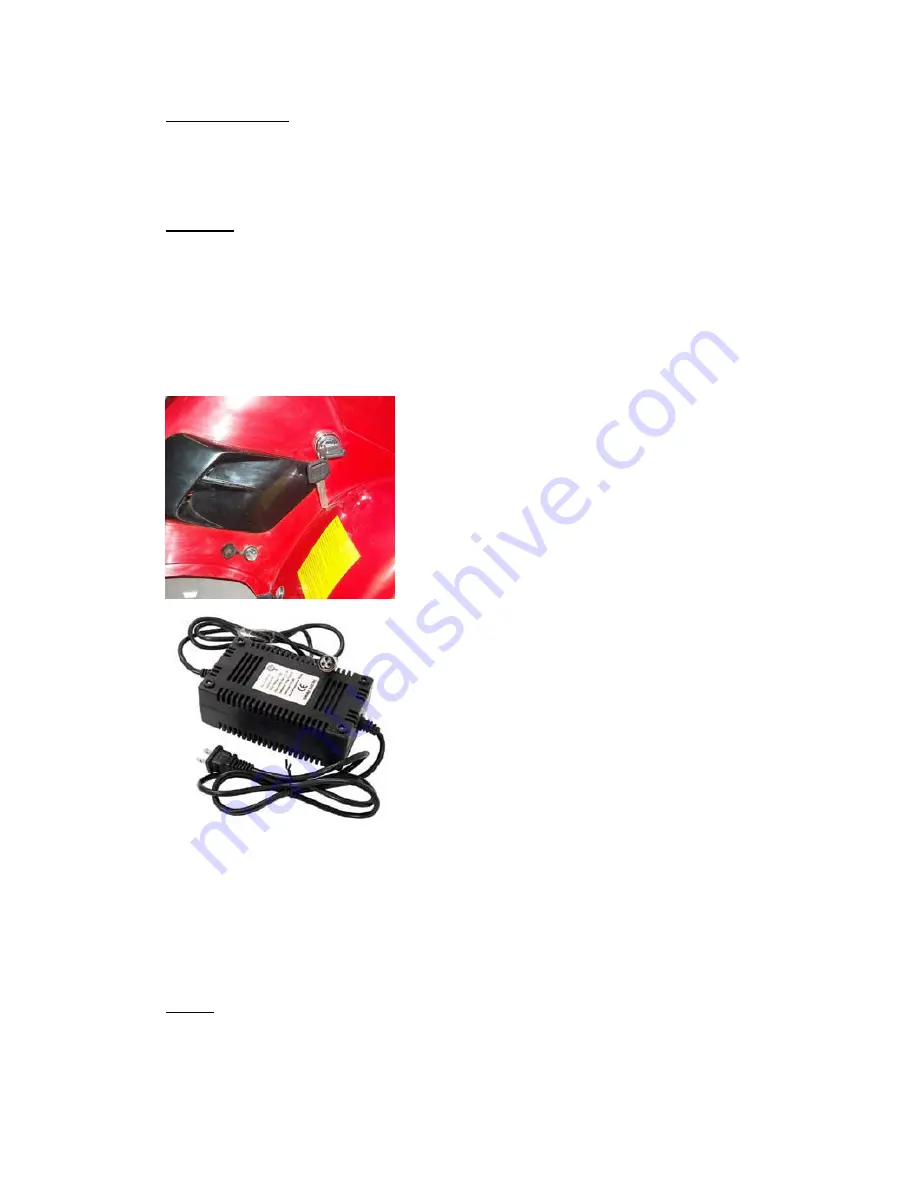
2. Locate the key ignition on the right side of the ATV body and turn the key to the on
position.
1. Make sure unit is turned off.
2. Open the charging socket cover
located on the right side of the
scooter body.
3. Locate your Battery Charger. Find
the charger socket end that has a
three-prong socket and plug it into the
scooter charger socket located above
the right rear wheel.
4. Next, plug the AC plug into a wall
outlet.
When first plugged in, the charger has two
red lights that will illuminate at the same time,
indicating that the charging process has
started. Once the light on the charger turns
green, you may remove the charger and
close the safety cap.


