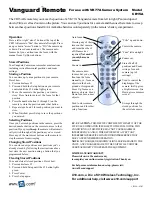
Vanguard Remote
Model
CR15A
CR15A-03/03
The CR15A Remote lets you move the position of a VK77A Vanguard camera from left to right (Pan) and up and
down (Tilt) as well as Zoom in on the picture. You can store 9 positions for a camera and then use the remote to sweep
between these positions. Install 4 AAA alkaline batteries (sold separately) in the remote’s battery compartment.
™
For use with VK77A Camera System
Operation
Press a left or right “arrow” button at the top of the
CR15A Remote to “Pan” the camera left or right. Press
an up or down “arrow” button to “Tilt” the camera up
or down. Press Zoom in and out. The camera auto-
focuses but you can fine-tune the focus with the
manual focus Up/Down buttons.
Stored Positions
Your Vanguard Camera can remember nine locations,
including vertical/horizontal positions, and zoom
settings.
Storing a Position
You can store up to nine positions in your camera.
Here’s how:
1. Press and release C1.
2. Press and hold the Setup button on your remote
control until the C1 button lights green.
3. Move the camera to the position you want to
store. Press Autofocus to set the focus for that
position.
4. Press the number button (1 through 9) on the
remote to store the position under that button.
5. Repeat steps 2 and 3 for each position you want to
store.
6. When finished, press Setup to save the positions
you entered.
Selecting Positions
Once you’ve stored positions in the camera, press the
desired number button on the remote to move to that
position. If you press
Sweep
, the camera will automati-
cally switch through all the positions you’ve stored.
Press any of the movement buttons on the remote to
stop the camera from sweeping.
Changing Stored Positions
You can store new positions over positions you’ve
already stored, by following the instructions above.
Just store the new position using a button that you
programmed before.
Clearing Stored Positions
You can delete all stored positions. Here’s how:
1. Press and release C1.
2. Press and hold Setup until the C1 button lights
green.
3. Press Center.
4. Press Setup again.
X10.com, a Div. of X10 Wireless Technology, Inc.
For additional help, visit www.x10.com/support
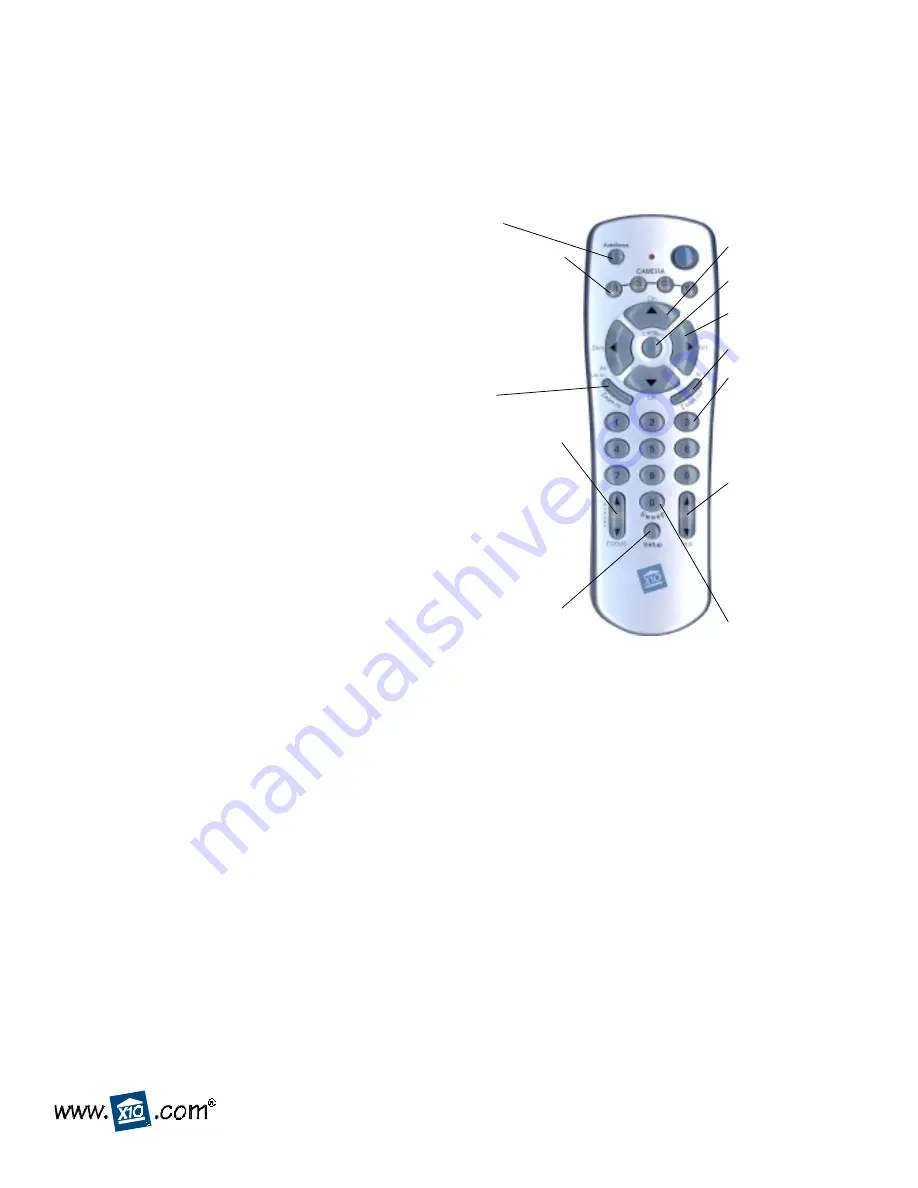
“Pans” left and right.
“Tilts” up and down.
Pressing any of these
turns on that camera,
and turns the other 3
off (Transceiver
required).
Not used if
you only have one
camera.
Stores Pan/Tilt
positions and Zoom
settings for each
camera (up to 9
settings).
The camera auto-
focuses but you can
fine-tune the focus
manually, i.e., focus on
objects in the back-
ground or foreground.
Focus Up focuses on
faraway objects. Focus
Down focuses on near
objects.
Zooms in.
Zooms out.
Used to store camera
positions and for other
setup functions.
Centers the camera.
Sweeps through the
stored positions for
the selected camera.
Used to control the
diaphragm of the
camera. Iris Up gives
a brighter screen. Iris
Down gives a dimmer
screen.
F.C.C. CAUTION -
THIS DEVICE COMPLIES WITH PART 15 OF THE
FCC RULES. OPERATION IS SUBJECT TO THE FOLLOWING TWO
CONDITIONS: (1) THIS DEVICE MAY NOT CAUSE HARMFUL
INTERFERENCE, AND (2) THIS DEVICE MUST ACCEPT ANY
INTERFERENCE RECEIVED, INCLUDING INTERFERENCE THAT
MAY CAUSE UNDESIRED OPERATION.
NOTE:
NO CHANGES OR MODIFICATIONS MAY BE MADE TO THE
UNITS. ANY CHANGES MADE TO THE UNITS WILL VOID THE
USER'S AUTHORITY TO OPERATE THE EQUIPMENT.
LIMITED 1-YEAR WARRANTY
Please visit www.x10.com/warranty
to complete your on-line warranty registration. Thank you.
For help or more information on setup, please visit:
www.x10.com/support
Autofocus.


