8
9
with papers, magazines, blankets, curtains or similar.
› Never place any sources of fire on top of or near the device (e.g. lighted candle).
› Contact a service technician, if there is any reason to believe that the operation or
safety of the device has been impaired.
› Please adhere to the additional safety information found in the individual chapters
of this instruction manual.
› When connecting other devices, please refer to the safety and operating instructions
found in these respective manuals.
› Should you be in doubt when making connections or should questions arise that
are not explained within this manual, please contact our technical hotline or a service
technician for further information.
Before use
Please read this instruction manual thoroughly before operating this device and retain it for fur-
ther reference, questions and use. Following and heeding all information found in this instruc-
tion manual shall maintain this products condition and ensure safe operation.
This instruction manual contains information on how to operate and maintain this device.
Should a component require maintenance, servicing or repairs, then please consult a qualified
dealer or service technician.
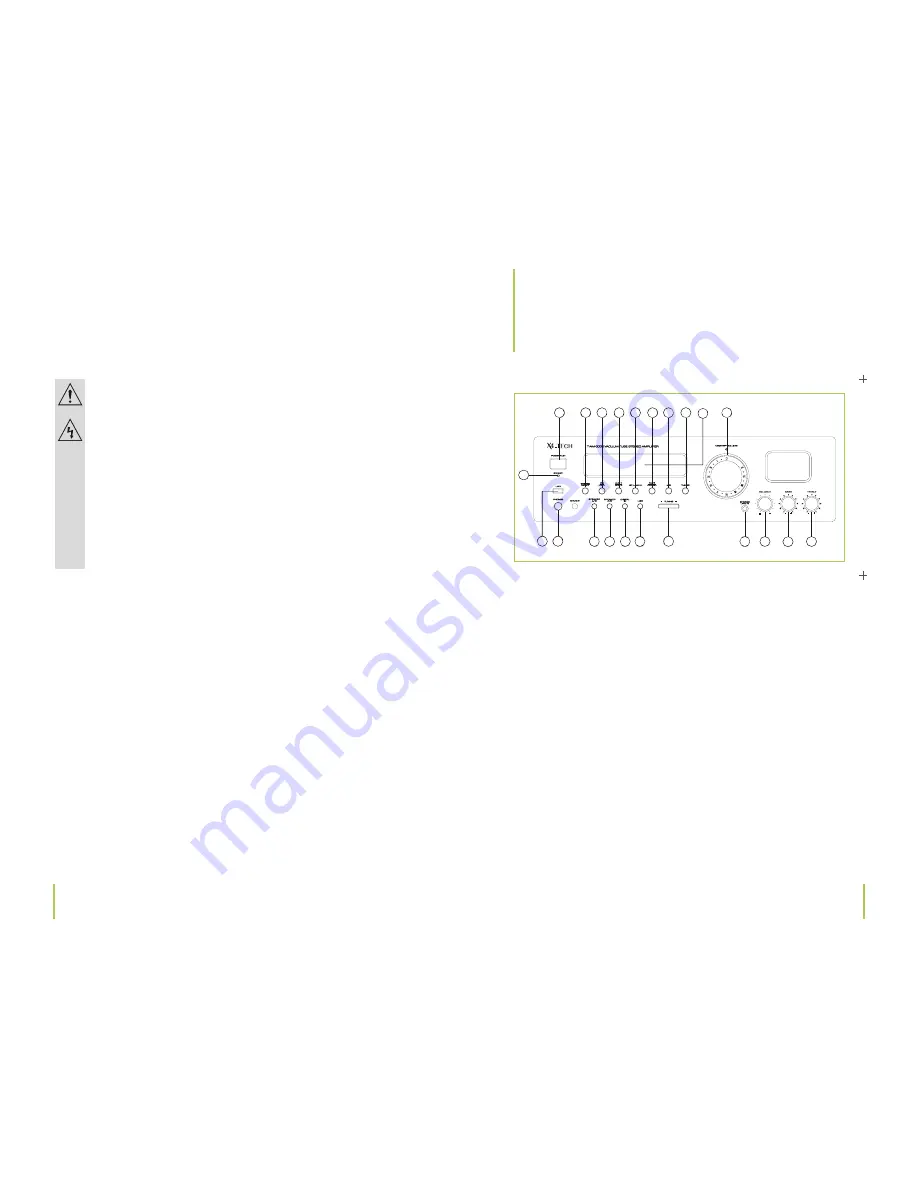
(1) Standby ON/OFF
Press to turn the device on/off in a standby mode. The device can only be completely
turned off with the main switch found on the back of the device. Turn the device on by swit-
ching the main power switch on first and then the STANDBY button on the front of the device.
(2) Stereo Direct
Press this button to select a stereo direct listening mode. Once selected, adjusting treble
and bass settings on your amplifier will have no effect on the sound.
(3) CD or DVD source selection
Press to select the connected CD or DVD source.
(4) AUX1 or AUX2 source selection
Press to select the connected AUX1 or AUX2 source.
(5) ST.LINE IN
Press to select the source connected to the „Stereo IN“ jack on the front panel.
(6) Tape/Phono
Press to select the connected Tape or Phono source.
Note:
The PHONO jack is only intended for connecting record players.
Chapter 3
The device
Chapter 2
Safety information
3
The device
Front
6
1
12
16
17
19
20
21
2
22
3
4
5
7
8
10
13 14 15
9
18
11


