www.xa.com
15
Quick start guide
2. Prepare the remote controller
XAG P series UAV needs to be used together with professional remote controller and APP, which
supports various control modes. Currently, the supported control equipment (combination) includes:
1: ACB1 CommBack (standard) + Smart phone;
2: ACS1 ControlStick (optional);
3: ARC1 Agricultural Remote Controller (optional);
Each remote controller has a slightly different operation mode. Taking ACB1 smart remote controller
as an example:
Turning the remote controller On and Off
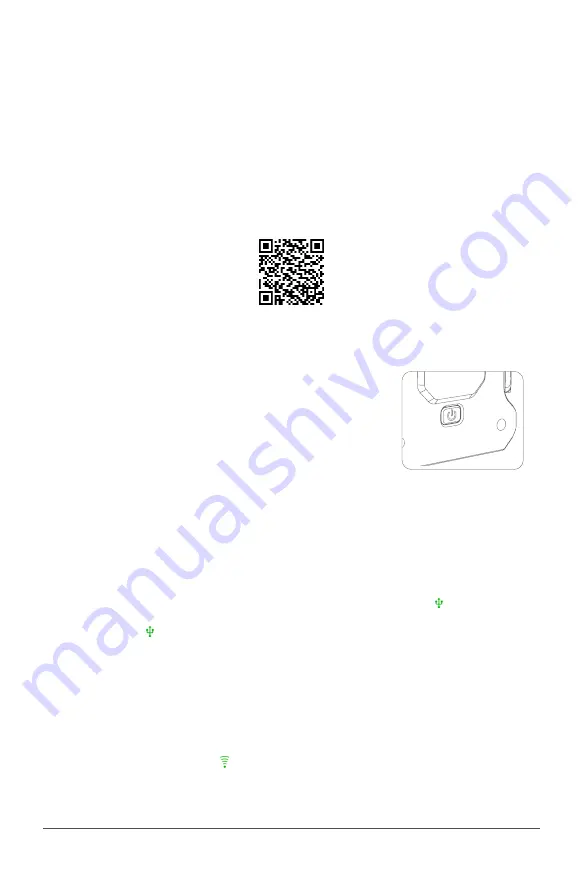
STEP 1 – Press and hold the power button until the indicator LEDs
STEP 1 – flashing, then again hold the Power Button to turn on the ACB1
STEP 1 – CommBack
STEP 2 – Within 60 seconds, the Indicator LED 3 will flash slowly
STEP 1 – indicating the device communication module is starting
STEP 3 – Repeat Step 1 to turn off the CommBack
•Turn On the ACB1 CommBack
•Device connection
•Download the "Plant Protection operation"APP
Scan and enter XAG Academy to download
the "Plant Protection operation" APP
STEP 1 – Connect the ACB1 CommBack with an Type-C USB Cable to the Smart Phone.
STEP 2 – Start XPLANET APP and ensure the device is connected successfully (the icon turns green).
STEP 3 – Click on the icon to check for Hotspot Details .
Default name: XAG123
Default Password: 20070401
Hotspot Details on ACB1 CommBack can be edited
STEP 4 – Edit the Hotspot detail to be consistent with your Smart Phone, and enable Hotspot.
STEP 5 – Disconnect the USB Cable connecting your Smart Phone and ACB1 CommBack, and waits
STEP 5 – for the device connection via WiFi. Once it is connected, the WIFI connection icon on
STEP 5 – “XPLANET” APP to light up ( turns green)
.
Summary of Contents for P20 2019
Page 1: ...en Version 1 0 Quick Start Guide P20 2019 ...
Page 2: ......


