System Operation
Cartridge Installation
820-0332
4-9
3.
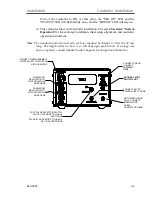
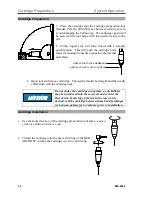
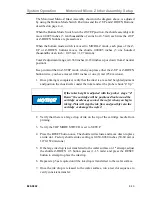
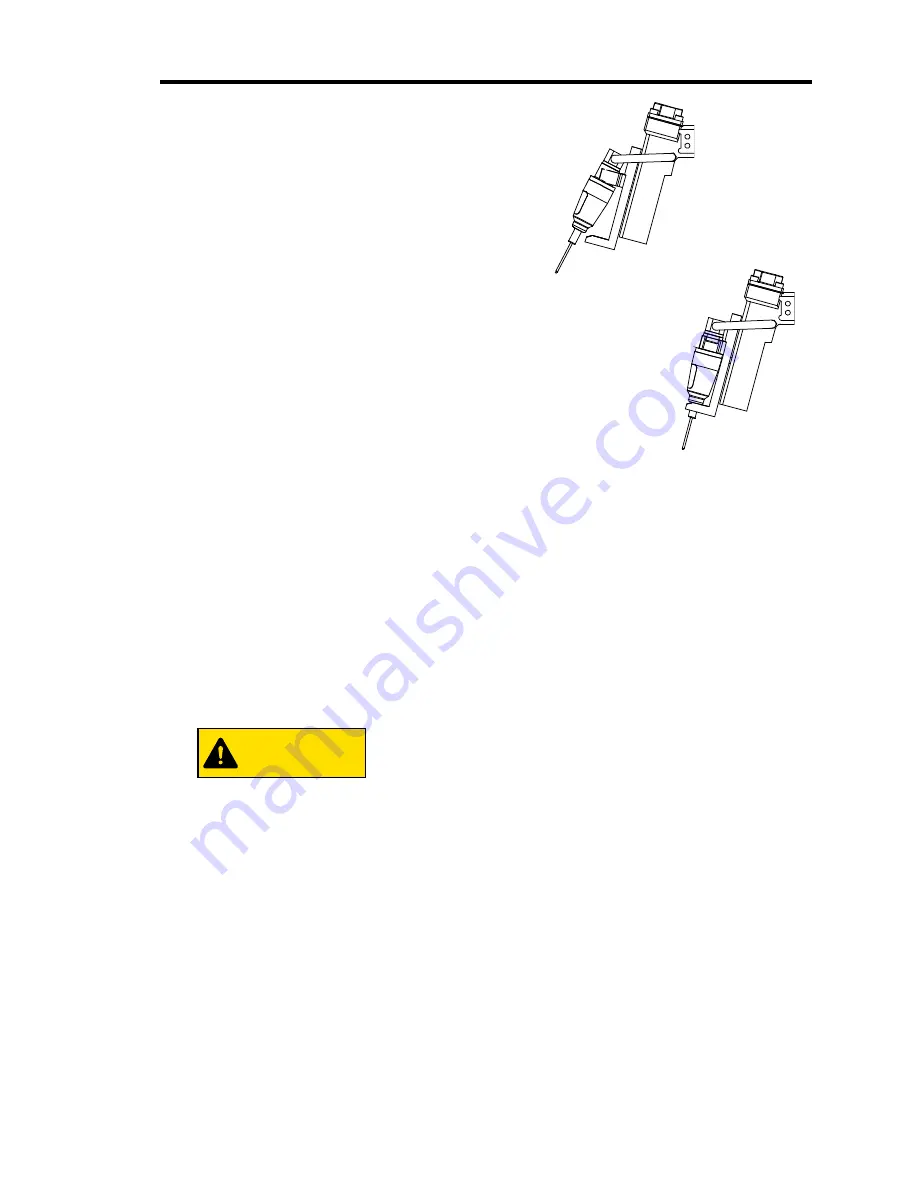
Press top of cartridge into shuttle spring clip.
4.
Press cartridge body into shuttle forks until the neck fully snaps
into place.
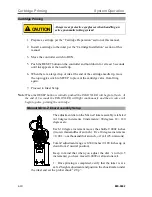
Cartridge is now ready for priming. (See “
Cartridge Priming
" later in this Section (4) for
instructions)
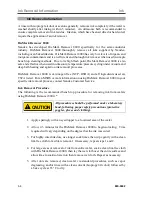
Caution: Ink Cartridge needle can pierce skin when
moved manually or when shuttle valve is actuated:
1.
Keep hands and fingers clear of the cartridge
needle tip after cartridge change out and
priming.
2.
Never place hands or fingers under the cartridge
needle
3.
Keep hands and fingers clear of needle tip
during cartridge change out and priming.
Always follow recommended cartridge priming
procedure. Place the controller toggle switch in
RUN position and press the controller RESET
button, which fires ONLY the cartridge valve to
send ink to the needle tip. Priming using any
other mode that actuates the shuttle valve during
the priming process exposes the user to possible
hand or finger puncture when the shuttle
actuates.
CAUTION
Summary of Contents for 340-7110
Page 10: ...1 2 820 0332 This page is intentionally left blank...
Page 18: ...Controller Installation Installation 3 6 820 0332 This page is intentionally left blank...
Page 34: ...Cartridge Priming Tips System Operation 820 0332 4 16 This page is intentionally left blank...
Page 40: ...Ink Removal Information Ink 820 0332 5 6 This page is intentionally left blank...


