Motorized Micro-Z Inker Assembly Setup
System Operation
820-0332
4-14
Fine Adjustments
8.
If ink dots are consistent in size and shape, the inker is setup and ready to ink
wafers.
9.
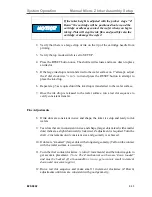
Test dots that are inconsistent in size and shape (larger dots mixed with smaller
dots) indicate a slight downward Z adjustment is required. Place the bottom
mode switch in MICRO-Z mode and adjust the shuttle Z-DOWN in 1-2 button
press increments until consistent dots are achieved.
10.
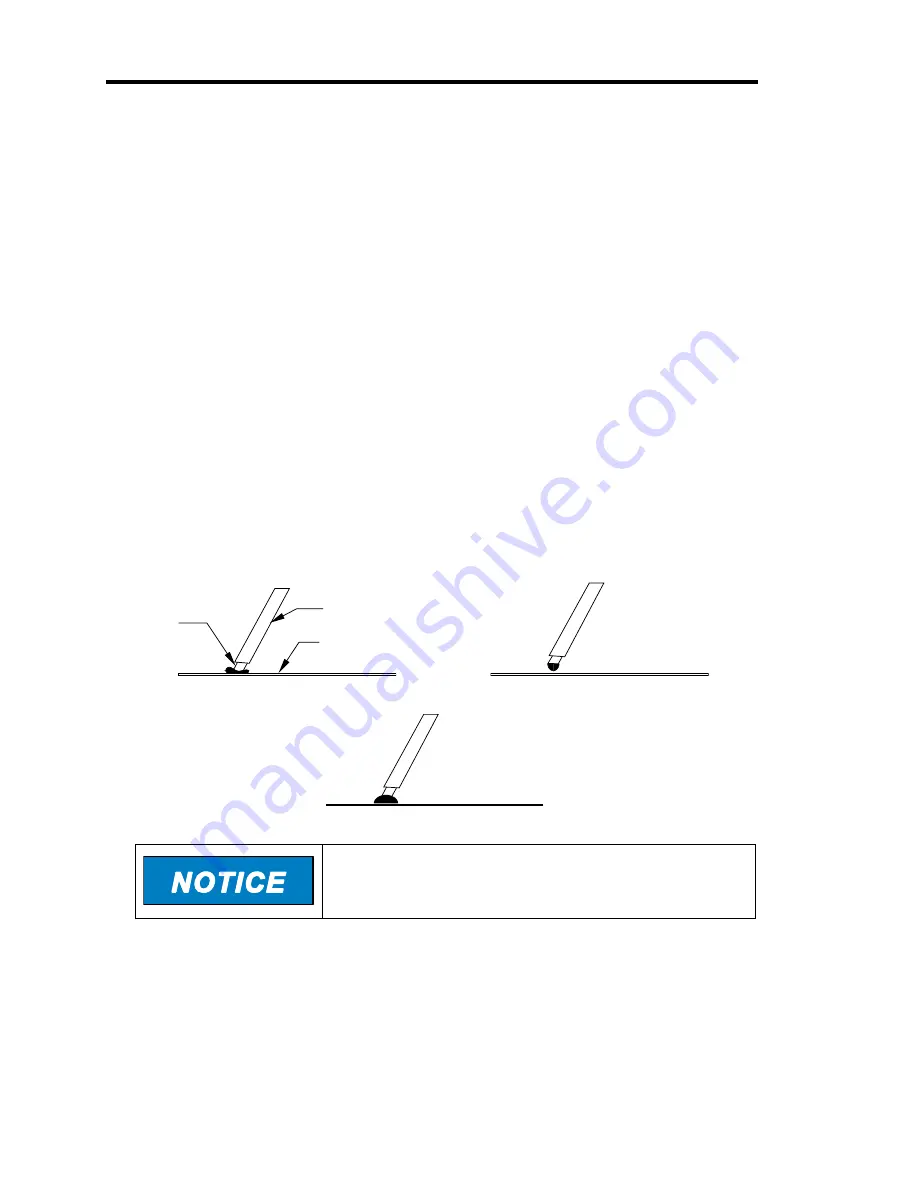
If dots are “smeared” (larger dots with elongated geometry) Teflon tube contact
with the wafer surface is occurring.
11.
In Z-STEP mode, press Z-UP 4 times (2 mil) and then change to MICRO-Z and
adjust down for accurate placement. (
Note: The Z mechanism can become
"down loaded" and must be backed off a thousandth or two to get accurate
small increment downward movement again.
)
12.
Run a test dot sequence and make MICRO-Z mode Z Down adjustments until
dots are consistent with good geometry.
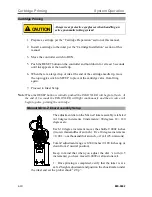
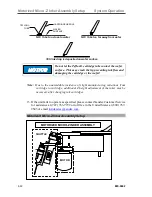
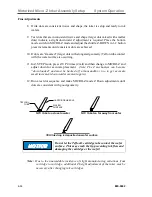
NO ! Tube too close to wafer NO! Tube too far away from wafer
YES! Ink drop is deposited on wafer surface
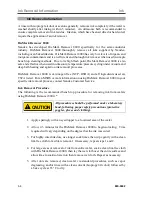
Do not let the Teflon® cartridge tube contact the wafer
surface. This may crush the tip preventing ink flow and
damaging the cartridge or the wafer!
Note:
Due to the unavoidable incidence of slight manufacturing variations from
cartridge to cartridge, additional Z height adjustment of the inker may be
necessary after changing ink cartridges.
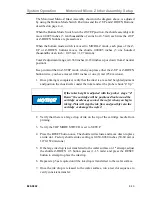
WAFER
SURFACE
CARTRIDGE NEEDLE
TEFLON
TUBE
Summary of Contents for 340-7110
Page 10: ...1 2 820 0332 This page is intentionally left blank...
Page 18: ...Controller Installation Installation 3 6 820 0332 This page is intentionally left blank...
Page 34: ...Cartridge Priming Tips System Operation 820 0332 4 16 This page is intentionally left blank...
Page 40: ...Ink Removal Information Ink 820 0332 5 6 This page is intentionally left blank...

