background image


Defender XD103- User Manual


8.


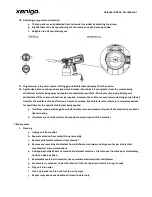
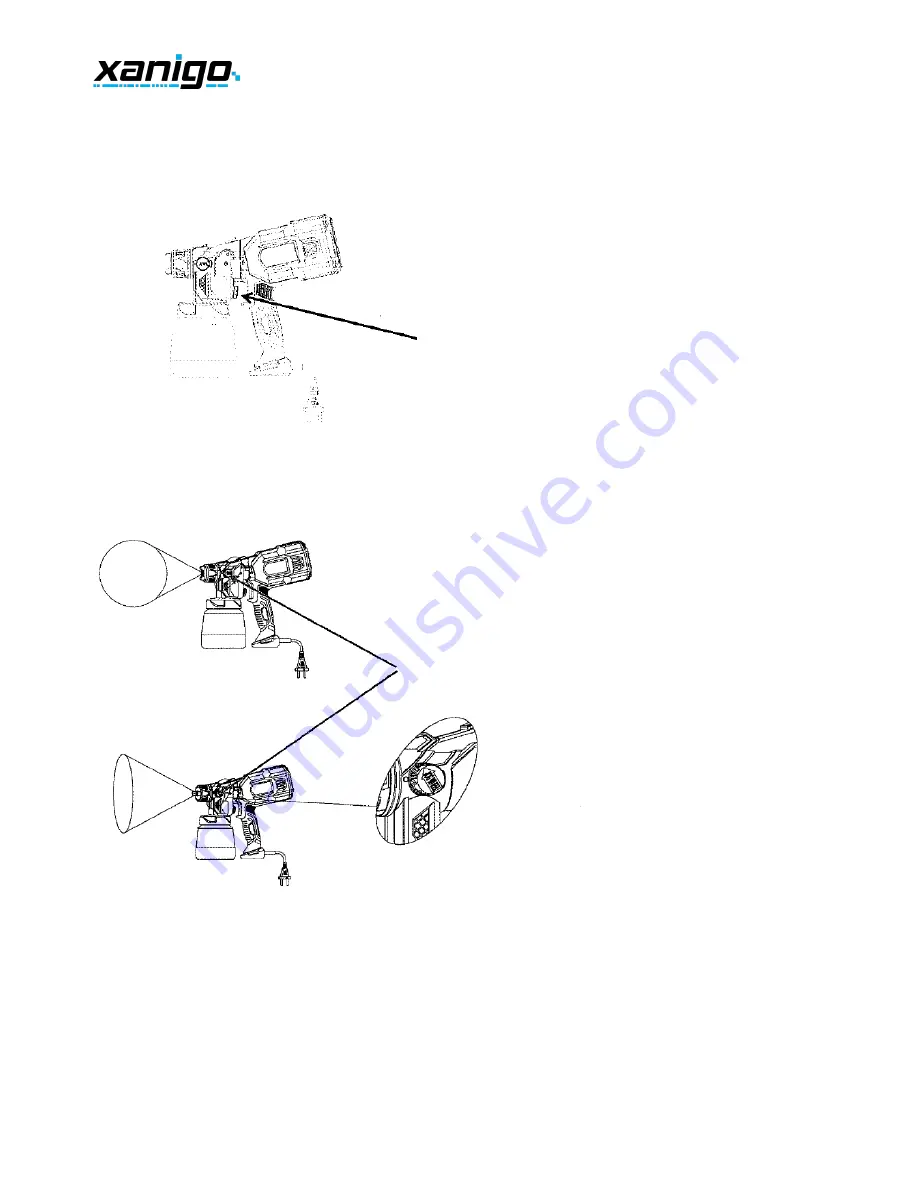
Adjust the needle adjusting screw to meet your desired level of disinfectant coverage


a.


Adjust the screw to the left to decrease coverage


b.


Adjust the screw to the right to increase coverage


9.


Spray pattern adjustment. Turn the knob to adjust from round pattern to fan pattern. 


Adjusting Screw 


Spray Pattern Adjustment Knob


Summary of Contents for XD103

Page 1: ...Electric Atomizer for Disinfecting INSTRUCTIONS FOR HVLP ELECTRIC ATOMIZER XD103 Before using the atomizer read this manual thoroughly Any improper use can cause damage or serious injury including death ...

Page 2: ...Defender XD103 User Manual Disinfecting Log Sheet Area Disinfected Chemical Used Date Time ...

Page 3: ... property damage can occur Only clean up with water or soap water To avoid these risks take the following preventions Exhaust and fresh air introduction must be provided to keep the air within the spray area free from accumulation of flammable vapors Keep spray area well ventilated Avoid all ignition sources such as static electricity sparks open flames pilot lights hot objects lit tobacco product...

Page 4: ... liquid is in the canister The suction tube in the canister should always be submerged in the liquid in the canister when in use Do not operate the atomizer in a manner attitude that allows the suction tube to become unsubmerged Examples of improper use include but are not limited to use while inverted or use while being held sideways Bubbling of the liquid in the canister indicates improper use W...

Page 5: ...ate or spray near children Keep children away from equipment at all times Keep atomizer out of the reach of children Do not overreach or stand on an unstable support Keep effective footing and balance at all times Stay alert and watch what you are doing Do not operate the unit when fatigued or under the influence of drugs or alcohol Read all instructions and safety precautions for equipment and sp...

Page 6: ...Defender XD103 User Manual ...

Page 7: ...e cover 28 Cannister 45 Motor cover 12 Big nut 29 Φ3 flat gasket 46 Motor 13 Air cap 30 Foot pad 47 Damping ring 14 Atomizer nozzle 31 Short pin 15 Barge board 32 Adjusting knob 16 Nozzle seal 33 Trigger 17 Needle 34 Atomizer knob II Technical parameters Model XD103 Rated power 550W Atomized particle size nominal 60 80 microns when used with water thin disinfectant Rated voltage 120V Spray distanc...

Page 8: ...uction tube should be pointing toward the front of the atomizer c Do not operate nor store atomizer on its side or inverted when liquid is in the canister d The suction tube in the canister should always be submerged in the liquid in the canister when in use Do not operate the atomizer in a manner attitude that allows the suction tube to become unsubmerged Examples of improper use include but are ...

Page 9: ... it counterclockwise 90 degrees c Pull out to remove the motor blower from the atomizer 6 Screw filled disinfectant container onto the atomizer 7 Connect atomizer body with motor blower a Hold atomizer body in your left hand and align the slot on the atomizer with the slot on the motor blower and insert as shown in the figure b Rotate the motor blower 90 degrees clockwise c When the atomizer and m...

Page 10: ...r desired level of disinfectant coverage a Adjust the screw to the left to decrease coverage b Adjust the screw to the right to increase coverage 9 Spray pattern adjustment Turn the knob to adjust from round pattern to fan pattern Adjusting Screw Spray Pattern Adjustment Knob ...

Page 11: ...er s recommendations for dwell time for the specific disinfectant being applied a If surfaces remain wet longer than 5 10 minutes increase movement speed of the atomizer to produce a lighter coating b If surfaces are not fully wetted slow down movement speed of the atomizer V Maintenance 1 Cleaning a Unplug unit from outlet b Separate atomizer from motor blower assembly c Remove disinfectant conta...

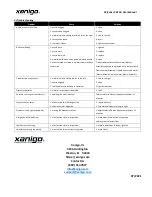
Page 12: ...ogged 3 too little pressure build up in container 1 turn to the right 2 clean 3 tighten container D spray jet pulsates 1 material in container is depleted 1 refill E pattern runs sags or remains wet 1 applying too much material 1 adjust material flow or increase movement of atomizer F too much over spray 1 atomizer too far from target area 2 too much material applied 1 reduce distance 2 turn mater...

Reviews: