9-14 Options
bb
___________________________________________
8.
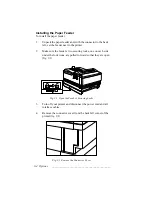
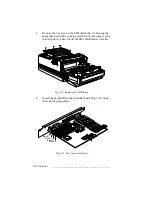
Remove the 7 screws on the EMI shield (fig. 9.10) using the
magnetized screwdriver, being careful not to drop any screws
into the printer. Then, lift off the EMI shield and set it aside.
Fig. 9.10 Remove the EMI Shield
9.
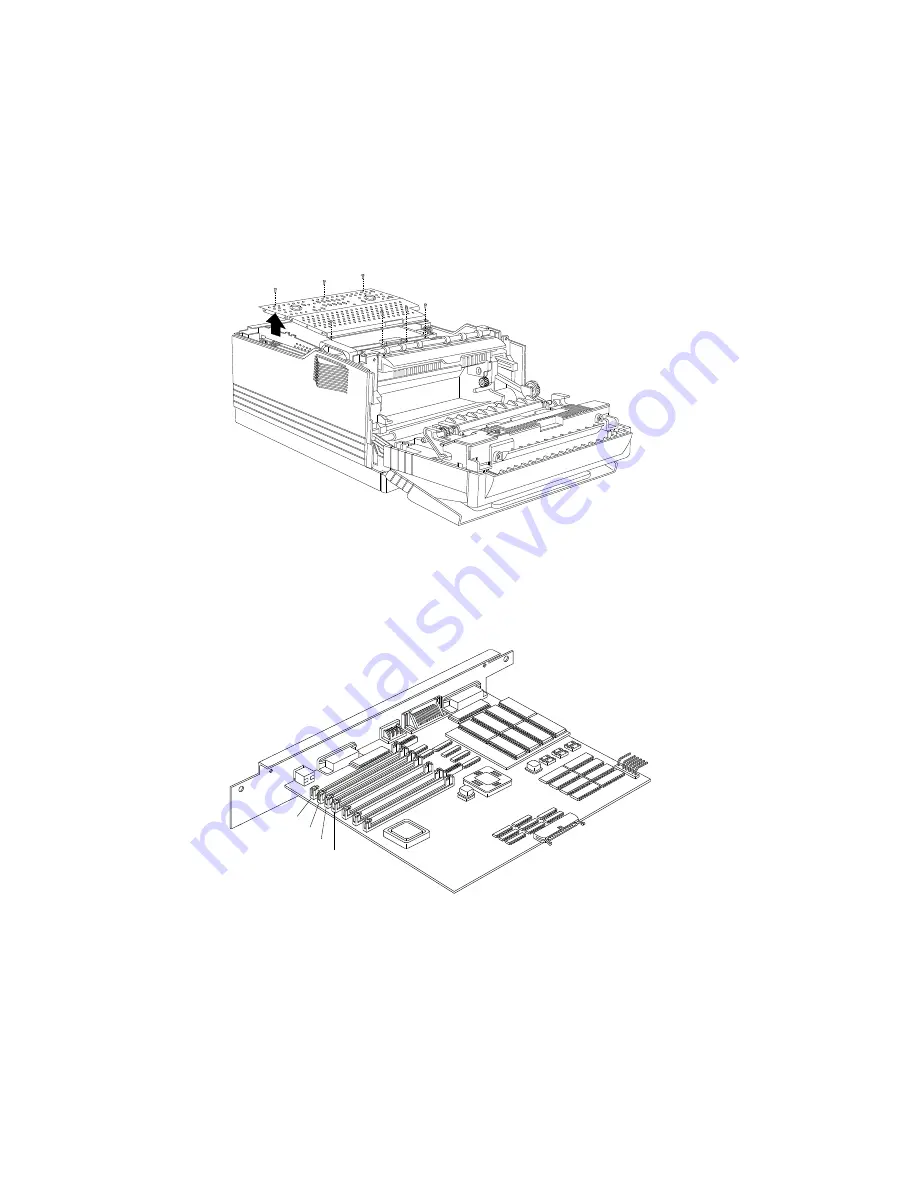
Install the new RAM in the controller board (fig. 9.11) using
the following procedure.
Bank 1
Bank 2
Bank 3
Bank 4
Fig. 9.11 The Controller Board


