Ilumina Software Installation Guide 9
5.
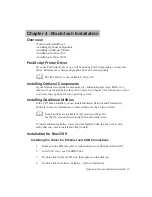
Select [Custom Install] to install the printer driver and software utilities. To
install only the Ilumina driver, select [Minimal Install] and skip to Step 7.
6.
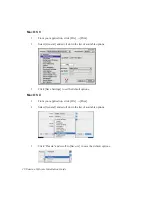
Select [Printer Driver Installer].
7.
Select [Network Printer]. Click [Next].
8.
Select [Directly to the Network] using [TCP/IP]. Click [Next].
9.
The TCP/IP Connection screen will appear. Select [Search Address]. Click
[Next].
10.
Highlight your Ilumina. Click [Next].
11.
Select the [PS] or [PCL] driver under Printer Emulation. Click [Next].
12.
Follow the on-screen instructions to complete the installation.
Discover the Ilumina using the LPR Utility
The LPR Utility is installed automatically with the network Ilumina drivers.
In order to send documents to the Ilumina, the LPR utility must be installed.
LPR installs automatically when the drivers are installed using the Menu
Installer as instructed here. If drivers are installed using Windows “Add
Printer Wizard,” you must manually load the LPR Utility from the Menu
Installer on CD1. To do this, click [Custom Install]
→
[Network Software]
→
[Installation/Confi g]
→
[LPR Utility].
To discover the Ilumina, do the following:
1. Click
[Start]
→
[Programs]
→
[Xanté]
→
[Xanté LPR Utility].
2.
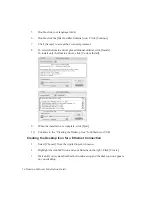
Click [Remote Print]. Then, click [Add Printer].
3.
Select your Ilumina from the drop-down list
4.
Enter the IP Address manually or click [Discover] and wait for the Ilumina to
be discovered.
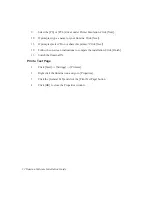
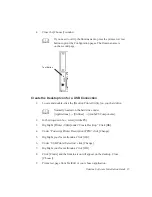
5. Click
[OK].


