_______________________________________
Ethernet Setup 5-21
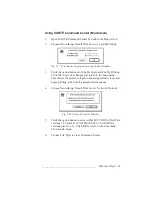
Using XANTÉ Command Center (Macintosh)
1.
Open XANTÉ Command Center by double-clicking its icon.
2.
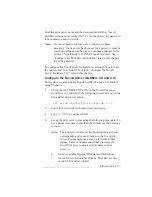
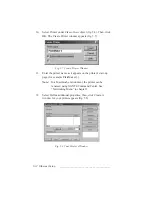
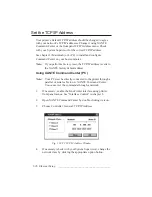
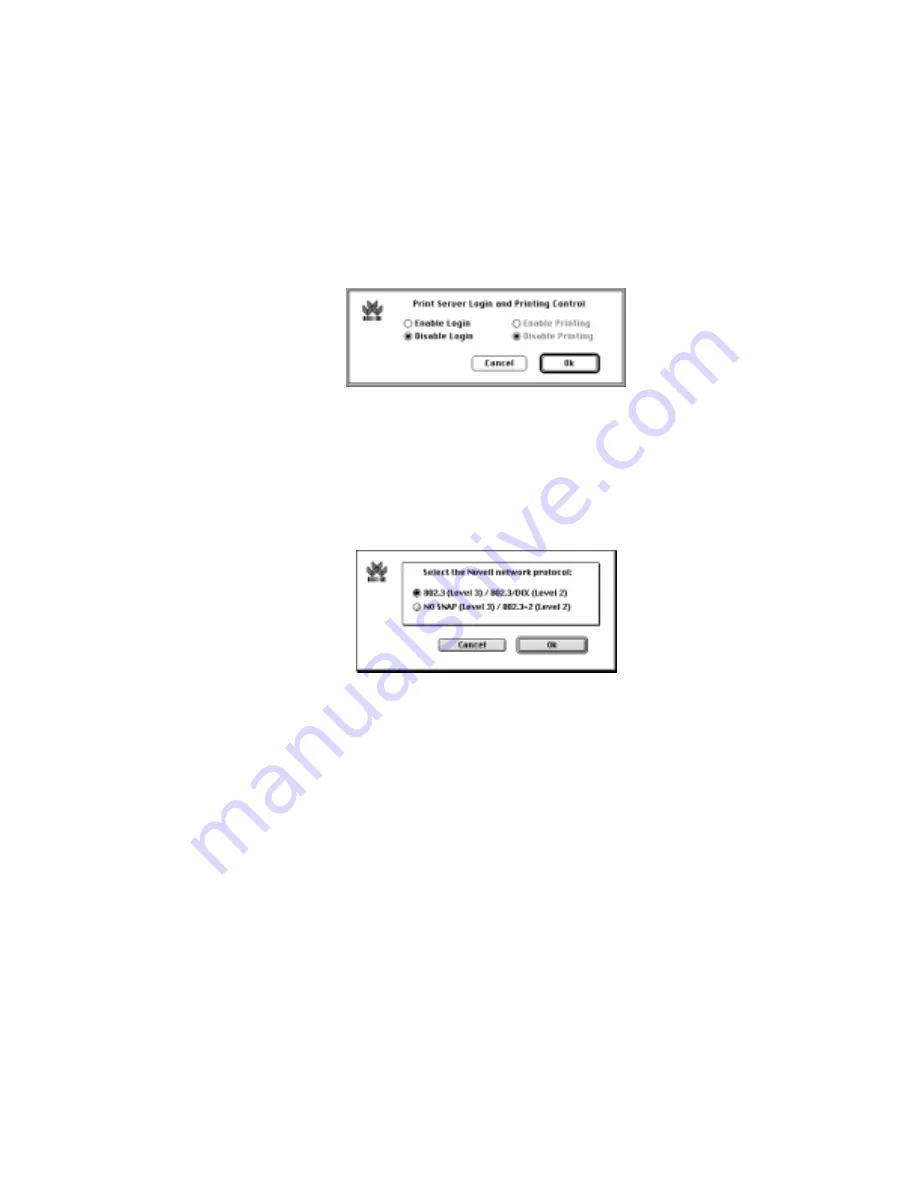
Choose Networking: Novell Print Server: Login & Printing.
Fig. 5.17 Print Server Login and Printing Control Window
3.
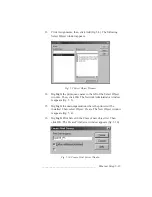
Click the option buttons for Enable Login and Enable Printing.
Click Ok to save the changes and return to the main menu.
This directs the printer to login to the assigned file servers and
begin printing jobs from the assigned print queues.
4.
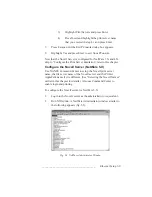
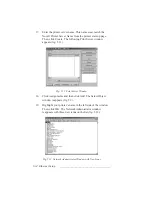
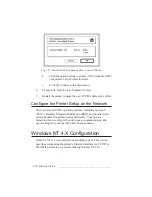
Choose Networking: Novell Print Server: Network Protocol.
Fig. 5.18 Network Protocol Window
5.
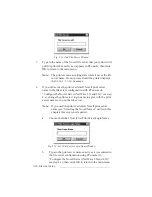
Click the option button to select either 802.3/DIX for NetWare
versions 3.12 and 4.X or NO SNAP/802.3-2 for NetWare
versions prior to 3.12. Click OK to return to the Command
Center main menu.
6.
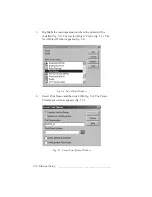
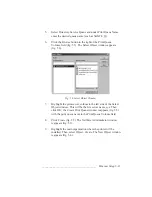
Choose File: Quit to close Command Center.
Summary of Contents for PlateMaker 3
Page 2: ...1 2 Introductionbb ________________________________________ Notes...
Page 10: ...1 10 Introductionbb ________________________________________...
Page 12: ...2 2 Installationbb_________________________________________ Notes...
Page 40: ...3 2 Macintosh Setupbb ____________________________________ Notes...
Page 90: ...3 52 Macintosh Setupbb ____________________________________...
Page 92: ...4 2 PC Setupbb __________________________________________ Notes...
Page 142: ...5 2 Ethernet Setupbb ______________________________________ Notes...
Page 212: ...6 38 Configurationbb ______________________________________...
Page 214: ...7 2 Media Optionsbb ______________________________________ Notes...
Page 224: ...8 2 Printing with Various Media Types bb _____________________ Notes...
Page 232: ...9 2 Maintenance and Specificationsbb ________________________ Notes...
Page 246: ...10 2 Printer Optionsbb ____________________________________ Notes...
Page 262: ...10 18 Printer Optionsbb ____________________________________...
Page 264: ...11 2 Troubleshootingbb____________________________________ Notes...

