_______________________________________
Ethernet Setup 5-29
LPR Port Setup for TCP/IP
After completing the driver installation, use the following procedure
to configure your printer for Windows NT 4.X network printing.
1.
Make sure that the TCP/IP address has been setup on your
printer for your network and that you can PING this address
from your PC. If not, see “TCP/IP Addresses” and “Set the
TCP/IP Address” earlier in this chapter for details and check
with your System Administrator.
2.
Click Start: Settings: Printers. Then, right click on the new
XANTÉ icon and select Properties.
3.
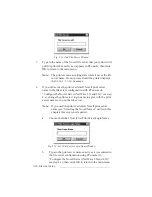
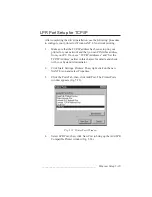
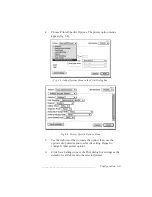
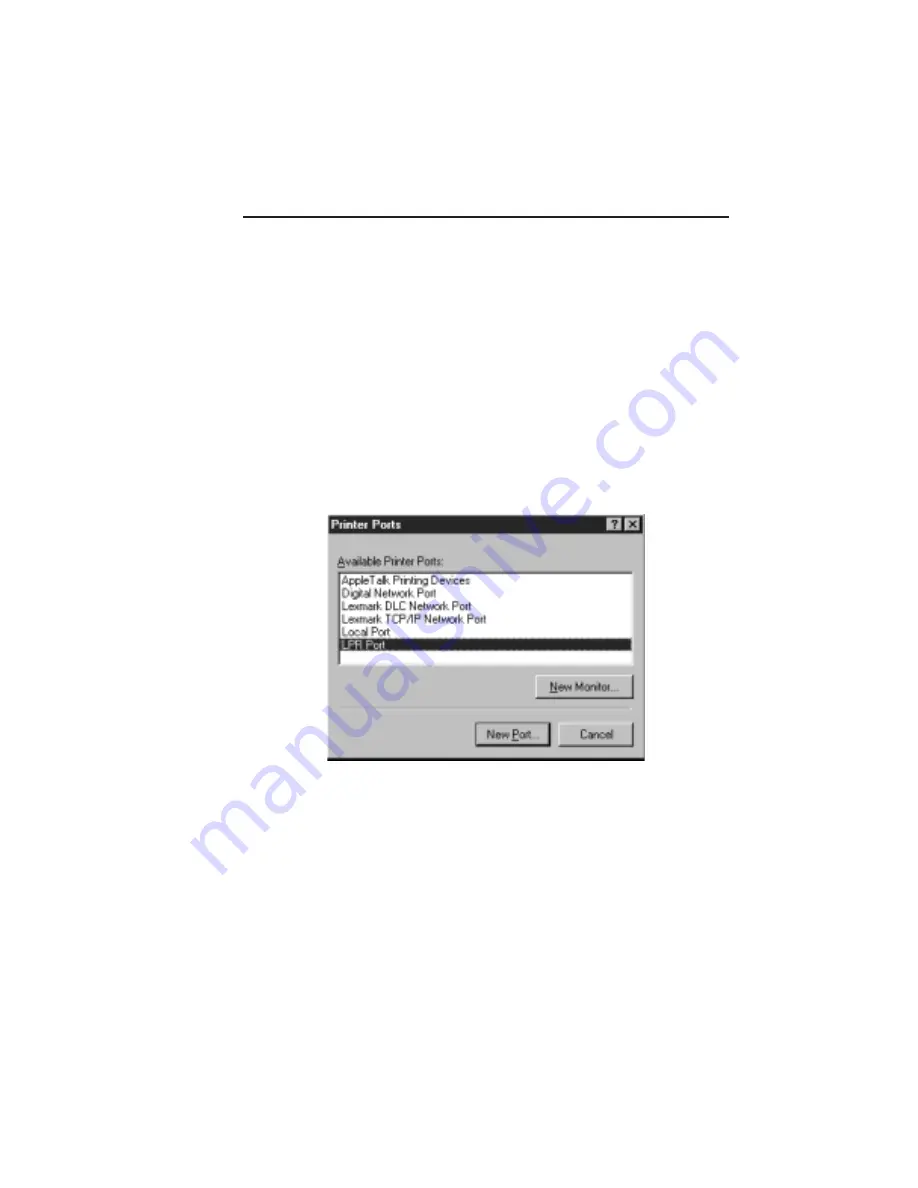
Click the Ports Tab; then, click Add Port. The Printer Ports
window appears (fig. 5.23).
Fig. 5.23 Printer Ports Window
4.
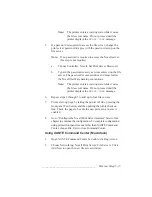
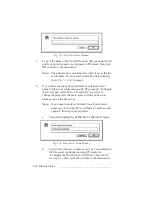
Select LPR Port; then, click New Port to bring up the Add LPR
Compatible Printer window (fig. 5.24).
Summary of Contents for PlateMaker 3
Page 2: ...1 2 Introductionbb ________________________________________ Notes...
Page 10: ...1 10 Introductionbb ________________________________________...
Page 12: ...2 2 Installationbb_________________________________________ Notes...
Page 40: ...3 2 Macintosh Setupbb ____________________________________ Notes...
Page 90: ...3 52 Macintosh Setupbb ____________________________________...
Page 92: ...4 2 PC Setupbb __________________________________________ Notes...
Page 142: ...5 2 Ethernet Setupbb ______________________________________ Notes...
Page 212: ...6 38 Configurationbb ______________________________________...
Page 214: ...7 2 Media Optionsbb ______________________________________ Notes...
Page 224: ...8 2 Printing with Various Media Types bb _____________________ Notes...
Page 232: ...9 2 Maintenance and Specificationsbb ________________________ Notes...
Page 246: ...10 2 Printer Optionsbb ____________________________________ Notes...
Page 262: ...10 18 Printer Optionsbb ____________________________________...
Page 264: ...11 2 Troubleshootingbb____________________________________ Notes...


