10-8 Printer Options
bb
____________________________________
To install a controller board upgrade
1.
Remove the controller board panel.
2.
Install the upgrade(s).
3.
Replace the controller board panel.
Caution:
Static electricity can destroy electronic components,
such as your controller board, SODIMMs, firmware,
hard disk, and Ethernet board. Use approved antistatic
procedures when working with the controller board and
upgrades.
Removing the Controller Board Panel
1.
Make sure the printer displays a PLEASE WAIT or
READY/IDLE message. Then, turn off the printer and
disconnect the power cord from the power supply.
2.
Remove any media in the multipurpose feeder and output tray.
3.
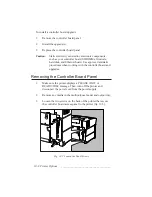
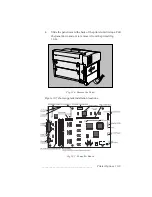
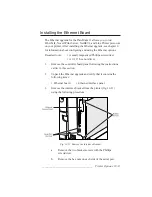
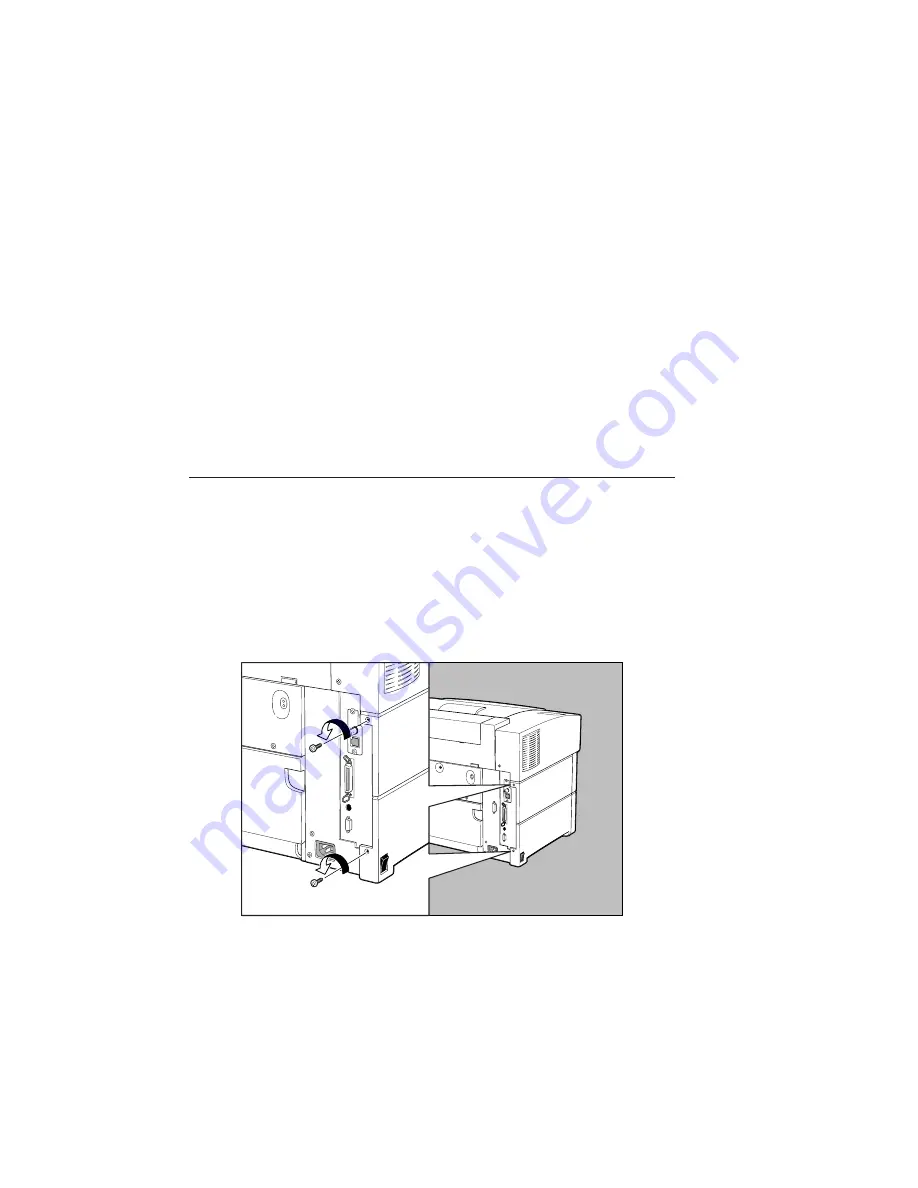
Loosen the two screws on the back of the printer that secure
the controller board access panel to the printer (fig. 10.5).
Fig. 10.5 Loosen the Panel Screws
Summary of Contents for PlateMaker 3
Page 2: ...1 2 Introductionbb ________________________________________ Notes...
Page 10: ...1 10 Introductionbb ________________________________________...
Page 12: ...2 2 Installationbb_________________________________________ Notes...
Page 40: ...3 2 Macintosh Setupbb ____________________________________ Notes...
Page 90: ...3 52 Macintosh Setupbb ____________________________________...
Page 92: ...4 2 PC Setupbb __________________________________________ Notes...
Page 142: ...5 2 Ethernet Setupbb ______________________________________ Notes...
Page 212: ...6 38 Configurationbb ______________________________________...
Page 214: ...7 2 Media Optionsbb ______________________________________ Notes...
Page 224: ...8 2 Printing with Various Media Types bb _____________________ Notes...
Page 232: ...9 2 Maintenance and Specificationsbb ________________________ Notes...
Page 246: ...10 2 Printer Optionsbb ____________________________________ Notes...
Page 262: ...10 18 Printer Optionsbb ____________________________________...
Page 264: ...11 2 Troubleshootingbb____________________________________ Notes...

