2-16 Installation
bb
_________________________________________
5.
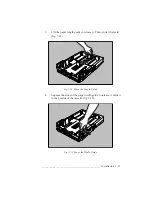
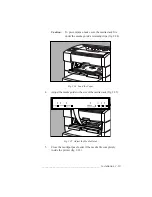
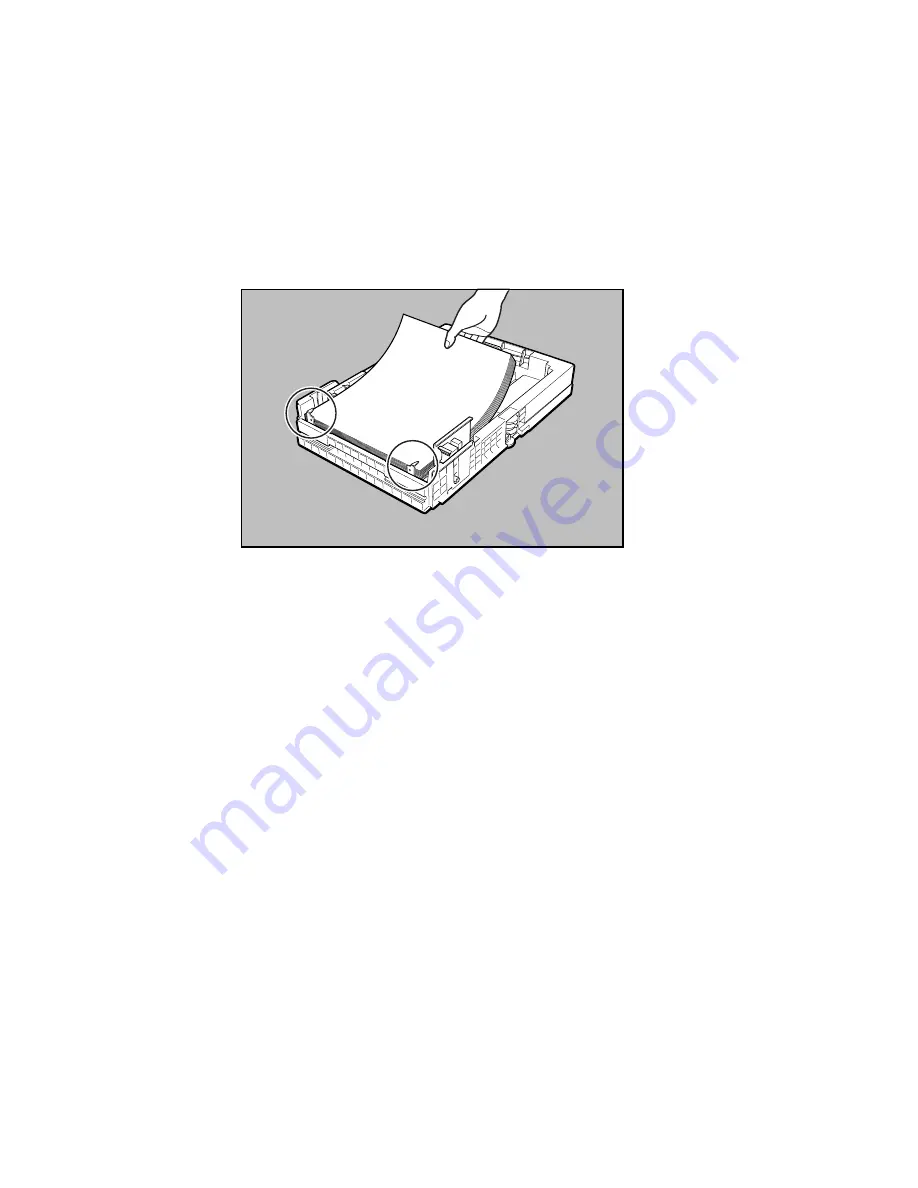
Align the paper stack and load it into the cassette print side up,
leading edge to the back (fig. 2.20). See “Media Sources” in
chapter 7 to determine whether to load media short or long
edge first.
Fig. 2.20 Load the Paper
6.
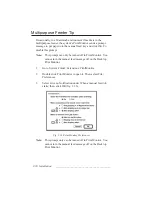
Adjust the media guides to the size of the paper stack.
Caution:
To prevent paper jams, make sure the paper fits
between the paper guides and under the cassette’s
retaining clips (fig. 2.20).
7.
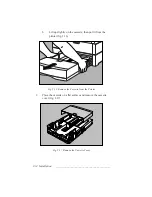
Replace the cassette cover.
8.
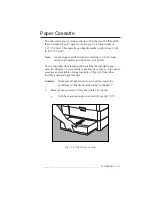
Slide the cassette into the printer until it snaps into place.
Note:
You will feel a slight resistance as you push the
cassette into the printer caused by the catch that
prevents the cassette from being dropped.
9.
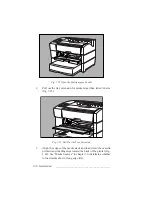
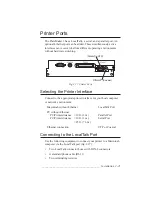
Pull out the output tray extension and turn up the paper stop
for paper sizes larger than letter/A4 (fig. 2.21).
Summary of Contents for PlateMaker 3
Page 2: ...1 2 Introductionbb ________________________________________ Notes...
Page 10: ...1 10 Introductionbb ________________________________________...
Page 12: ...2 2 Installationbb_________________________________________ Notes...
Page 40: ...3 2 Macintosh Setupbb ____________________________________ Notes...
Page 90: ...3 52 Macintosh Setupbb ____________________________________...
Page 92: ...4 2 PC Setupbb __________________________________________ Notes...
Page 142: ...5 2 Ethernet Setupbb ______________________________________ Notes...
Page 212: ...6 38 Configurationbb ______________________________________...
Page 214: ...7 2 Media Optionsbb ______________________________________ Notes...
Page 224: ...8 2 Printing with Various Media Types bb _____________________ Notes...
Page 232: ...9 2 Maintenance and Specificationsbb ________________________ Notes...
Page 246: ...10 2 Printer Optionsbb ____________________________________ Notes...
Page 262: ...10 18 Printer Optionsbb ____________________________________...
Page 264: ...11 2 Troubleshootingbb____________________________________ Notes...


