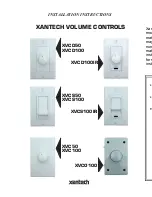
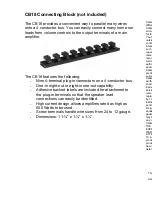
XVCD50
XVCD100
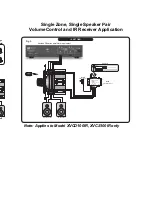
XVCD100IR
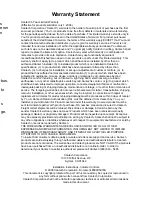
XVCS50
XVCS100
XVCS100IR
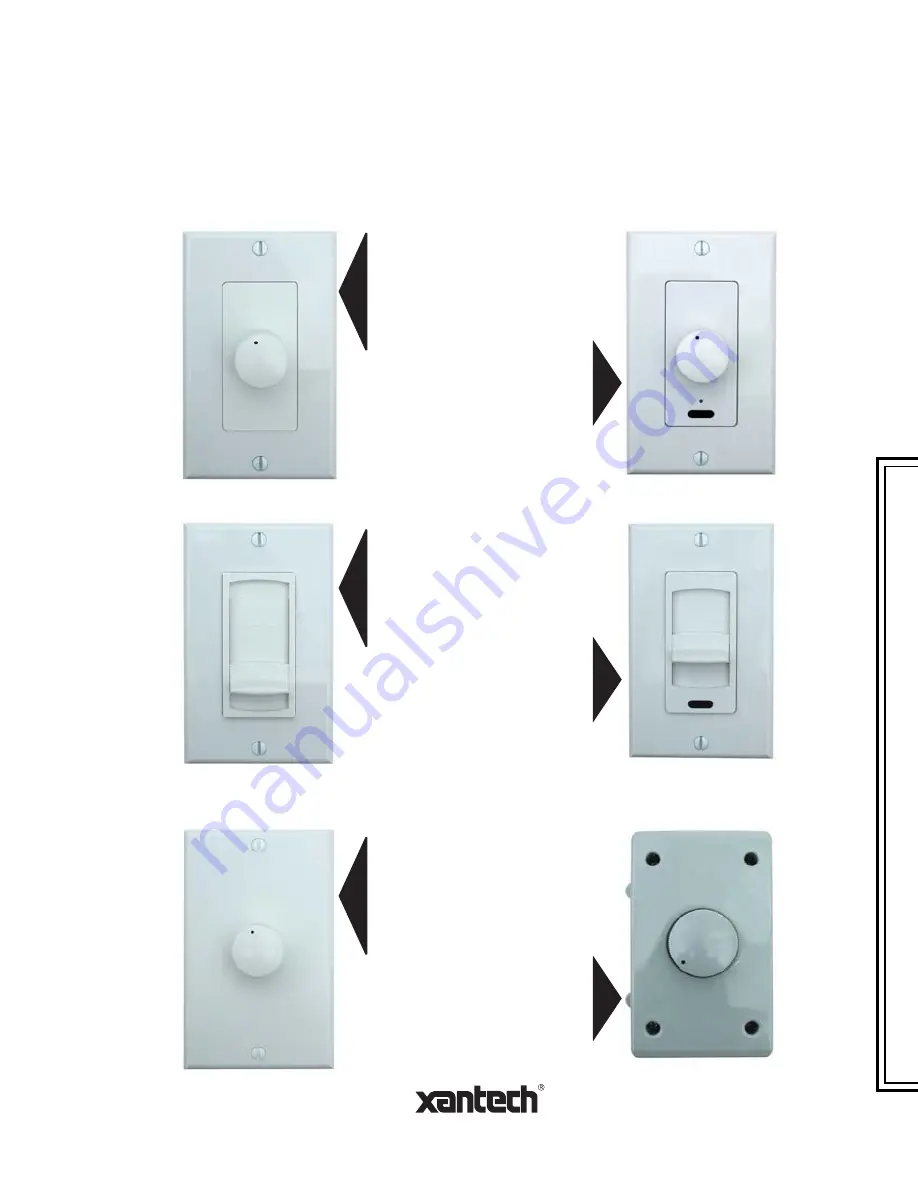
XVC50
XVC100
XVCO100
INSTALLATION INSTRUCTIONS
XANTECH VOLUME CONTROLS
Installation Instructions
XV Volume Controls
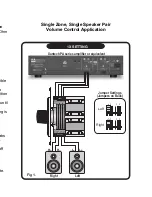
Xantech’s premier product line of XV volume controls are in-wall
mountable stereo speaker volume control with impedance
matching capability. From one to eight pairs or stereo speakers
may be driven from one stereo power amplifier, using an equal
number of XV volume controls. It maintains correct impedance
matching between the amplifier and the speakers by the use of
instant setting jumpers on the control. This eliminates the need
for separate impedance matching components in multi-room
installations.
Features and Benefits
•
XVC50, XVD50, XVC50
Power handling: 50 Watts continuous, 150 Watts peak
•
XVC100, XVD100, XVCS100, XVCO100, XVCD100IR, XVCS100IR
Power handling: 100 Watts continuous, 300 Watts peak
•
All
Models
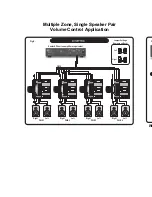
Adjustable impedance matching for up to 8 speaker pairs
(1, 2, 4, 8 pairs)
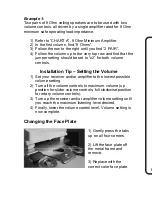
Attenuation:
11 steps plus Off; max 42 dB
Frequency response:
20Hz-20kHz ±1 dB
Speaker Terminals:
16 gauge, Quick Connect (detachable)
Mounting:
Minimum 20 cu. in. J-box or Mud Ring.
Note: Be sure to check fit before choosing J-boxes!
Isolated left- and right-channel grounds ensure safety with any bridged
amplifier.
Fluid, pop-free switching during volume adjustments.
Compatible with 4-, 6-, or 8-ohm speaker systems.
UL Listed to comply will all local building codes.
Installation requires only a screwdriver and wire strippers.


