26
Freedom X Owner’s Guide
Basic Installation Procedures
Step 6: Connecting the DC Cables
Follow the procedure given below to connect the battery leads to the
terminals on the DC end. The cables should be as short as possible
and large enough to handle the required current, in accordance with
the electrical codes or regulations applicable to your installation.
Table 2 on page 13 specifies the minimum DC cable size and
maximum fuse size for the Freedom X.
If at all possible, minimize routing your DC cables through an
electrical distribution panel, battery isolator, or other device that
will cause additional voltage drops which can degrade the inverter’s
ability to operate the loads.
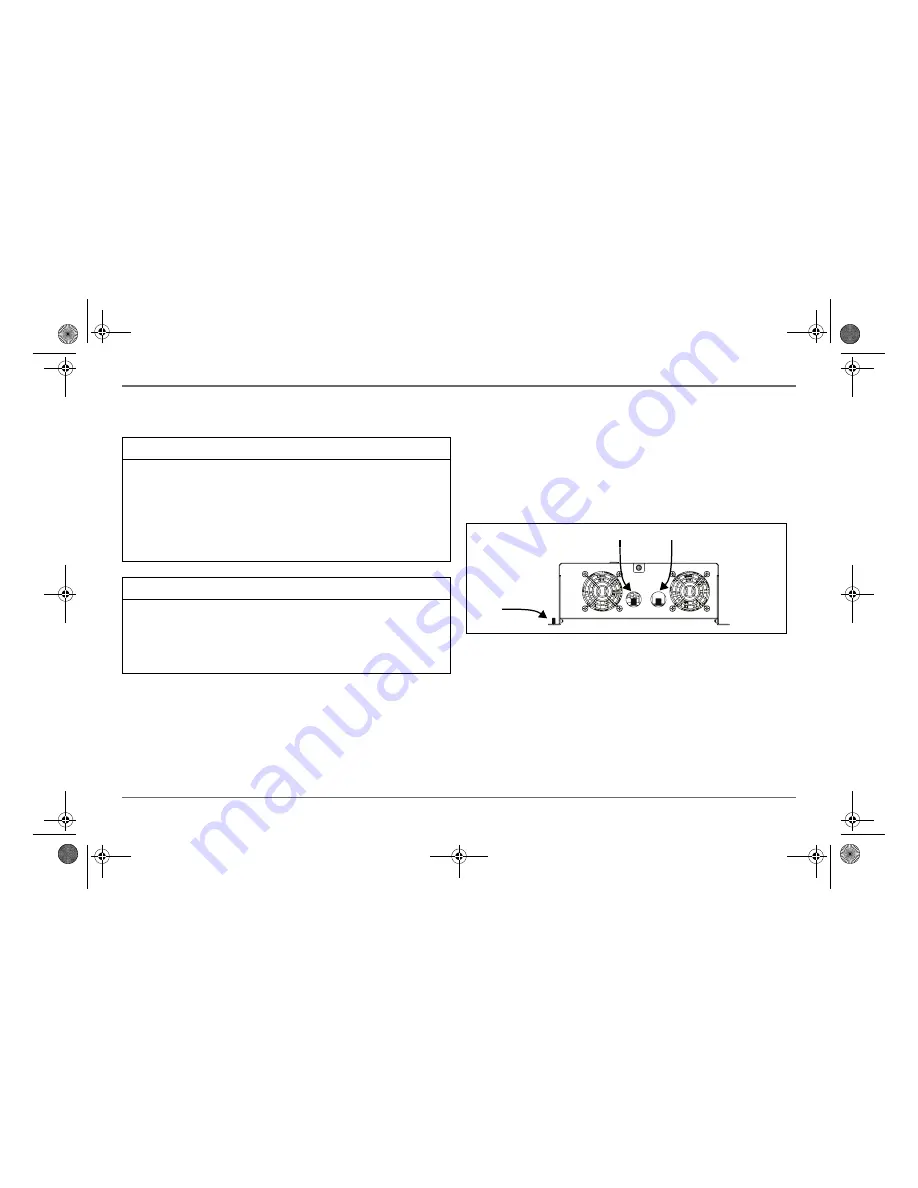
Figure 4 shows the DC end for your reference.
Figure 4
DC End
POSITIVE (+)
NEGATIVE (–)
DC Ground
Stud
NOTICE
REVERSE POLARITY DAMAGE
Check cable polarity at both the battery and the Freedom X before
making the final DC connection. Positive must be connected to positive;
negative must be connected to negative.
Reversing the positive and negative battery cables will damage the
Freedom X and void your warranty.
Failure to follow these instructions can damage the unit and/or equipment.
WARNING
FIRE HAZARD
Use only copper wire rated 75 °C minimum. Make sure all DC
connections are tight to a torque of 71–80 in-lbf (8–9Nm). Loose
connections will overheat.
Failure to follow these instructions can result in death or serious injury.
Freedom X Owners Guide.book Page 26 Wednesday, May 11, 2016 10:32 AM
Summary of Contents for 806-1212
Page 2: ...Freedom X Owners Guide book Page ii Wednesday May 11 2016 10 32 AM ...
Page 12: ...Freedom X Owners Guide book Page x Wednesday May 11 2016 10 32 AM ...
Page 14: ...Freedom X Owners Guide book Page ii Wednesday May 11 2016 10 32 AM ...
Page 77: ...Freedom X Owners Guide book Page i Wednesday May 11 2016 10 32 AM ...


