X7968r / X7967r / X7927r / X7922r
User
’
s Guide
10
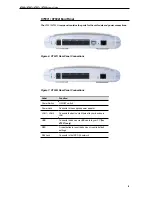
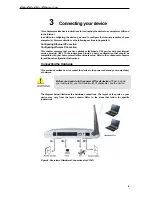
Step 1. Connect the DSL cable and optional telephone line
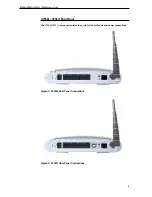
Connect one end of the provided phone cable to the port labeled DSL on the rear panel of the
device. Connect the other end to ADSL spliter.
Step 2. Connect the Ethernet cable
Connect up to four single Ethernet computers or to a HUB/Switch directly to the device via
Ethernet cable(s).
Note that the cables do not need to be crossover cables.
Step 3. Attach the power connector
Connect the AC power adapter to the Power connector on the back of the device and plug
the adapter into a wall outlet or power strip. Turn on and boot up your computer(s) and any
LAN devices such as hubs or switches.
Step 4. Configure your Ethernet PCs
You must also configure the Internet properties on your Ethernet PCs. See Configuring
Ethernet PCs section.
Step 5. Install a Wireless card and connect Wireless PCs
You can attach a Wireless LAN that enables Wireless PCs to access the Internet via the
device.
You must configure your Wireless computer(s) in order to access your device. For complete
instructions, see Configuring Wireless PCs section.
Step 6. Install an USB driver (for
X7967r
and
X7927r
only)
You can attach a single computer to the device using a USB cable. The USB port is useful if
you have an USB-enabled PC that does not have a network interface card for attaching to
your Ethernet network.
Before attaching the USB cable, you must install an USB driver on your PC and configure the
computer. For complete instructions, see Configuring an USB PC section.
Next step
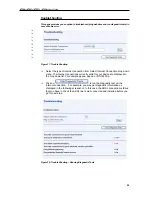
After setting up and configuring the device and PCs, you can log on to the device by
following the instructions in
“
Getting Started with the Web pages
”
on chapter 4. The chapter
includes a section called Testing your Setup, which enables you to verify that the device is
working properly.

