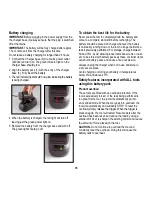
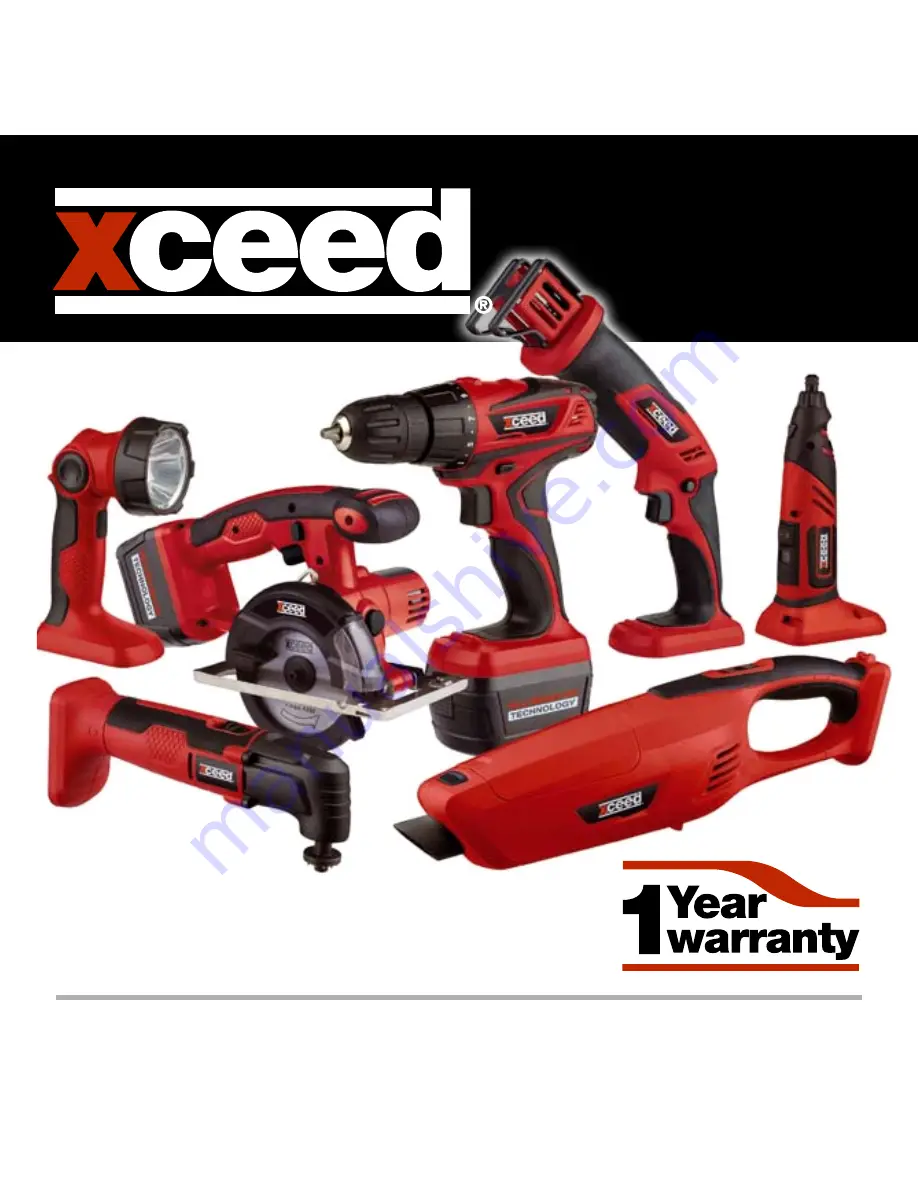
background image

INSTRUCTION MANUAL

7LI18VK/254-8592

7 PIEcE
cordlEss Tool   
combInaTIon sET

Summary of Contents for 7LI18VK

Page 1: ...INSTRUCTION MANUAL 7LI18VK 254 8592 7 PIEce Cordless Tool Combination Set...

Page 2: ...Fitting and removing the battery pack 15 Battery charging 16 To obtain the best life for the battery 16 Safety features incorporated with ALL tools using this battery pack 16 Know your product Drill 1...

Page 3: ...g time 1 Hour Charger Model XK18L1CH Battery pack Model XK18LB Introduction Your new Xceed power tool will more than satisfy your expectations It has been manufactured under stringent Xceed Quality St...

Page 4: ...le for outdoor use Use of a cord suitable for outdoor use reduces the risk of electric shock 3 Personal safety a Stay alert watch what you are doing and use common sense when operating a power tool Do...

Page 5: ...they do not play with the appliance 5 Battery tool use and care a Ensure the switch is in the off position before inserting battery pack Inserting the battery pack into power tools that have the switc...

Page 6: ...e in the area in which the tool is being used It is also imperative that you observe the accident prevention regulations in force in your area The same applies for general rules of occupational health...

Page 7: ...back may occur Investigate and take corrective actions to eliminate the cause of blade binding c When restarting a saw in the workpiece centre the saw blade in the kerf and check that saw teeth are no...

Page 8: ...ve all nails and other foreign objects before beginning sawing Support the work properly Never reach over the blade to remove waste or off cuts Do not attempt to free a jammed blade before first switc...

Page 9: ...the motor down Allow the attachments to work without pressure You will get better results and you will be taking better care of your tool Keep the area free of tripping hazards Do not let anyone under...

Page 10: ...limitations as well as the specific potential hazards related to this tool Following this rule will reduce the risk of electric shock fire or serious injury Always wear eye protection Any power tool...

Page 11: ...mpt to charge the battery pack with any other charger than the one supplied If there is a problem with the battery or the tool take it to your nearest Authorised Service centre or phone and speak with...

Page 12: ...the mains power socket Do not use an extension cord unless it is absolutely necessary The use of an improper extension cord could cause the risk of fire electric shock or electrocution Never attempt t...

Page 13: ...from fire If battery liquid leaks onto your skin or clothes wash well with clean water immediately If liquid leaking from the battery gets into your eyes do not rub your eyes Rinse your eyes well for...

Page 14: ...1 Battery Pack 2 Battery Release Button 3 Charger Base 2 x 18V Lithium ion Batteries are supplied for this 7 piece tool combination set A battery is shown on all products within this instruction manu...

Page 15: ...al Note When the battery of the tool is at the lower end of the charge the tool is more susceptible to the overload condition As mentioned above the battery pack is an integral component of this tool...

Page 16: ...ceably running down or the tool no longer performs a task it previously performed For storage charge between 50 and 75 Avoid allowing loose items like screws or nails etc to be stored with battery pac...

Page 17: ...voltage cut out feature within the circuitry The low voltage cut out feature operates when the voltage drops below a preset value This feature automatically stops the tool from operating similar to th...

Page 18: ...ther applications are expressly ruled out 1 Keyless chuck 2 Variable speed trigger with electric brake 3 Forward reverse control 4 LED Work light 5 17 Drill position clutch collar 6 Battery Specificat...

Page 19: ...h 3 will allow you to change the direction of the motor while the trigger switch is not depressed Drilling uses the forward mode The reverse mode is intended for the removal of screws and assisting to...

Page 20: ...h to mark the centre of the hole Use a suitable lubricant for the material you are working on USE FOR Oil Steel Turpentine or paraffin Aluminium Do not lubricate Brass copper or cast iron Drilling pla...

Page 21: ...stic and brick for scraping or removing grout from brick or tiles and detail sanding work Use the tool only for intended applications All othe applications are expressly ruled out 1 On Off switch 2 Ba...

Page 22: ...the blade is secured Using a detail sander attachment 1 Install the sanding pad on the oscillating tool as per the Installing accessories instructions 2 Install the sandpaper on the sanding pad 3 Tur...

Page 23: ...hazard or cause product damage DO NOT use solvents when cleaning plastic parts Plastics are susceptible to damage from various types of commercial solvents and may be damaged by their use Use a clean...

Page 24: ...ing knob 4 Lock off button 5 Motor housing 6 Auxiliary handle 7 Parallel fence attachment point 8 Spindle lock 9 Upper blade guard 10 Parallel fence not shown 11 Trigger switch 12 Base plate 13 Lower...

Page 25: ...cut Tighten the depth adjustment locking knob 3 Making a cut Mark the line of cut on the workpiece Adjust the depth of cut as required When making 90 cross or rip cuts align your line of cut with the...

Page 26: ...wise using the hex key provided Remove the outer blade flange and the blade bolt Fully open by rotating the lower rotating blade guard Remove the saw blade from the inner flange and pull it out Note t...

Page 27: ...using the hex key provided WARNING The direction in which the blade rotates has to be the same as the direction of the arrow marked on the housing Ensure that the spindle lock button 8 is released Bef...

Page 28: ...ther applications are expressly ruled out 1 Trigger switch 2 Lock off button 3 Blade clamp 4 Blade clamp screw 5 Battery Specifications Tool Model XK18RS Voltage 18Vdc Strokes per minute 0 2000 SPM Bl...

Page 29: ...de is secure Tighten if necessary Failure to do so may result in serious injury Removing the blade Caution Always ensure the saw is switched OFF and the battery pack removed BEFORE attempting to fit o...

Page 30: ...lade and the saw to do the work WARNING Use of excessive pressure that causes bending or twisting of the blade may cause the blade to break Metal cutting Metals such as sheet steel pipe steel rods alu...

Page 31: ...ther applications are expressly ruled out 1 Collet Chuck 2 Nose Collar 3 Spindle lock 4 On Off switch 5 Digital speed display 6 Decrease speed button 7 Increase speed button 8 Battery Specifications T...

Page 32: ...s are suggested on scrap material first If material is burning reduce speed and also pressure on the tool Faster speeds are also suggested for grinding as slower speeds have a tendency to clog the whe...

Page 33: ...While holding the spindle lock button down and engaged finger tighten the collet nut Then tighten the colt nut with the small wrench WARNING Make sure that the accessory is inserted as far as possible...

Page 34: ...Handstrap attachment loop 6 Handstrap attachment 7 Lamp head rotation button Tool Model XK18LT Voltage 18Vdc Charger Model XK18L1CH Battery pack Model XK18LB Weight with battery 0 56kg Note The torch...

Page 35: ...second time the Single LED will be turned off Swinging the lamp head Your LED work light has a swivel head that can be rotated to the desired position To change the position of the head simply rotate...

Page 36: ...plications intended All other applications are expressly ruled out 1 On Speed button 2 Off button 3 Air Vents 4 Vacuum port 5 Vacuum bag 6 Vacuum bag cover release button 7 Vacuum bag support 8 Vacuum...

Page 37: ...llows access to empty the vacuum bag The vacuum bag 5 can be washed Make sure the bag is completely dry before replacing it and that there is no clogging of dust within the bag NOTE This vacuum is sup...

Page 38: ...n addition to all rights and remedies to which you may be entitled under the Competition and Consumer Act 2010 Commonwealth and any other relevant legislation the manufacturer warrants this product to...

Page 39: ......

Reviews: