


15
Unpacking
Due to modern mass production techniques, it is unlikely that
your XCEED Power Tool is faulty or that a part is missing.
If you find anything wrong, do not operate the tool until the
parts have been replaced or the fault has been rectified.
Failure to do so could result in serious personal injury.
Important information – Product care
This Combo Kit uses Lithium-Ion battery cells. Care
MUST be taken to ensure both the safety and life of the
pack is maintained. Ensure you have read all of the safety
notes in the previous pages before using the drill/driver.
Safety devices and circuitry for this tool are located in
the battery pack of this tool. The battery pack is a vital
component, not just for the power source, but also for
the full safety control for both the charging and also the
tool operation. Treat the battery pack with care and within
the guidelines of this manual. If the pack does become
immersed in water or any fluids, or is subject to a sever
drop etc, or it does not operate within the guidelines of
this manual, immediately STOP using the battery pack
and have it checked.
During operation avoid overloading the tool. If the tool is
overloaded it will automatically STOP. Overloading may
occur for a number of reasons including when the tool is
pushed too hard or when using a drill bit or attachment
greater than what is specified. If you do overload the tool
during operation refer to the “Overload” section in this
manual.
Note:
When the battery of the tool is at the lower end of the
charge, the tool is more susceptible to the overload condition.
As mentioned above the battery pack is an integral
component of this tool and it is fitted with thermal safety
devices. Running the drill at close to maximum load, or
continual resetting of the overload will cause the battery
pack to over heat. When a preset cell temperature is
detected, the battery pack will automatically STOP
operating and will not restart until the battery pack has
cooled to a safe level.
In this condition, DO NOT force cool the pack by placing in
a freezer or similar device. Refer to the “
Overload
” section
in this manual.
Another feature of the drill/battery pack is the
low voltage
cut out
feature. This feature operates when the voltage
drops below a preset value. When this occurs the tool will
automatically stop operating. To correct the situation you
need to either insert another charged battery into the drill
or recharge the existing battery, and then proceed with the
drilling/driving application.
Note:
Attempting to restart the tool in this condition without
either recharging the battery or installing a battery with
charge will lead to drill restarting and then stopping again
after only a few seconds of operation.
These safety devices have been fitted for the safety,
reliability and life of the tool.
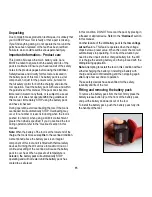
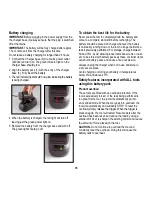
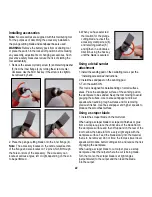
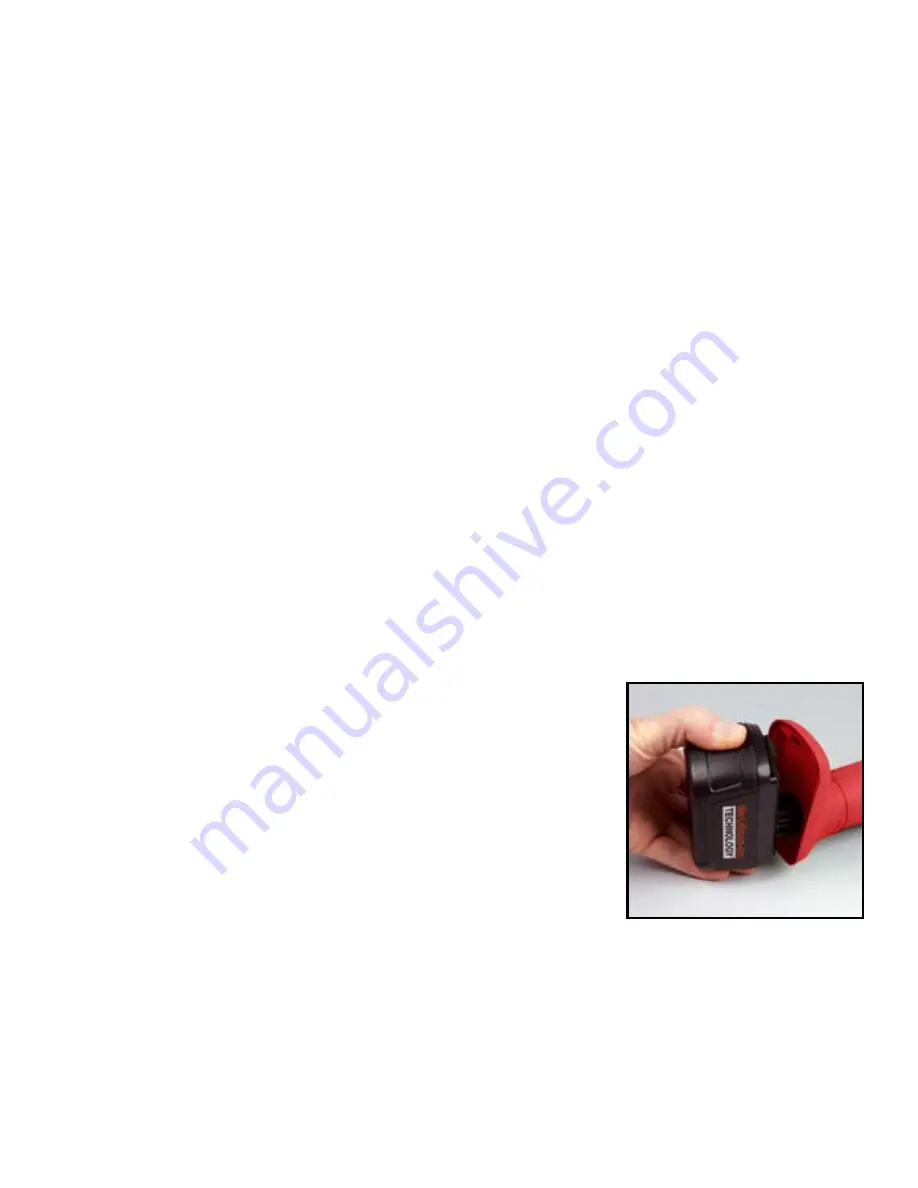
Fitting and removing the battery pack
To remove the battery pack from the tool, firmly press the
battery release button (2) at the front of the battery pack,
and pull the battery downwards out of the tool.
To install the battery pack, push the battery pack fully into
the handle of the tool.


