XCell Fury Extreme Assembly Manual
Created: 11/14/2006
Copyright Miniature Aircraft USA
Page 13 of 138
This document may not be distributed without permission of Miniature Aircraft USA
III. Kit Assembly Process
Assembly Tips
•
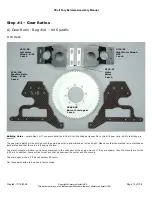
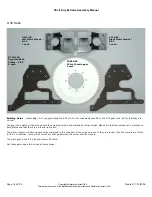
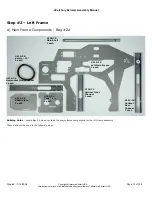
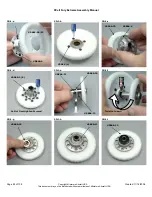
Please note that this assembly manual consists of a photographic journal of the steps necessary to
construct this helicopter. The builder is encouraged to pay close attention to the "building notes" and
other details noted in the pictures and to carefully review all the photo’s in a given step. The
placement of a given part may be better understood when viewing another view of the assembly.
•
Follow the order of assembly. The instructions have been organized into major sections and have been
developed in such a way that each step builds upon the work done in the previous step. Changing the
order of assembly may result in unnecessary steps
•
The photos in this manual are organized within each step to correspond with the order of assembly.
The sequence of the photos within a step is from top to bottom and from left to right.
•
Clean all metal parts: All of the steel parts in this kit are coated with a lubricant to prevent them from
rusting. This coating can interfere with the adhesives and thread locks needed for assembly. Use a
solvent such as alcohol or acetone to clean the various metal parts, especially threads
•
Use thread lock as indicated. Model helicopters are subject to vibration and failing to use thread lock
on any non-locking assembly may result in a part becoming loose or falling off
•
Sand sharp edges on any frame plate that Velcro® or wires may rub against to prevent them from
being damaged over time by vibration
•
Make sure every bearing runs smoothly after component assembly. If it does not find out why. A rough
running bearing will fail prematurely.
•
As a general rule any bolt that threads into a metal part should have thread lock applied and any
screw or bolt that threads into a plastic part should have adhesive applied
•
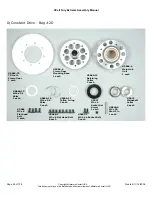
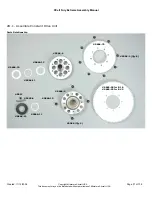
Assembly sections contain the following content:
o
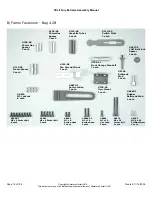
The contents of each bag
o
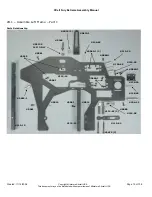
An overview of part relationships
o
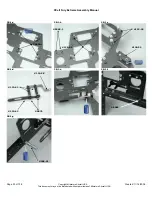
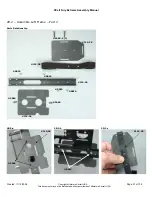
Assembly overview
•
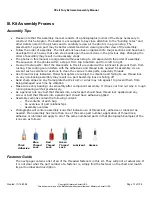
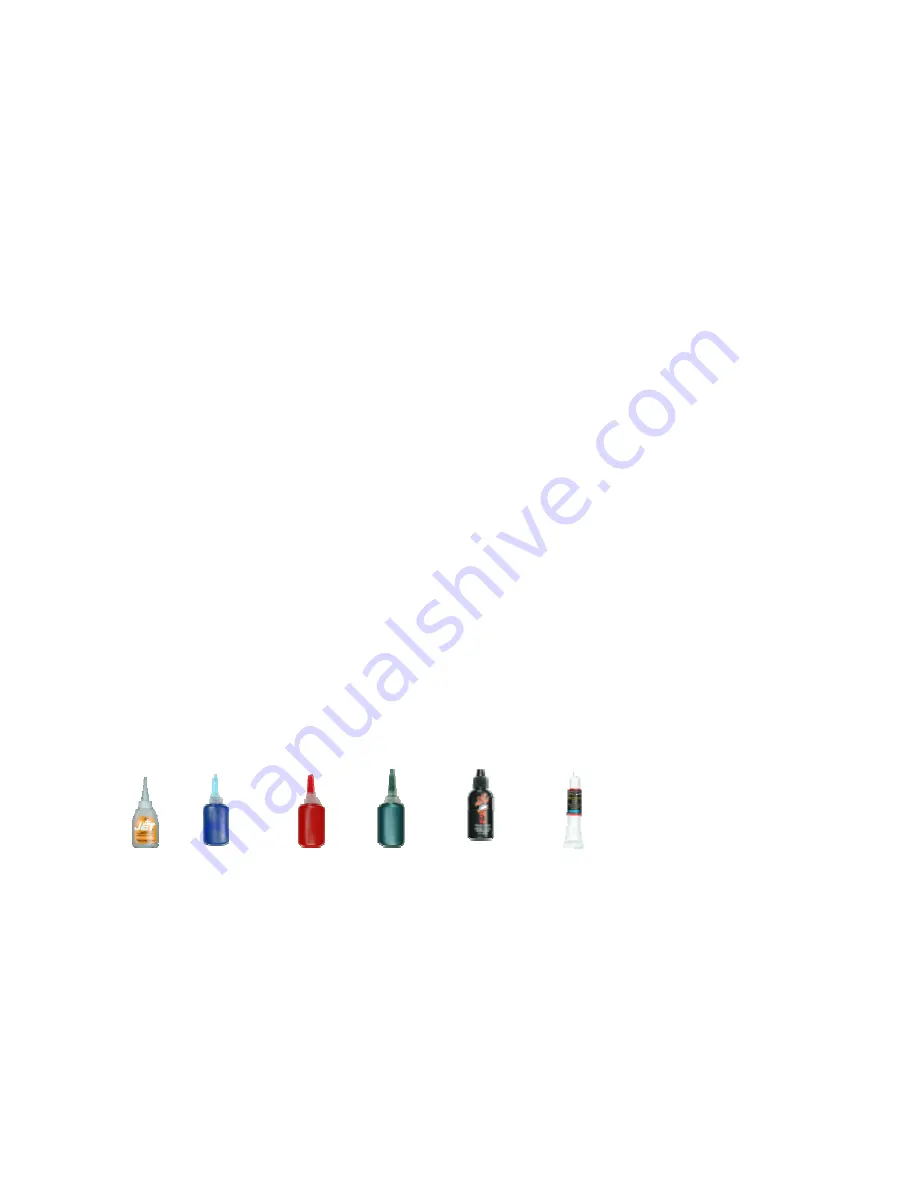
Photographs will contain assembly icons that indicate use of thread lock, adhesive or lubricant as
needed. If an assembly has more than one of the same part number, application of thread lock,
adhesive or lubricant will apply to all of the same numbered parts in that photograph Examples of the
icons are as follows:
Thick
Adhesive
Blue
Thread
Lock
Red
Thread
Lock
Green
Thread
Lock
Lubricant
Grease
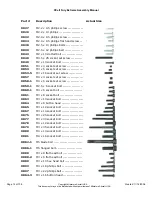
Fastener Guide
The next page contains a list of all of the threaded fasteners in this kit. They will print at actual size. If
it is not clear what the part number of a fastener is, simply find the fastener on the chart and match
its part number and description


